B2520 / B2540
- 64 -
• Option (
A
): Draw this background image in your preferred
application (such as Word, Excel,...),
OR
• Option (
B
): Scan a sheet of paper containing the layout of the
cover page.
Details about Option A and B:
• Option (
A
): Open the application that you want to use to edit
the background (Word, Wordpad...). Draw the background
image then print this document in the printer named
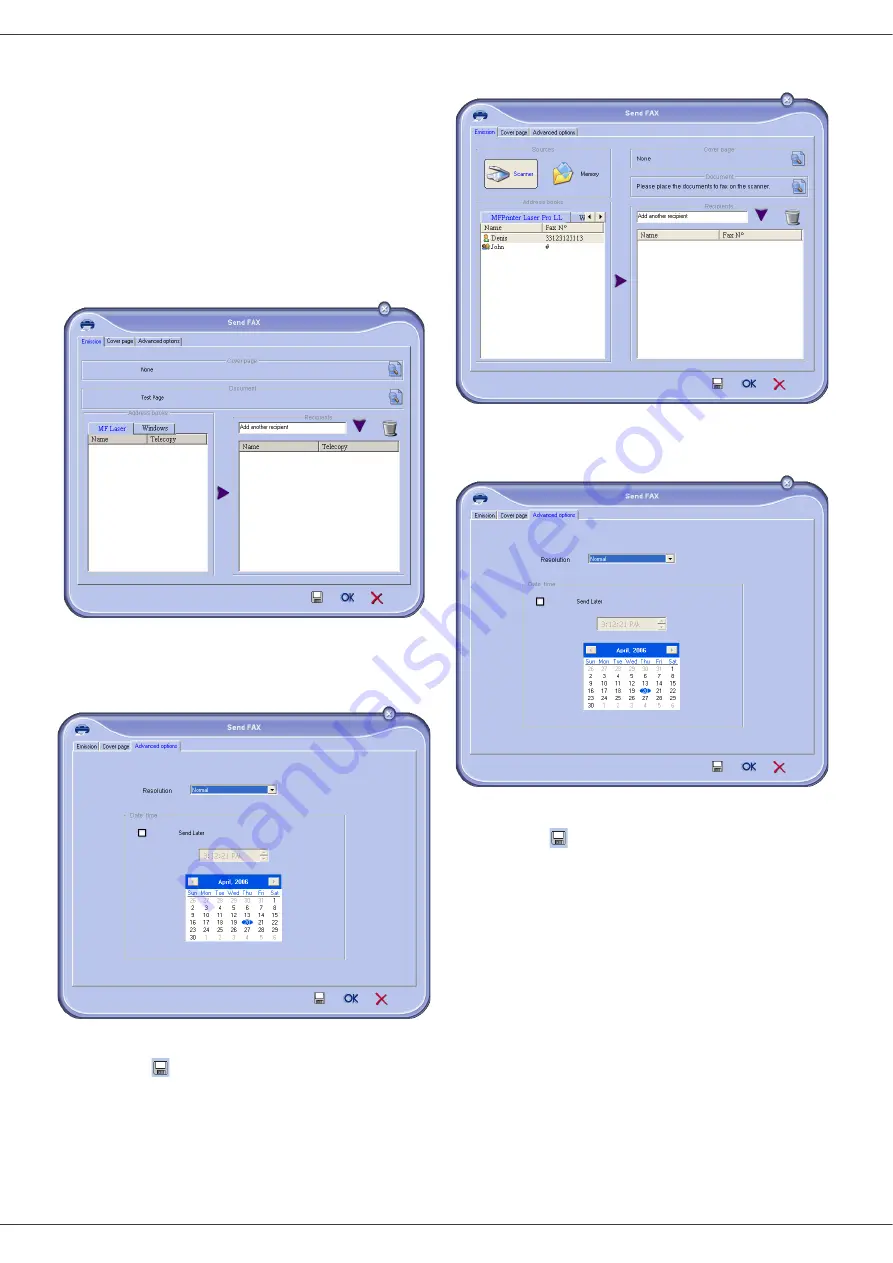
"Companion Suite Fax". At that point the MFSendFax dialog is
displayed:
Add any recipient to the recipient list, click on the tab
A
DVANCED
O
PTIONS
, select resolution
F
INE
as shown
below
:
Finally click on the button
S
AVE
AS
DRAFT
in the lower
right corner (
). The background image is created in
the directory C:\Program Files\Companion Suite Pro
LM\Documents\FAX\Temporary and has the file
extension .fax.
• Option (
B
): Launch
MFM
ANAGER
, select
N
EW
F
AX
, select the
scanner source as shown below :
Add any recipient to the recipient list, click on the tab
A
DVANCED
O
PTIONS
, select resolution
F
INE
as shown
below:
Finally click on the button
S
AVE
AS
DRAFT
in the lower
right corner (
). The background image is created in
the directory C:\Program Files\Companion Suite Pro
LM\Documents\FAX\Temporary and has the file
extension .fax.
Whether you choose Option
A
or
B
, you end up with a
background image with extension .fax, which is located
in C:\Program Files\Companion Suite Pro
LM\Documents\FAX\Temporary.
You can now proceed to the second step right
below.
For the second step:
Now that the background image is created in
directory in C:\Program Files\Companion Suite Pro
LM\Documents\FAX\Temporary, you can add the
fields on top of the background image.
Please follow the procedure below:
(a)Launch
MFM
ANAGER
, select
N
EW
F
AX
, click on the tab
C
OVER
P
AGE
, and check the check box named
W
ITH
THE
COVER
PAGE
.
(b)Click on the button
N
EW
, this displays a new window
with the title
C
REATION
OF
THE
COVER
PAGE
.
Î
Содержание B2520
Страница 1: ......


