Troubleshooting
147
Top
This position provides the maximum height (2.4 mm) between the platen
and the head. Set the lever to this position when printing on thick media and
when printing images.
4
Push the lever to the required position. Make sure that it snaps firmly into
place.
5
Close the dust cover.
Printing the registration print
You must make a registration print after each print head installation or
replacement to check for proper position. You can use cut sheet or roll media,
with a minimum A3 media size.
▼
▼
▼
▼
To print the registration print
1
Check that you have loaded the media, and that the printer is ready to print.
2
Press the ‘
down
’ arrow once to enter the menu.
3
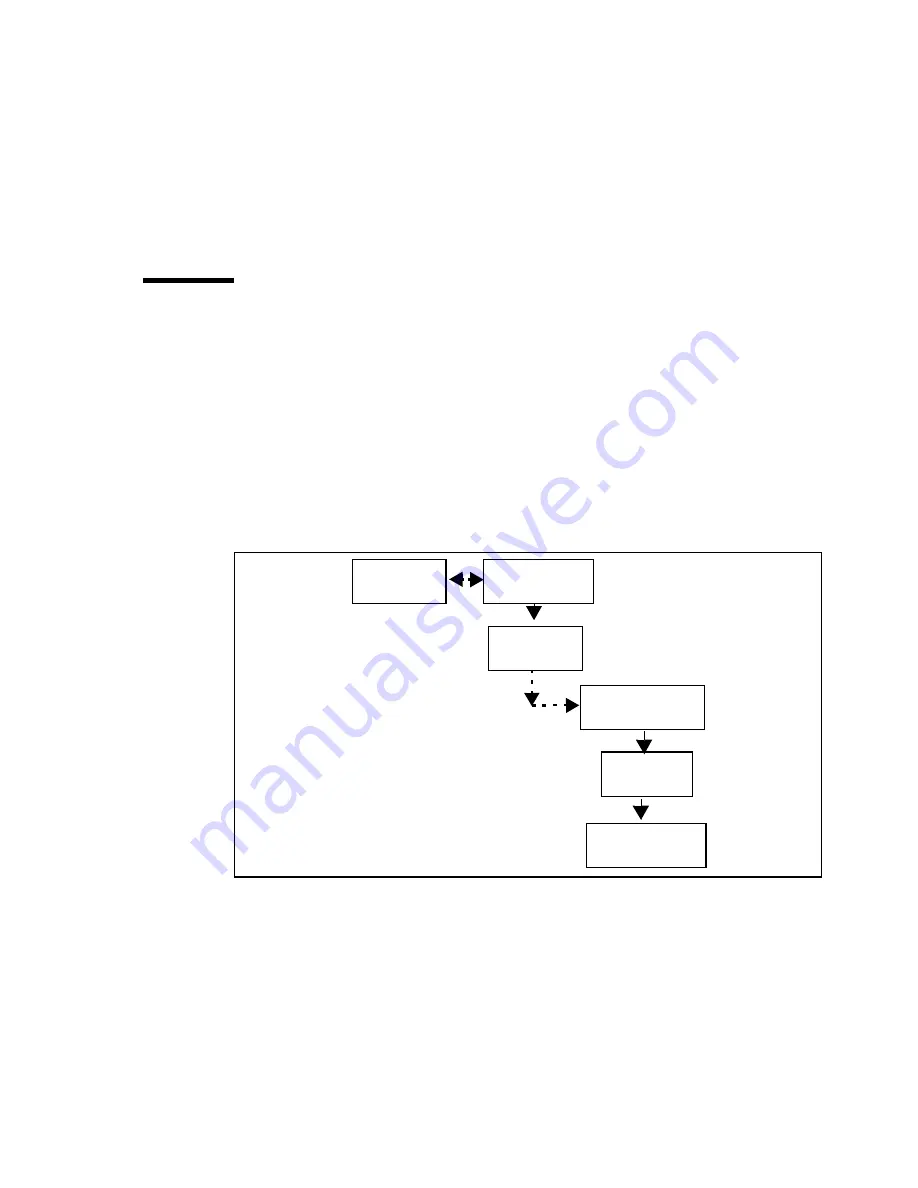
Follow the flowchart path to get to ‘
registration
’.
4
Press ‘
enter
’ to print.
Configuration
Media type
Calibration
Utilities
Registration
Содержание 5250
Страница 1: ...Oc 5250 User manual...
Страница 8: ...8 Oc 5250 user manual...
Страница 11: ...Installation of the Oc 5250 printer 11 3 Required space when installed on the stand 1170mm 1405mm...
Страница 63: ...Print management 63 Mirror off x mirror y mirror Configuration Media type Print manager Transform...
Страница 82: ...82 Oc 5250 user manual Examples of a dump configuration...
Страница 120: ...120 Oc 5250 user manual...
Страница 121: ...121 Oc 5250 User manual Chapter 6 Use of media Media types Choosing media Storing and handling media...
Страница 126: ...126 Oc 5250 user manual...
Страница 151: ...151 Oc 5250 User manual Chapter 9 Connection of the Oc 5250 Connecting the printer Centronics Ethernet...
Страница 163: ...163 Oc 5250 User manual Appendix A Glossary...
Страница 167: ...167 Oc 5250 User manual Appendix B Safety information...
Страница 172: ...172 Oc 5250 user manual...
Страница 173: ...173 Oc 5250 User manual Appendix C Miscellaneous...
Страница 194: ...194 Oc 5250 user manual...


