47
Scheduler
The scheduler allows you to enter reminders and appointments for particular times and dates.
Making an entry in the scheduler
☛
Press
and
3
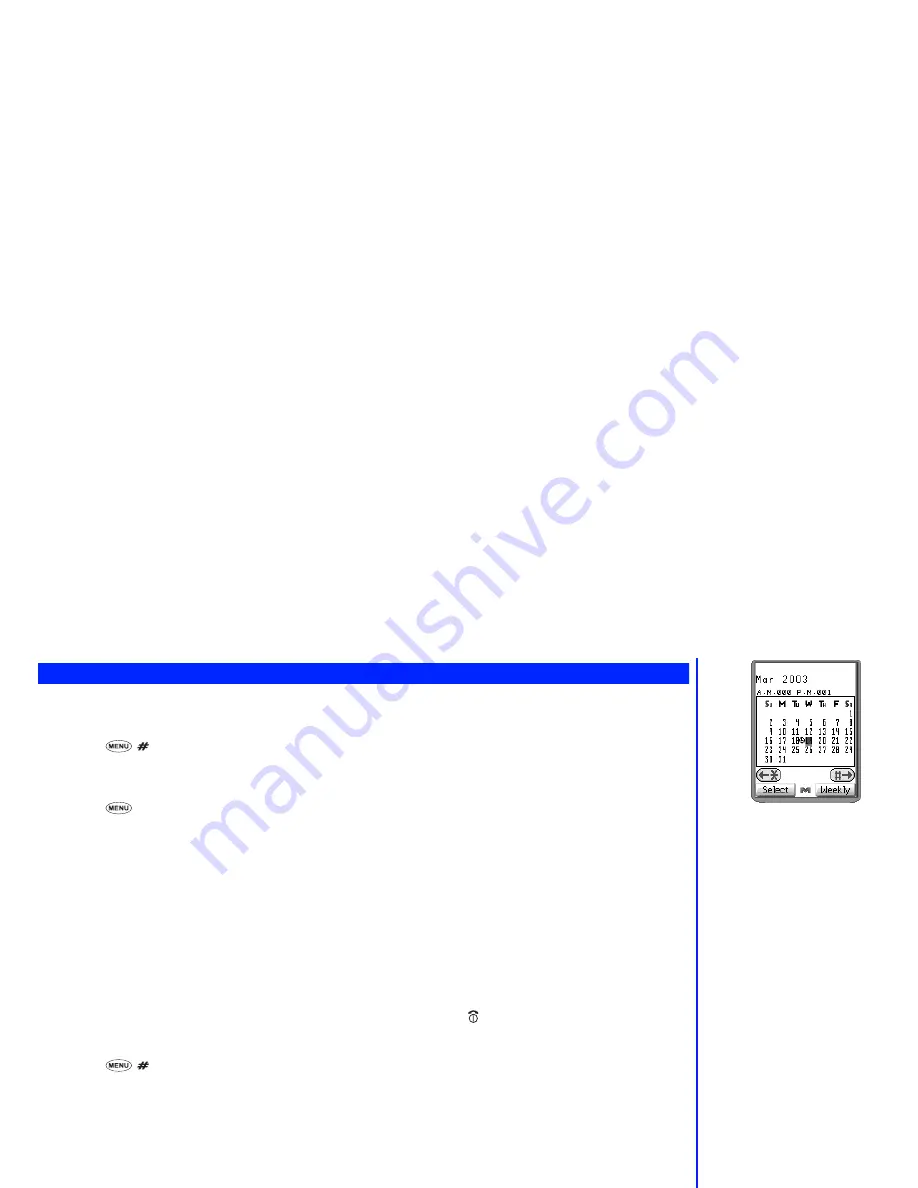
. The scheduler will be displayed, showing either a weekly or monthly view (according to how the scheduler
was left when it was last used) with today’s date highlighted.
☛
Press
Softkey 1
. The day’s schedule list screen (if any) will be displayed.
☛
Press
and
2
to display the schedule entry screen.
☛
Press
Softkey 2
to set the date of the scheduled event. Use the keypad to enter the year for the scheduled event (if necessary), then
use the
▼
key to enter Month field.
☛
Use the keypad to enter the month for the scheduled event (if necessary), then press the
▼
key to enter Date field.
☛
Use the keypad to enter the date for the scheduled event (if necessary), then press the
▼
key to enter Time field.
☛
Key in the time of the scheduled event and press
Softkey 1
. You will be returned to the schedule entry screen.
☛
Press the
▼
key to highlight the description field and press
Softkey 2
. The description entry screen will be displayed.
☛
Use the normal text entry procedures (see page 33) to enter a description of the scheduled event, then press
Softkey 1
. The schedule
entry screen will be displayed. If the schedule information is now complete, press
Softkey 1
. If there are no schedule clashes, you
will be returned to the schedule list screen.
☛
Press
Softkey 2
to return to the weekly or monthly schedule display or briefly press to return you to the standby screen.
Viewing the scheduled events
☛
Press
and
3
. The scheduler will be displayed, showing either a weekly or monthly view (according to how the scheduler
was left when it was last used) with today’s date highlighted.
☛
Use the
▲
and
▼
keys to display the last or next week or month respectively if necessary, and use the and
keys to display the
previous or next day respectively until the required date is highlighted.
☛
Press
Softkey 1
. The highlighted day’s schedules (if any) will be displayed. Use the
▲
and
▼
keys to highlight the required
scheduled event and press
Softkey 1
. The selected scheduled event will be displayed.
To edit the displayed scheduled event, press
Softkey 1
.
To delete the displayed scheduled event, press
CLR
. The delete confirmation screen will be displayed. Press
Softkey 1
to delete the
event or
Softkey 2
to return to the event details screen.
To display the scheduler’s option menu, press
(see page 48).
☛
Press
Softkey 2
to return to the weekly or monthly schedule display or briefly press to return you to the standby screen.
Fig. 1
2
Only the 24 hour format can be used
for time entry for a scheduled event.
2
If there is already an identical
schedule stored, you will be
informed and returned to the time
and date screen.
▼
▼


