2-22 General Description
BASIC OPERATION
This section describes basic operation procedures of NEC Express5800/ft series.
Locking and Unlocking the Front Bezel
The front bezel covers built-in components of the server such as the POWER switch, CD-ROM
drive, and hard disks.
The tower model server has a door-type bezel (it can also be detached). The rack-mount model
server has a cover-like detachable bezel
You need to open the front bezel when you access the POWER switch, CD-ROM drive or hard disk.
IMPORTANT:
Without using the security key, you cannot open or detach the front
bezel.
It is not recommended to use the server with its bezel detached.
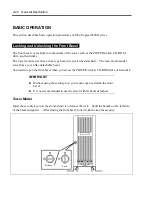
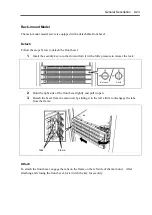
Tower Model
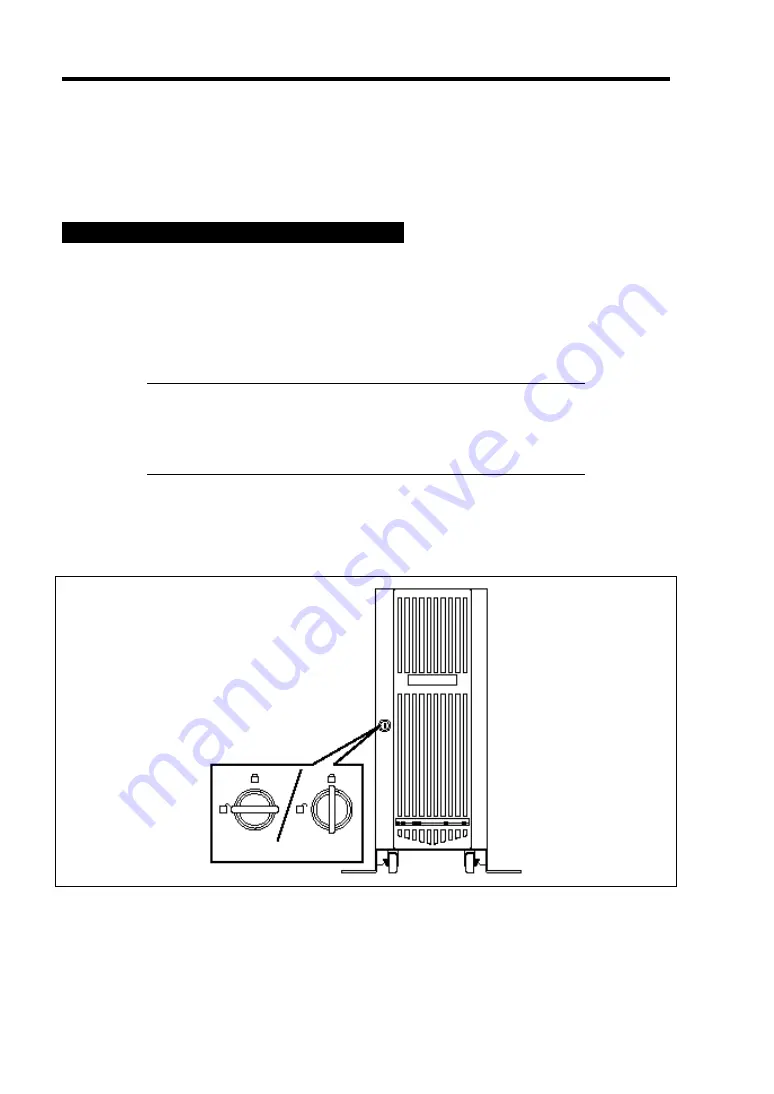
Insert the security key into the slot and turn it to release the lock. Hold the handle on the left side
of the bezel and pull it. After closing the front bezel, lock it with the key for security.
Release
Lock
Содержание Express5800/320Lb FT Linux
Страница 1: ...N8800 027F 028F NEC Express5800 320Lb 320Lb R User s Guide 1st Edition 02 2003 856 122693 901 A ...
Страница 10: ...iv This page is intentionally left blank ...
Страница 16: ...x This page is intentionally left blank ...
Страница 19: ...Precautions for Use 1 3 Label A Label B Label C Label E Label D ...
Страница 20: ...1 4 Precautions for Use Rack mount model Label B Label A Label C Label D ...
Страница 21: ...Precautions for Use 1 5 Label D Label C Label B Label A ...
Страница 22: ...1 6 Precautions for Use PCI CPU Modules PCI Module CPU Module Label A Label A Label A ...
Страница 36: ...1 20 Precautions for Use This page is intentionally left blank ...
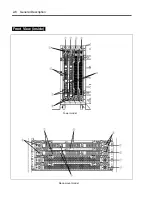
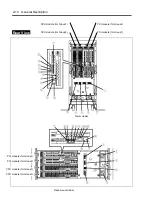
Страница 44: ...2 8 General Description Front View inside Tower model Rack mount model ...
Страница 70: ...2 34 General Description This page is intentionally left blank ...
Страница 71: ...Chapter 3 Setup This chapter describes setup procedures to make NEC Express5800 ft series ready for use ...
Страница 118: ...3 48 Setup This page is intentionally left blank ...
Страница 162: ...4 44 System Configuration This page is intentionally left blank ...
Страница 217: ...Installing and Using Utilities 5 55 Also at this time the state of the mirrored disks change to Normal Mirror Disk ...
Страница 294: ...6 14 Maintenance This page is intentionally left blank ...
Страница 295: ...Chapter 7 Troubleshooting If the product does not work properly see this chapter before deciding that it is a breakdown ...
Страница 336: ...7 42 Troubleshooting This page is intentionally left blank ...
Страница 355: ...System Upgrade 8 19 15 Check the disk you selected and click Next 16 Click Complete ...
Страница 399: ...System Upgrade 8 63 Cable ties included with cabinet ...
Страница 410: ...8 74 System Upgrade This page is intentionally left blank ...
Страница 412: ...A 2 Specifications This page is intentionally left blank ...

