


ENGINE MAIN PARTS - REASSEMBLY
2 - 38
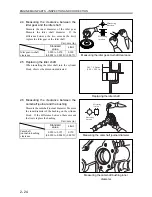
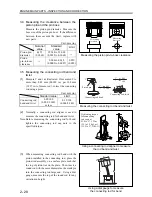
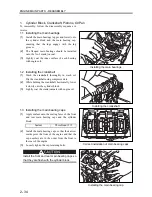
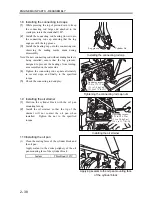
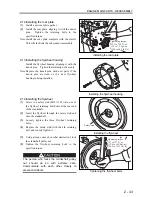
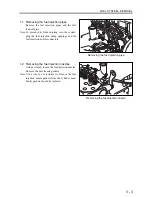
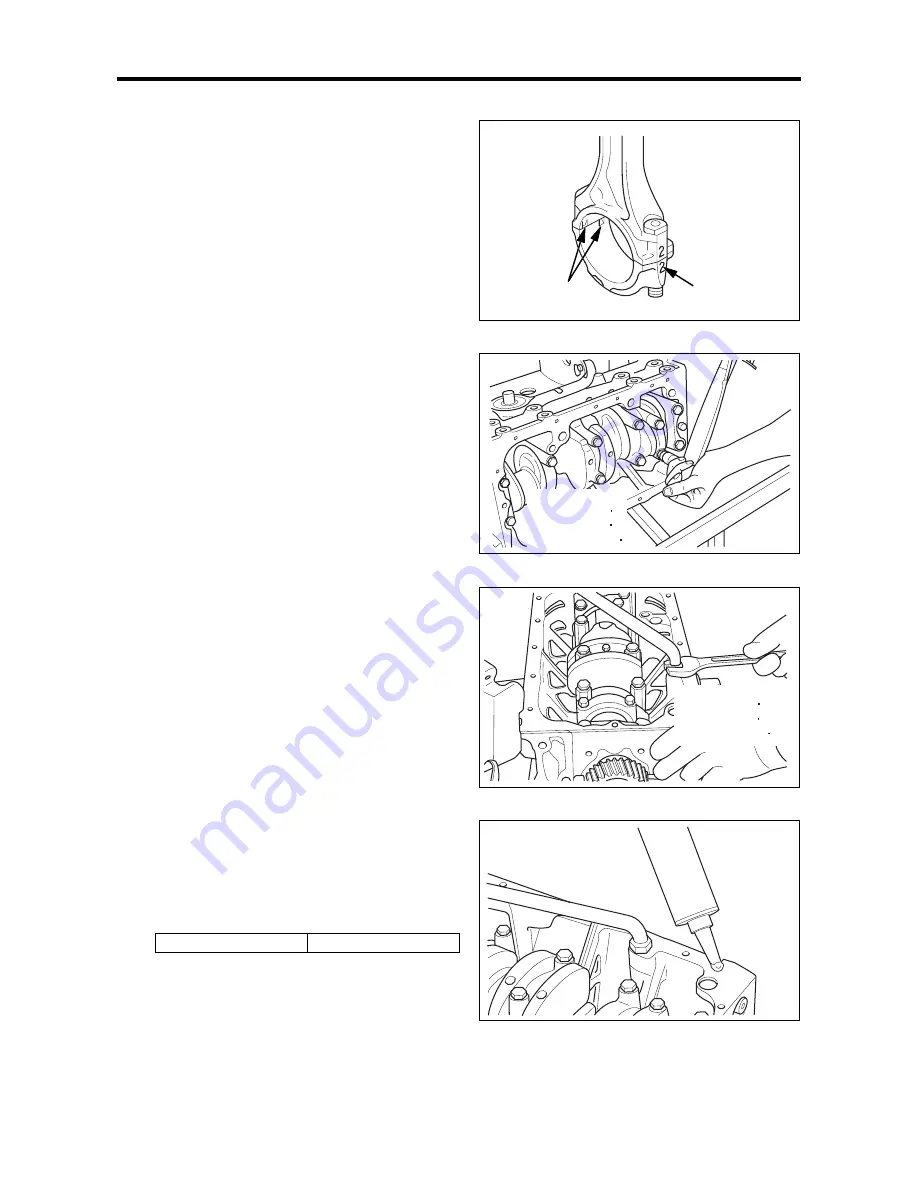
1.8 Installing the connecting rod caps
(1)
While pressing the top of piston down to keep
the connecting rod large end attached to the
crank pin, rotate the crankshaft 180°.
(2)
Install the connecting rod bearing (lower) onto
the connecting rod cap, ensuring that the lug
engages with the lug groove.
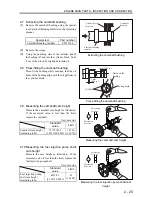
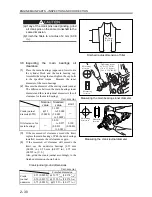
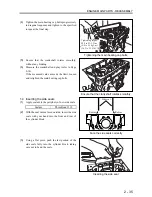
(3)
Install the bearing cap onto the connecting rod,
observing the mating marks made during
disassembly.
Note: If a new connecting rod without mating marks is
being installed, ensure that the lug grooves,
designed to prevent the bearings from turning,
are assembled on the same side.
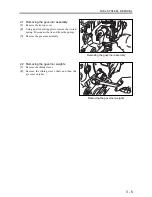
(4)
Tighten the connecting rod cap nuts alternately
in several steps, and finally to the specified
torque.
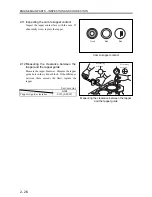
(5)
Check the connecting rod end play.
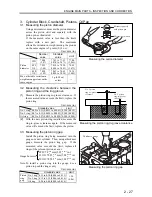
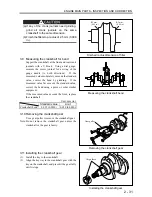
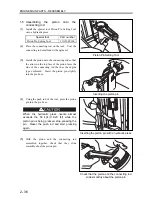
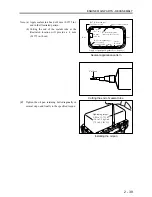
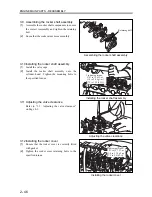
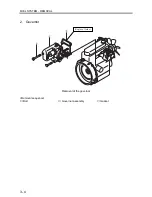
1.9 Installing the oil strainer
(1)
Position the cylinder block with the oil pan
mounting face up.
(2)
Install the oil strainer so that the tip of the
strainer will not contact the oil pan when
installed. Tighten the nut to the specified
torque.
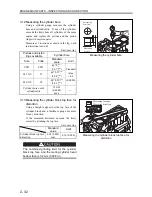
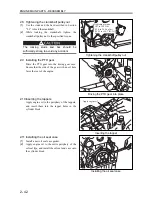
1.10 Installing the oil pan
(1) Clean the mating faces of the cylinder block and
the oil pan.
Apply sealant to the entire periphery of the oil
pan mounting face of the cylinder block.
Sealant ThreeBond
1207C
Installing the connecting rod cap
Tightening the connecting rod cap nuts
Installing the oil strainer
Applying sealant to the oil pan mounting face
of the cylinder block
Lug groove
Cylinder No.
Tightening torque:
32.4 to 37.3 N m
(3.3 to 3.8 kgf m)
[23.9 to 27.5 lbf ft]
Tightening torque:
24.5 to 29.4 N m
(2.5 to 3.0 kgf m)
[18.1 to 21.7 lbf ft]
Содержание diesel engines
Страница 5: ......
Страница 33: ...SERVICE STANDARDS 1 20 ...
Страница 34: ...1 General Tools 1 22 2 Special Tools 1 23 TOOLS LIST ...
Страница 37: ...TOOLS LIST 1 24 ...
Страница 38: ...1 Identifying the Timing for Overhaul 1 26 2 Measuring the Compression Pressure 1 27 OVERHAUL TIMING ...
Страница 41: ...OVERHAUL TIMING 1 28 ...
Страница 46: ......
Страница 47: ......
Страница 61: ...ENGINE MAIN PARTS DISASSEMBLY 2 16 ...
Страница 99: ...FUEL SYSTEM REMOVAL 3 8 ...
Страница 115: ...FUEL SYSTEM DISASSEMBLY INSPECTION AND REASSEMBLY 3 24 ...
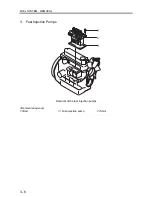
Страница 117: ...FUEL SYSTEM INSTALLATION 3 26 1 Fuel Injection Pumps Installing the fuel injection pumps Installation sequence ...
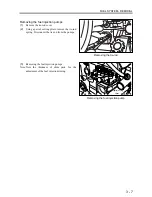
Страница 119: ...FUEL SYSTEM INSTALLATION 3 28 2 Governor Installing the governor Installation sequence ...
Страница 123: ...FUEL SYSTEM INSTALLATION 3 32 ...
Страница 131: ...OIL SYSTEM DISASSEMBLY INSPECTION AND REASSEMBLY 4 8 ...
Страница 143: ...COOLING SYSTEM DISASSEMBLY INSPECTION AND REASSEMBLY 5 8 ...
Страница 150: ......
Страница 151: ......
Страница 153: ...INLET AND EXHAUST SYSTEMS REMOVAL 6 4 ...
Страница 159: ...INLET AND EXHAUST SYSTEMS INSTALLATION 6 10 ...
Страница 160: ...1 Starter 7 2 2 Alternator 7 3 3 Stop Solenoid 7 4 4 Glow Plug 7 5 ELECTRICAL SYSTEM REMOVAL ...
Страница 161: ...ELECTRICAL SYSTEM REMOVAL 7 2 1 Starter Removal of the starter Removal sequence Harness Bolt Starter ...
Страница 164: ...ELECTRICAL SYSTEM REMOVAL 7 5 4 Glow Plug Removal of the glow plug Removal sequence Glow plug Connection plate ...
Страница 165: ...ELECTRICAL SYSTEM REMOVAL 7 6 ...
Страница 184: ...1 Glow Plug 7 26 2 Stop Solenoid 7 27 3 Alternator 7 28 4 Starter 7 29 ELECTRICAL SYSTEM INSTALLATION ...
Страница 189: ...ELECTRICAL SYSTEM INSTALLATION 7 30 ...
Страница 207: ...MISCELLANEOUS 9 4 ...