23
Review
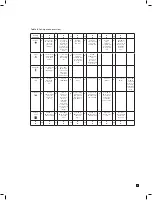
Submenu
OK
➭
OK
➭
OK
➭
OK
➭
OK
➭
OK
Software
SW
✓
Displays
software
revision
✓
Displays
software
checksum
✓
Press
▲
or
▼
to select next
menu or X
to exit
Alarms
✓
Displays
sensor
cartridge
ID (X) and
gas ID code
(Y) in format
(X -Y)
✓
Level 1 (L1)
rising (U) or
falling (d)
alarm type
followed by
set point then
same for level
(L2) alarm
✓
Alarm time
delay (secs)
✓
Alarm relays
latching (L) or
non latching
(nL)
✓
Alarm relays
normally
energized (nE)
or normally
de-energized
(nd)
✓
Press
▲
or
▼
to select next
menu or X
to exit
Faults
✓
Fault relay
configuration
✓
Fault relay
latching (L) or
non latching
(nL)
✓
Fault relay
normally
energized (nE)
or normally
de-energized
(nd)
✓
Press
▲
or
▼
to
select next
menu or X
to exit
Calibration
✓
Days
remaining
to next
calibration
due
✓
Year of last
calibration
✓
Month and
day of last
calibration
✓
Press
▲
or
▼
to select next
menu or X
to exit
Date/Time
timE
✓
Year
✓
Date
✓
Time
✓
Press
▲
or
▼
to select next
menu or X
to exit
Address
✓
Auto address
detect (AU Y)
or manual set
(AU n)
✓
IP address
segments
(x4)
✓
Sub net
address
segments
(x4)
✓
Press
▲
or
▼
to select next
menu or X
to exit
Event Log
✓
Number
of dots on
display shows
number of
viewable
events (0-7)
✓
Date of first
event
✓
Time of event
✓
Icon and
event code
✓
Repeat for
next event or
X to exit
▲
▼
OK
➭
OK
➭
OK
➭
OK
➭
OK
➭
OK
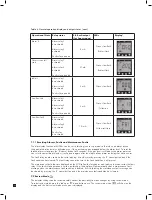
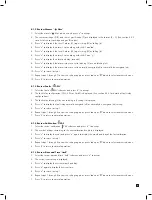
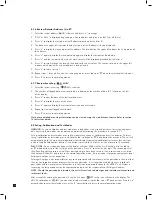
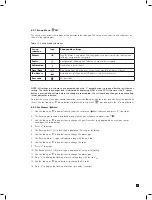
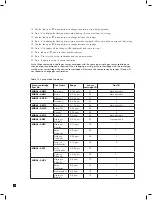
Table 7. Review menu overview.
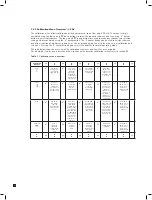
7.2.1 Review Mode Menu Overview
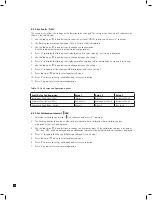
The menu is simply navigated by using the ‘
▲
’ up and ‘
▼
’ down buttons to select the required menu, and then
using the ‘
✓
’ accept button to enter that submenu and scroll through to view the settings. The ‘X’ cancel button
can be used to exit the submenu and allow selection of a different submenu, or can be pressed again to exit to
normal operating mode. When in review mode the unit will automatically return to the main normal operation
status display if either an alarm level is exceeded or no button is pressed for 60 seconds.
The table below shows an overview of the different review menus and how they are navigated. For a detailed
step-by-step instruction of how to review the detector setting in review mode refer to section 8.1.
Содержание midas
Страница 1: ...1 TOXIC FLAMMABLE AND OXYGEN GAS DETECTOR OP E RAT ING INSTRUCTIONS ...
Страница 44: ...44 6 Remove the 4 pump module screws 7 Remove the two fixing clips and disconnect the tubes at the manifold ...
Страница 55: ...55 Diagram 40 IP Address setting in Windows XP Diagram 41 Sample MIDAS web page ...
Страница 57: ...57 15 2 Modbus TCP Installation 15 3 Power over Ethernet POE Installation ...

