83
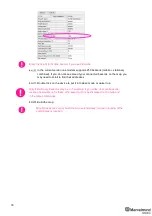
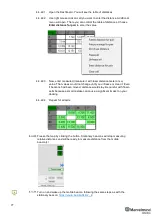
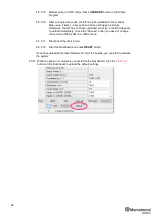
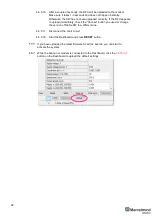
Write down the beacon’s address for future use or change the address
at your
convenience as shown here
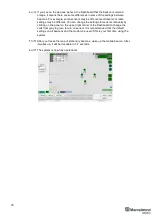
Press the RESET button on your beacons and modem after programming
After programming devices with the latest software, the modem and beacons are
ready for use
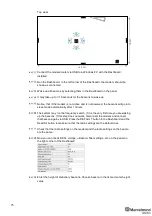
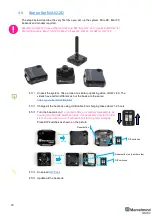
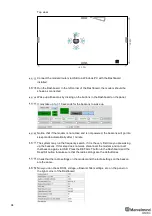
Place the stationary beacons high on the walls vertically in a way that will provide
optimal ultrasonic coverage.
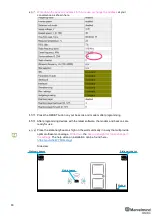
Write down
the
beacon’s height for future change in
the settings
. The help video on installation can be found here -
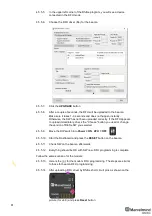
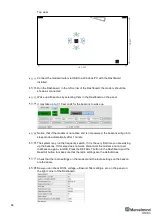
Side view:
Stationary beacon
Stationary beacon
Mobile beacon
Modem
beacon
Содержание Mini-RX
Страница 1: ...Marvelmind Indoor Navigation System Operating manual v2020_12_14 www marvelmind com ...
Страница 16: ...16 HW v4 9 beacon with Mini TX size comparison Beacon Industrial RX Beacon Industrial Super ...
Страница 30: ...30 Figure 6 Two external microphone connection ...
Страница 34: ...34 Figure 9 One external microphone soldering Figure 10 Two external microphones soldering ...
Страница 36: ...36 Figure 13 Two external microphones final view Figure 14 Two external microphones final view ...
Страница 60: ...60 Help video https www youtube com watch v NHUnCtJIYXc ...
Страница 69: ...69 The system is now fully operational ...
Страница 97: ...97 The system is now fully operational ...
Страница 106: ...106 The system is now fully operational ...
Страница 115: ...115 The system is now fully operational ...
Страница 136: ...136 Advanced settings TBD Enabling will allow direction along with location TBD TBD TBD ...
Страница 171: ...171 Floor 5 is enabled Floor 4 is enabled ...
Страница 175: ...175 Z X ...
Страница 190: ...190 Choose color and press OK Color applied Now background matches floorplan ...
Страница 192: ...192 Choose any color which suits you and press OK Now the hedgehog and its tracking path will be colored ...
Страница 196: ...196 7 18 IMU axis positioning Super Beacon IMU axis positions HW v4 9 IMU axis positions ...
Страница 197: ...197 Mini TX IMU axis positions Mini RX beacon IMU axis positions ...
Страница 201: ...201 Real time player turned on ...
Страница 204: ...204 8 1 Super beacon external interface pinout top view ...
Страница 205: ...205 8 2 Beacon HW v4 9 external interface 4x4 pinout top view ...
Страница 206: ...206 8 3 Modem HW v4 9 external interface pinout top view ...
Страница 225: ...225 How to change modes Choose hedge Go to Ultrasound TDMA mode Left mouse button click to change ...
Страница 240: ...240 Right mouse button on it Set movement path Shift Left mouse click to add point ...
Страница 241: ...241 Shift Left mouse click on point to remove that point Click on Upload path to send it to robot Path loaded ...
Страница 250: ...250 Contacts For additional support please send your questions to info marvelmind com ...

