221
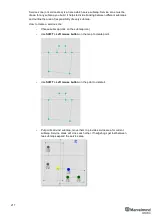
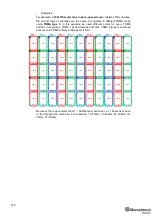
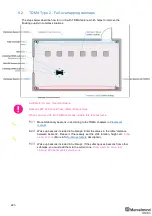
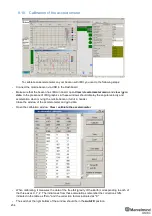
Next, you need to choose submap 0, add the beacons included in submap 0, and set the
jitter code for them
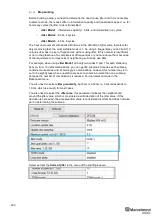
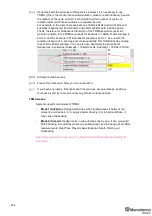
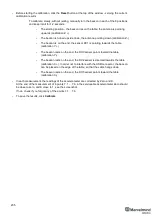
If the distance is determined correctly in the automatic measurement mode, you can
leave it in the distance table unchanged.
If you need to change it, you can do this through the context menu. See detailed
description of manual map building in the
– Table of Distances
chapter
And set the required distance manually.
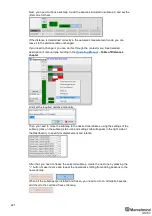
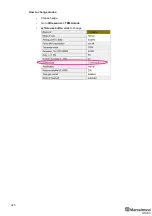
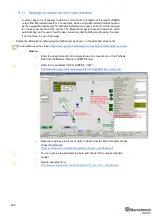
Then you need to move the submap to the desired coordinates, using the settings of the
submap (
click on the submap’s tab icon and settings tab will appear in the right side of
the Dashboard), to specify its displacement and rotation
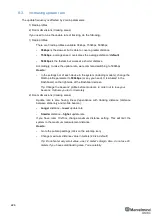
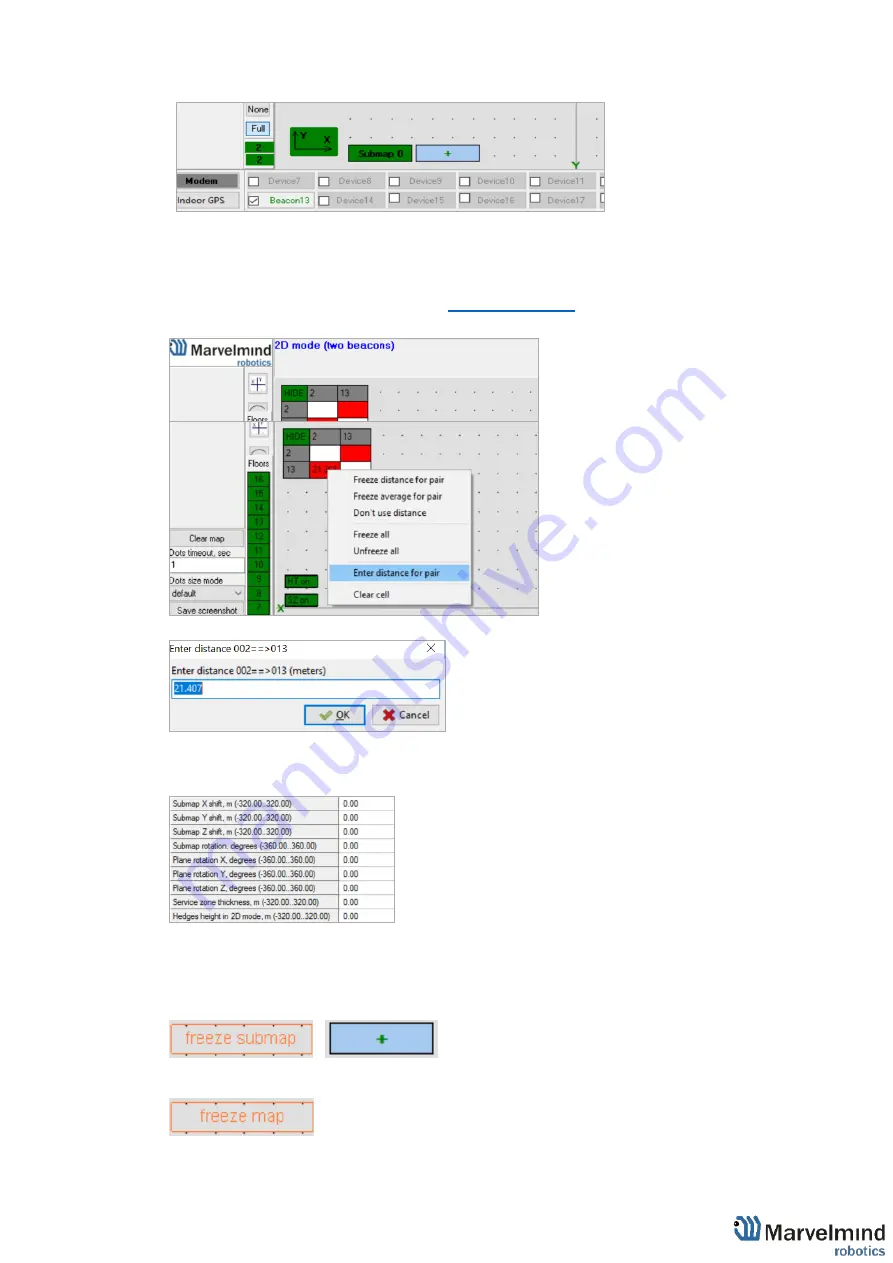
After that, you need to freeze the selected submap, create the next one by pressing the
“+” button, make it active and repeat the operations starting from adding beacons to the
new submap.
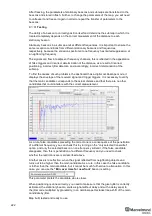
When all the submaps are installed and frozen, you need to turn on all mobile beacons,
add them to the card and freeze the map.
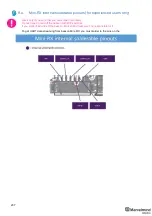
Содержание Mini-RX
Страница 1: ...Marvelmind Indoor Navigation System Operating manual v2020_12_14 www marvelmind com ...
Страница 16: ...16 HW v4 9 beacon with Mini TX size comparison Beacon Industrial RX Beacon Industrial Super ...
Страница 30: ...30 Figure 6 Two external microphone connection ...
Страница 34: ...34 Figure 9 One external microphone soldering Figure 10 Two external microphones soldering ...
Страница 36: ...36 Figure 13 Two external microphones final view Figure 14 Two external microphones final view ...
Страница 60: ...60 Help video https www youtube com watch v NHUnCtJIYXc ...
Страница 69: ...69 The system is now fully operational ...
Страница 97: ...97 The system is now fully operational ...
Страница 106: ...106 The system is now fully operational ...
Страница 115: ...115 The system is now fully operational ...
Страница 136: ...136 Advanced settings TBD Enabling will allow direction along with location TBD TBD TBD ...
Страница 171: ...171 Floor 5 is enabled Floor 4 is enabled ...
Страница 175: ...175 Z X ...
Страница 190: ...190 Choose color and press OK Color applied Now background matches floorplan ...
Страница 192: ...192 Choose any color which suits you and press OK Now the hedgehog and its tracking path will be colored ...
Страница 196: ...196 7 18 IMU axis positioning Super Beacon IMU axis positions HW v4 9 IMU axis positions ...
Страница 197: ...197 Mini TX IMU axis positions Mini RX beacon IMU axis positions ...
Страница 201: ...201 Real time player turned on ...
Страница 204: ...204 8 1 Super beacon external interface pinout top view ...
Страница 205: ...205 8 2 Beacon HW v4 9 external interface 4x4 pinout top view ...
Страница 206: ...206 8 3 Modem HW v4 9 external interface pinout top view ...
Страница 225: ...225 How to change modes Choose hedge Go to Ultrasound TDMA mode Left mouse button click to change ...
Страница 240: ...240 Right mouse button on it Set movement path Shift Left mouse click to add point ...
Страница 241: ...241 Shift Left mouse click on point to remove that point Click on Upload path to send it to robot Path loaded ...
Страница 250: ...250 Contacts For additional support please send your questions to info marvelmind com ...

