220
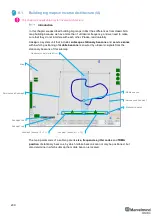
Map building
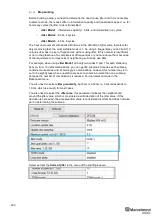
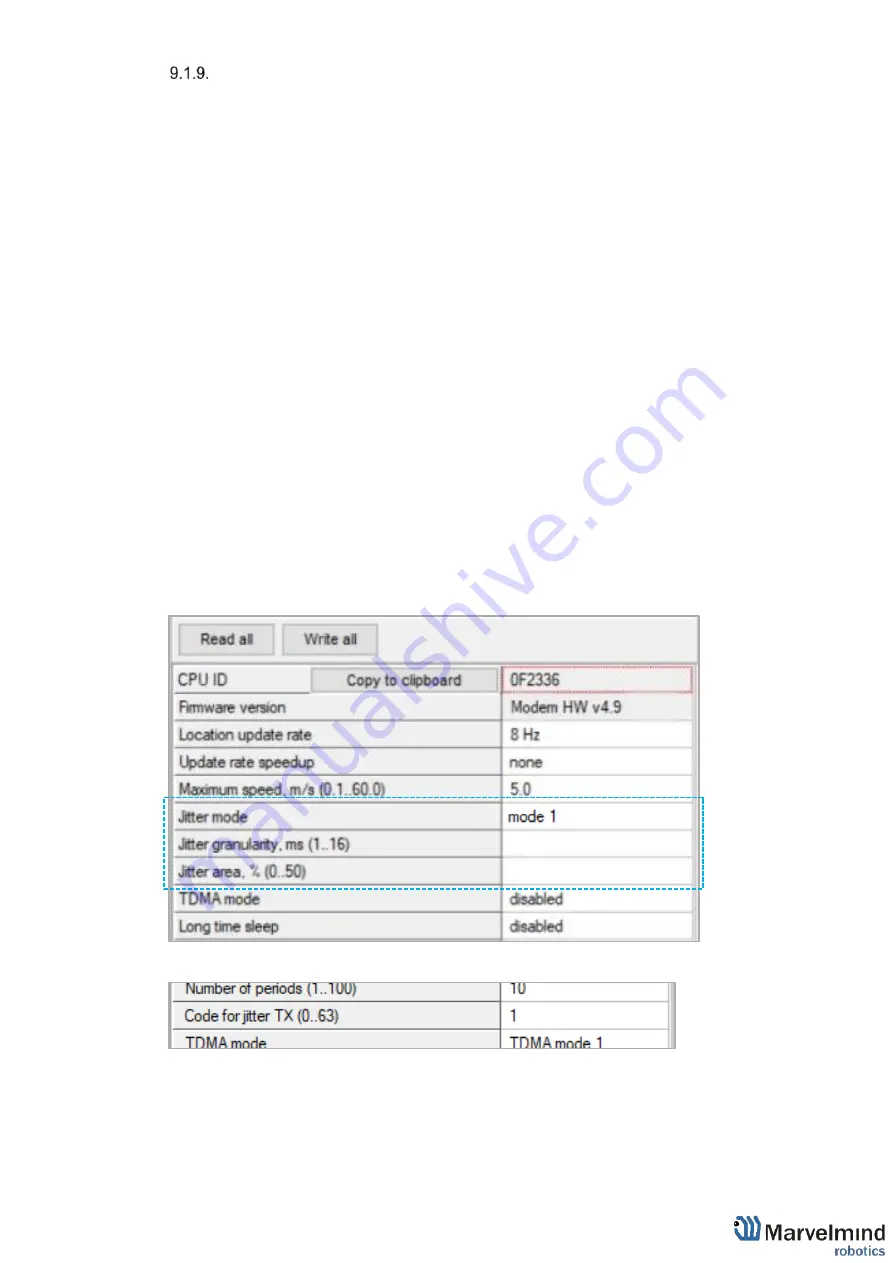
Before building a map, you need to determine the need to use jitter and if it is necessary
to select a mode, the modes differ in information capacity and transmission speed, i.e. for
how many cycles the jitter code is transmitted:
-
Jitter Mode1
- information capacity = 6 bits, and transmitted in 2 cycles.
-
Jitter Mode2
- 8 bits, 4 cycles.
-
Jitter Mode3
- 4 bits, 8 cycles.
The beacon movement introduces distortions in the definition of jitter code, therefore for
objects moving fast, the most suitable mode is 1. So using 5 frequencies you can build 10
unique sub-maps in a set of frequencies, without using jitter, if this number is insufficient
or not in the presence of a complete set of frequencies or you cannot use them because
of the requirement of uniqueness of neighboring sub-maps, use jitter.
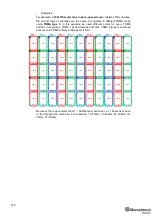
For example, when using
Jitter Mode1
and only two codes 0 and 1 for each stationary
beacon, from 10 initial combinations, you can get 40 submaps, because each submap
contains two beacons and, accordingly, 4 combinations, however this number may turn
out to be slightly less when one stationary beacon enters into more than one submap,
because the number of combinations is reduced. You can select a mode in the
Dashboard menu.
You also need to select
Jitter granularity
, each ms is 0.343m i.e. 3ms corresponds to
1.03m, which is enough for most cases.
You also need to select the
Jitter area
, this parameter indicates the neighborhood
around the jitter value, which is considered a valid deviation of the jitter value, if this
deviation is exceeded, the accepted jitter value is considered incorrect and does not take
part in determining the submap.
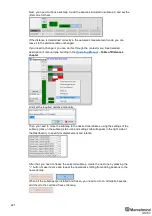
Select and set the
Code of jitter
in the menu of the emitting beacon
3
35
Содержание Mini-RX
Страница 1: ...Marvelmind Indoor Navigation System Operating manual v2020_12_14 www marvelmind com ...
Страница 16: ...16 HW v4 9 beacon with Mini TX size comparison Beacon Industrial RX Beacon Industrial Super ...
Страница 30: ...30 Figure 6 Two external microphone connection ...
Страница 34: ...34 Figure 9 One external microphone soldering Figure 10 Two external microphones soldering ...
Страница 36: ...36 Figure 13 Two external microphones final view Figure 14 Two external microphones final view ...
Страница 60: ...60 Help video https www youtube com watch v NHUnCtJIYXc ...
Страница 69: ...69 The system is now fully operational ...
Страница 97: ...97 The system is now fully operational ...
Страница 106: ...106 The system is now fully operational ...
Страница 115: ...115 The system is now fully operational ...
Страница 136: ...136 Advanced settings TBD Enabling will allow direction along with location TBD TBD TBD ...
Страница 171: ...171 Floor 5 is enabled Floor 4 is enabled ...
Страница 175: ...175 Z X ...
Страница 190: ...190 Choose color and press OK Color applied Now background matches floorplan ...
Страница 192: ...192 Choose any color which suits you and press OK Now the hedgehog and its tracking path will be colored ...
Страница 196: ...196 7 18 IMU axis positioning Super Beacon IMU axis positions HW v4 9 IMU axis positions ...
Страница 197: ...197 Mini TX IMU axis positions Mini RX beacon IMU axis positions ...
Страница 201: ...201 Real time player turned on ...
Страница 204: ...204 8 1 Super beacon external interface pinout top view ...
Страница 205: ...205 8 2 Beacon HW v4 9 external interface 4x4 pinout top view ...
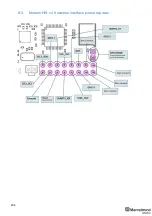
Страница 206: ...206 8 3 Modem HW v4 9 external interface pinout top view ...
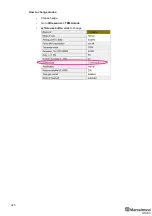
Страница 225: ...225 How to change modes Choose hedge Go to Ultrasound TDMA mode Left mouse button click to change ...
Страница 240: ...240 Right mouse button on it Set movement path Shift Left mouse click to add point ...
Страница 241: ...241 Shift Left mouse click on point to remove that point Click on Upload path to send it to robot Path loaded ...
Страница 250: ...250 Contacts For additional support please send your questions to info marvelmind com ...

