F5 3D Imaging System User Manual
107
▪
Double-click repeatedly until the required points are selected. The
measurement is based on the last three selected points. Therefore, if a
point is mistakenly selected, double-click three more times to overwrite
the previous three points.
▪
Press Enter. The circle measurement is entered into the History pane and
the subparts are entered into the Primitives pane.
▪
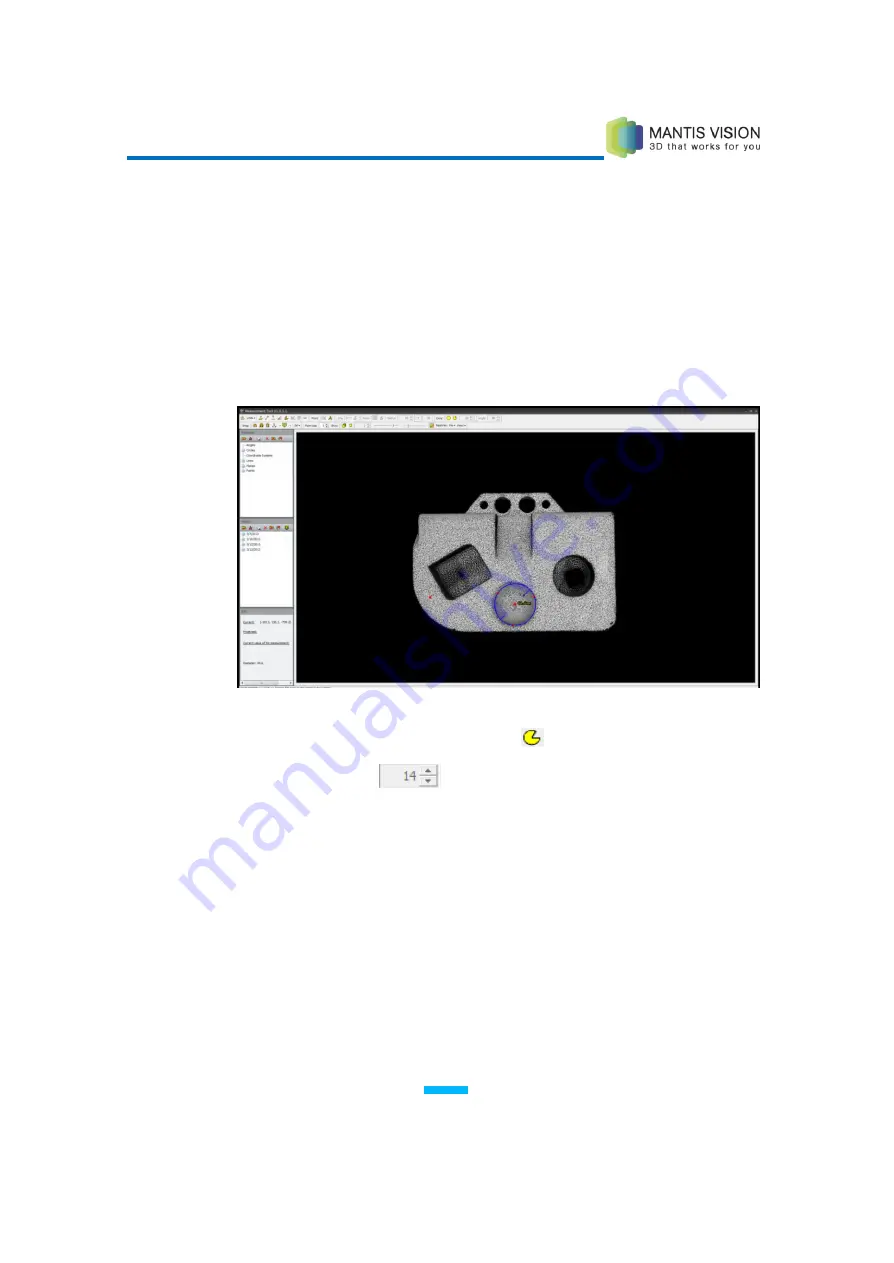
The circle’s information in the History and Primitives panes is defined as
the center point of the circle.
Figure 102: Diameter of a Free-form Circle
5
When the Choose a Point and a diameter
option is selected:
▪
Adjust the Circle
field value to reflect the preferred diameter.
▪
Select a point in the point cloud (the center point of the circle).
▪
Press Enter. The circle measurement is entered into the History pane and
the subparts are entered into the Primitives pane.
▪
The circle’s information in the History and Primitives panes is defined as
the center point of the circle.
Содержание F5-B
Страница 71: ...F5 3D Imaging System User Manual 71 Figure 58 Stitching Window and Side Panel Segment Tab ...
Страница 116: ...F5 3D Imaging System User Manual 116 Figure 109 KaplaVision Desktop Icon ...
Страница 119: ...F5 3D Imaging System User Manual 119 Figure 112 Calibration Camera Calibration Wall EPI Calibration page 123 ...
Страница 120: ...F5 3D Imaging System User Manual 120 Figure 113 Calibration EPI Calibration RIG Calibration page 123 ...
Страница 125: ...F5 3D Imaging System User Manual 125 Blank page for double sided printing ...


