8
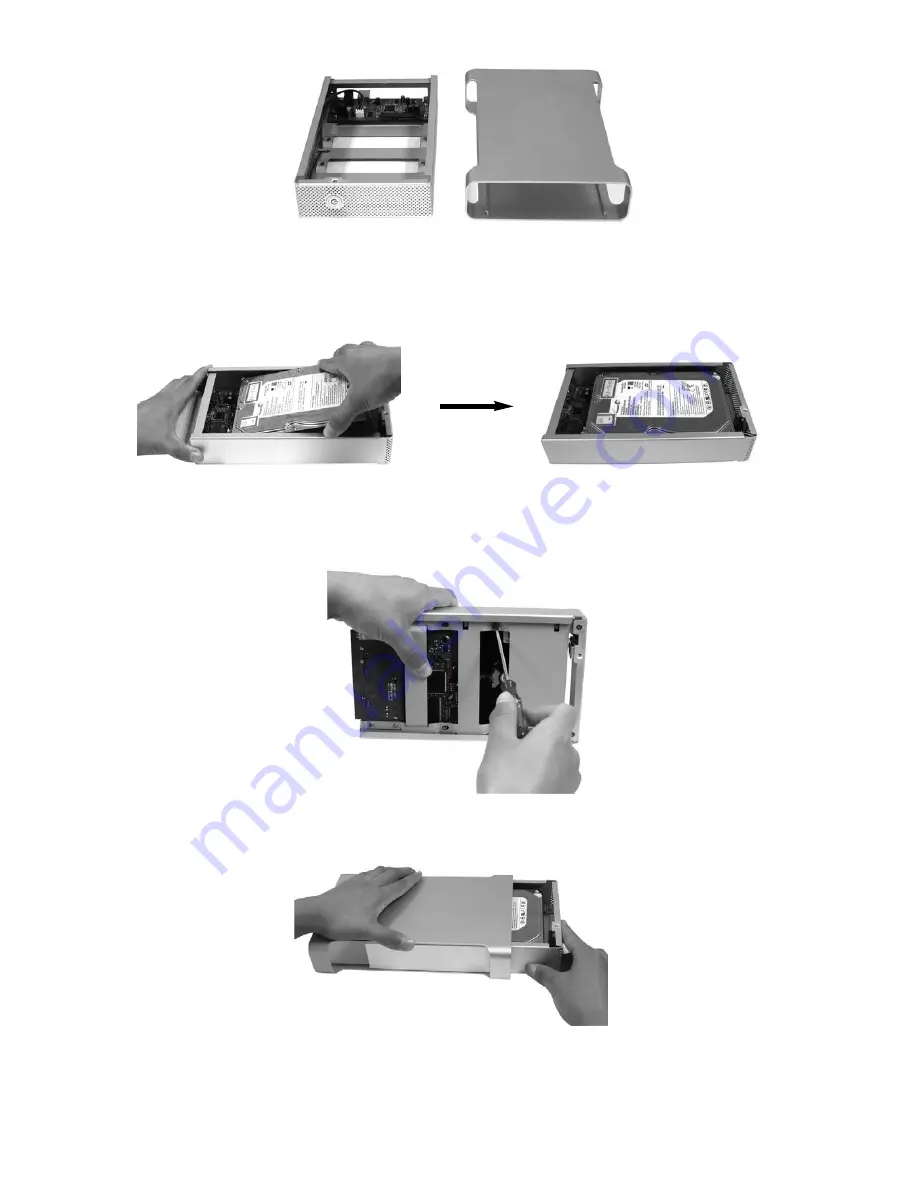
3. Separate the enclosure sleeve from the Base Tray then put it aside.
4. Align the black Power/SATA connector on the hard drive to the black female SATA connector on
the Base Tray bridge board and then push the drive completely into the connector. Carefully seat the
whole drive on the Base plate.
5. Secure the HDD to the Base Tray with 2 hard drive screws.
6. Push the Base Tray with the HDD completely into the Enclosure Sleeve.
Содержание G-S350UN
Страница 1: ...1 Network Attached Storage And USB2 0 Enclosure for 3 5 Serial ATA Hard Drive G S350UN User s Manual...
Страница 14: ...14 Please enter admin as Username and Password...
Страница 37: ...37 FTP Log DHCP Server Log System Log Administration Log...
Страница 48: ...48 Step1 click on Set Up Printers button Step 2 click on Add button...
Страница 51: ...51 Step2 Select IP Printer then click on More Printers button Step 3 Select Windows Printing...
Страница 54: ...54 Step 8 Example printing choose lp as printer Step 9 Print job is executed For MacOS 10 5...
Страница 55: ...55 Step 1 Click on button Step2 Select Windows then click on workgroup...
Страница 56: ...56 Step 3 Find gbnas in the list and click on it Step 4 Enter password for admin click on Connect button...
Страница 59: ...59 Step 9 Example printing select lp as the printer Step 10 The print job is executed successfully...


