10
Initial NAS Setup
In the network connection, G-S350UN is preset to obtain a dynamic IP address from your local DHCP
server. If there is a DHCP server to assign IP address to a network device, G-S350UN will obtain a
dynamic IP address automatically. If this is the case you can go to the next section “Administration of the
NAS” directly. However we highly recommend you to configure a fixed IP address to the G-S350UN.
Otherwise, if DHCP server is not available in your network, or for certain reason it couldn’t grab an IP
address automatically, G-S350UN uses its default IP address 192.168.1.202 with subnet 255.255.255.0.
If this default IP does not fit into your LAN environment, most likely it won’t fit, there are ways to help you
to configure the NAS through a PC and Mac computer. Please follow the steps below to manually
configure a fixed IP address to G-S350UN.
Configuring a Fixed IP Address to the NAS in PC
1. Please load the NAS software CD and copy SetupUtil.exe file to the Windows desktop. If the
software CD is not available, you can visit
http://www.macally.com/EN/Techsupport/
to download
NAS Setup Utility file (SetupUtil.exe), save the file to the desktop then expand the zip file.
2. Confirm that G-S350UN is connected to the network and power is turned on. From a networked
Windows PC, or Boot Camp/Parallel Desktop running Windows in Intel-Based Mac, run the
SetupUtil.exe.
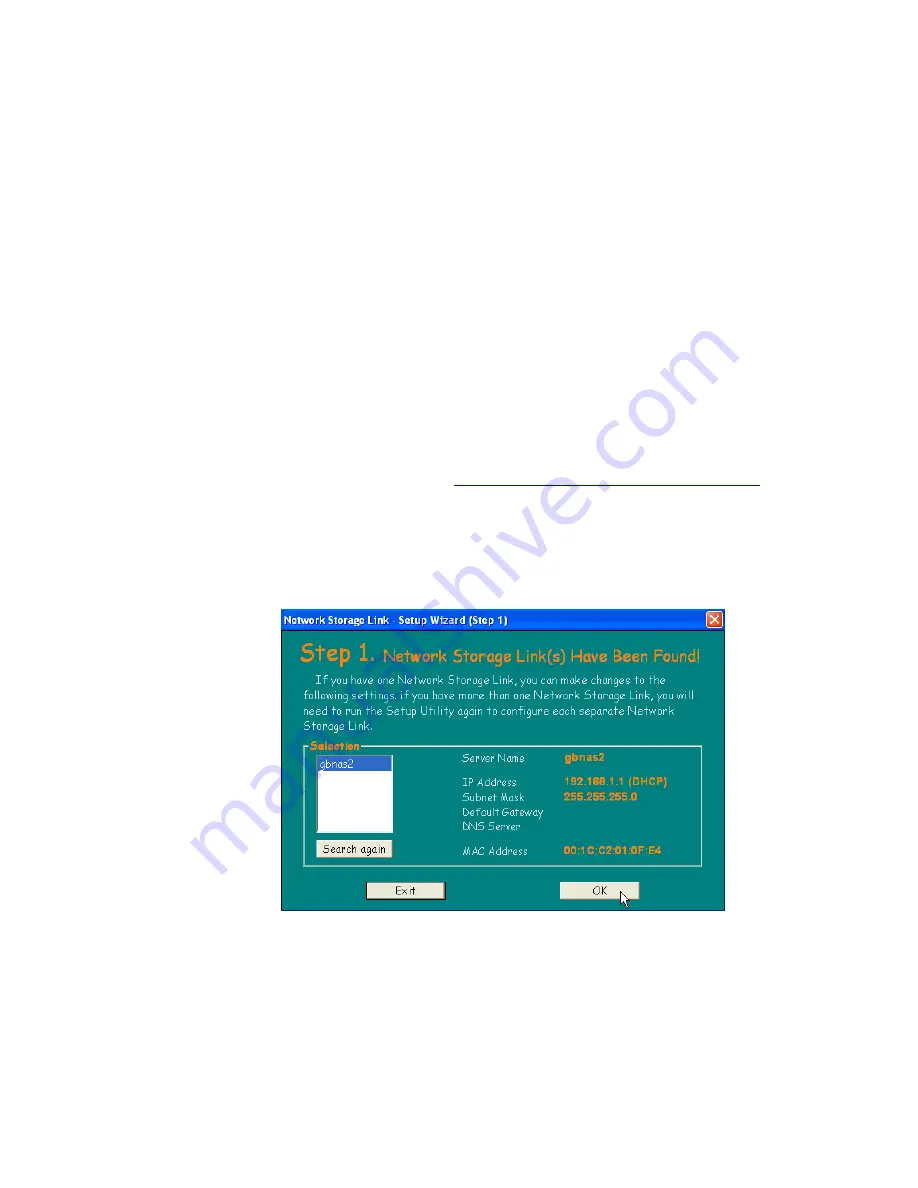
3. Above Setup Wizard window appears and should displays G-S350UN(listed as name “gbnas”). If
you don’t see “gbnas” listed, please click on “Search again” button until “gbnas” appears.
Содержание G-S350UN
Страница 1: ...1 Network Attached Storage And USB2 0 Enclosure for 3 5 Serial ATA Hard Drive G S350UN User s Manual...
Страница 14: ...14 Please enter admin as Username and Password...
Страница 37: ...37 FTP Log DHCP Server Log System Log Administration Log...
Страница 48: ...48 Step1 click on Set Up Printers button Step 2 click on Add button...
Страница 51: ...51 Step2 Select IP Printer then click on More Printers button Step 3 Select Windows Printing...
Страница 54: ...54 Step 8 Example printing choose lp as printer Step 9 Print job is executed For MacOS 10 5...
Страница 55: ...55 Step 1 Click on button Step2 Select Windows then click on workgroup...
Страница 56: ...56 Step 3 Find gbnas in the list and click on it Step 4 Enter password for admin click on Connect button...
Страница 59: ...59 Step 9 Example printing select lp as the printer Step 10 The print job is executed successfully...


