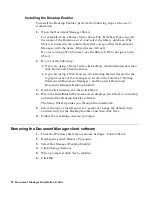
Installing the Desktop Enabler
To install the Desktop Enabler, perform the following steps at the user’s
workstation:
1.
Open the Document Manager library.
For example, from a Notes client, choose File - Database Open, specify
the name of the Domino server, and select the library database. (The
library is located in the subdirectory that you specified for Document
Manager, with the name <libraryname>Lib.nsf.)
If you are using a Web browser, use the library URL to navigate to the
library.
2.
Do one of the following:
•
If you are using a Notes client, click Library Administration and then
click Download Client Software.
•
If you are using a Web browser, click Getting Started (located in the
top right corner of the workspace), scroll to the bottom of “Getting
Started with Document Manager,” and then click Download
Document Manager Desktop Enabler.
3.
Double-click ddsetup.exe, then click Open.
4.
When the InstallShield Welcome screen displays, click Next to run Setup
and install the Desktop Enabler software.
The Setup Wizard guides you through the installation.
5.
Select the type of install you want, accept or change the default drive
and directory for the Desktop Enabler, and then click Next.
6.
Follow the remaining onscreen prompts.
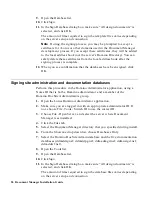
Removing the Document Manager client software
1.
From the Windows Start menu, choose Settings - Control Panel.
2.
Double-click Add/Remove Programs.
3.
Select Doc Manager Desktop Enabler.
4.
Click Change/Remove.
5.
When prompted, click Yes to confirm.
6.
Click OK.
92 Document Manager Installation Guide

