Action
Yes
No
Step 8
a
Make sure that the printer is not overheating.
Notes:
•
Allow the printer to cool down after a long print job.
•
Observe the recommended ambient temperature for the
printer. For more information, see
.
b
Print the document.
Is the printer printing slow?
Contact
The problem is
solved.
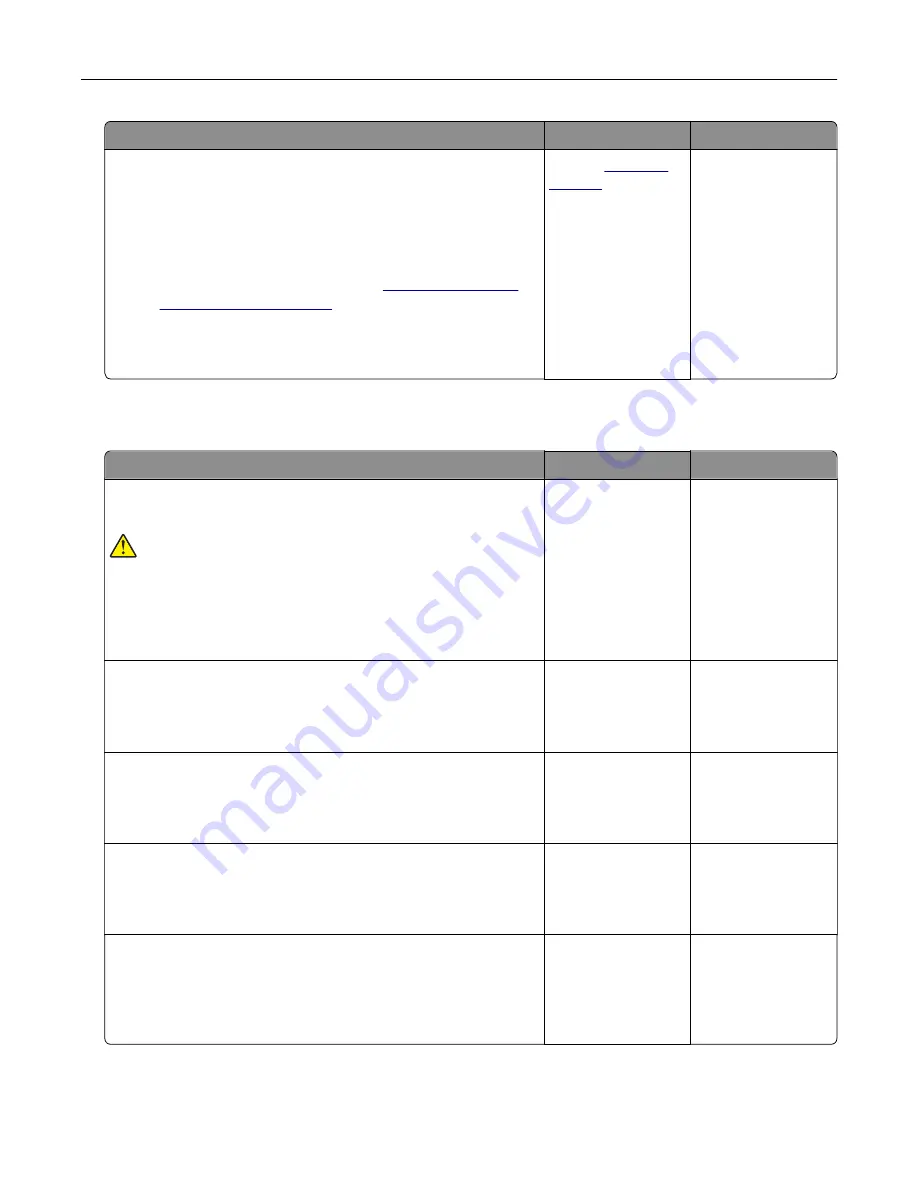
The printer is not responding
Action
Yes
No
Step 1
Check if the power cord is connected to the electrical outlet.
CAUTION—POTENTIAL INJURY:
To avoid the risk of fire or
electrical shock, connect the power cord to an appropriately
rated and properly grounded electrical outlet that is near the
product and easily accessible.
Is the printer responding?
The problem is
solved.
Go to step 2.
Step 2
Check if the electrical outlet is turned off by a switch or breaker.
Is the electrical outlet turned off by a switch or breaker?
Turn on the switch or
reset the breaker.
Go to step 3.
Step 3
Check if the printer is on.
Is the printer on?
Go to step 4.
Turn on the printer.
Step 4
Check if the printer is in Sleep or Hibernate mode.
Is the printer in Sleep or Hibernate mode?
Press the power
button to wake the
printer.
Go to step 5.
Step 5
Check if the cables connecting the printer and the computer are
inserted to the correct ports.
Are the cables inserted to the correct ports?
Go to step 6.
Insert the cables to
the correct ports.
Troubleshoot a problem
210
Содержание XM3142
Страница 1: ...MX432 XM3142 MFPs User s Guide October 2022 www lexmark com Machine type 7019 Models 6w6 6w9...
Страница 54: ...4 Locate the ISD connector 5 Insert the card to the ISD connector Set up install and con gure 54...
Страница 154: ...Printing the Menu Settings Page From the home screen touch Settings Reports Menu Settings Page Use printer menus 154...
Страница 161: ...2 Remove the used imaging unit Maintain the printer 161...
Страница 164: ...3 Open the front door 4 Remove the imaging unit 5 Close the front door 6 Remove the tray Maintain the printer 164...
Страница 169: ...4 Insert the new separator pad until it clicks into place 5 Close the door Maintain the printer 169...
Страница 173: ...3 Open the front door 4 Remove the imaging unit 5 Close the front door 6 Remove the tray Maintain the printer 173...
Страница 219: ...9 Open the multipurpose feeder 10 Flex fan and align the paper edges before loading Troubleshoot a problem 219...


