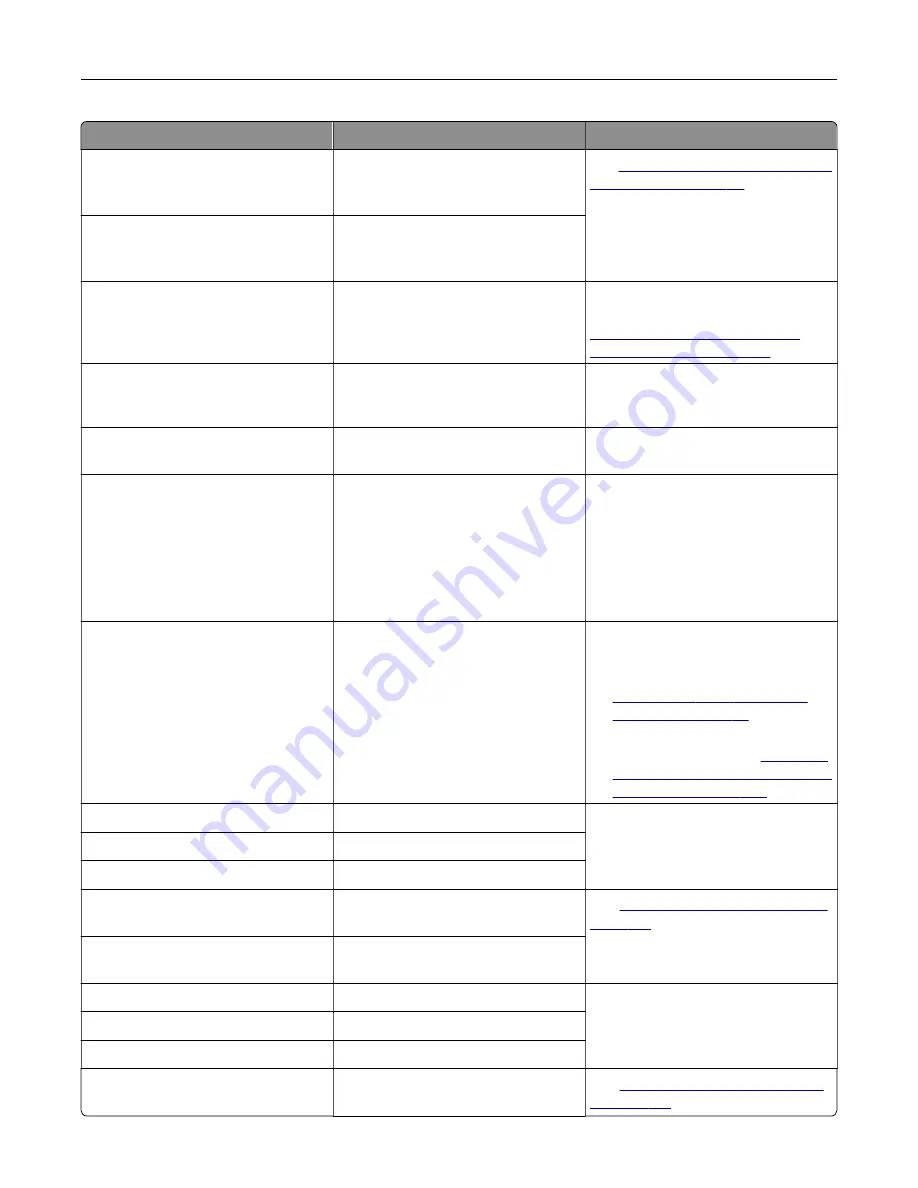
Error codes
Error message
Solution
71.01
Fax Station Name not set
up. Contact system
administrator.
See
“Setting up the fax function using
.
71.02
Fax Station Number not set
up. Contact system
administrator.
71.03
No analog phone line
connected to modem, fax is
disabled.
Check the connection and the line for
a signal. For more information, see
“Setting up fax using a standard
telephone line” on page 32
.
71.06
Unable to connect to HTTPS
Fax Server.
Connection to HTTPS Fax Server is
disconnected. Check the Internet
connection of the printer.
71.12
Memory full, cannot print
faxes.
Touch
Print All
to print as many of the
faxes as have been saved.
71.13
Memory full. Cannot send
faxes.
Try one or more of the following:
•
Continue and try sending the fax
again.
•
Scan the original document one
page at a time, dial the fax
number, and then scan the
document.
72.01
E-mail SMTP server not set
up. Contact system
administrator.
Try either of the following:
•
Set up your e
‑
mail function. For
more information, see
•
Disable the error message. For
more information, see
the 'SMTP server not set up' error
message” on page 236
84.00, 84.01, 84.02, 84.09
Imaging unit nearly low.
Touch
Continue
to clear the
message.
84.11, 84.12, 84.13, 84.19
Imaging unit low.
84.21, 84.22, 84.23, 84.29
Imaging unit very low.
84.31, 84.32, 84.33
Replace imaging unit,
recommended life exceeded.
See
“Replacing the imaging unit” on
84.41, 84.42, 84.43
Replace imaging unit to
continue printing.
88.00, 88.09
Cartridge nearly low.
Touch
Continue
to clear the
message.
88.10, 88.19
Cartridge low.
88.20, 88.29
Cartridge very low.
88.40, 88.48
Replace cartridge, 0 pages
remain.
See
“Replacing the toner cartridge”
.
Troubleshoot a problem
183
Содержание XM3142
Страница 1: ...MX432 XM3142 MFPs User s Guide October 2022 www lexmark com Machine type 7019 Models 6w6 6w9...
Страница 54: ...4 Locate the ISD connector 5 Insert the card to the ISD connector Set up install and con gure 54...
Страница 154: ...Printing the Menu Settings Page From the home screen touch Settings Reports Menu Settings Page Use printer menus 154...
Страница 161: ...2 Remove the used imaging unit Maintain the printer 161...
Страница 164: ...3 Open the front door 4 Remove the imaging unit 5 Close the front door 6 Remove the tray Maintain the printer 164...
Страница 169: ...4 Insert the new separator pad until it clicks into place 5 Close the door Maintain the printer 169...
Страница 173: ...3 Open the front door 4 Remove the imaging unit 5 Close the front door 6 Remove the tray Maintain the printer 173...
Страница 219: ...9 Open the multipurpose feeder 10 Flex fan and align the paper edges before loading Troubleshoot a problem 219...


