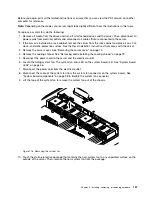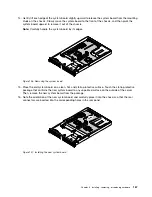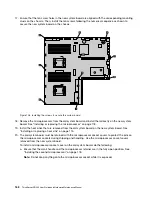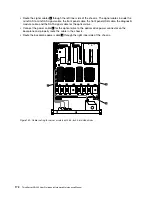
14. Gently lift each edge of the system board slightly upward to release the system board from the mounting
studs on the chassis. Slowly move the system board to the front of the chassis, and then pivot the
system board upward to remove it out of the chassis.
Note:
Carefully handle the system board by its edges.
ID
Mem
CPU
PSU
Figure 126. Removing the system board
15. Place the old system board on a clean, flat, and static-protective surface. Touch the static-protective
package that contains the new system board to any unpainted surface on the outside of the server.
Then, remove the new system board from the package.
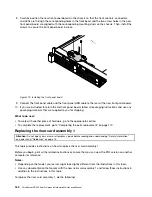
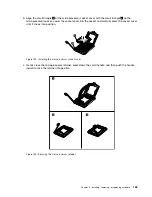
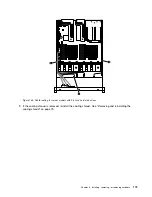
16. Note the orientation of the new system board and carefully place it into the chassis so that the rear
connectors are inserted into the corresponding holes in the rear panel.
ID
M
e m
C
PU
P S
U
Figure 127. Installing the new system board
Installing, removing, or replacing hardware
167
Содержание ThinkServer RD340
Страница 18: ...6 ThinkServer RD340 User Guide and Hardware Maintenance Manual ...
Страница 84: ...72 ThinkServer RD340 User Guide and Hardware Maintenance Manual ...
Страница 188: ...176 ThinkServer RD340 User Guide and Hardware Maintenance Manual ...
Страница 198: ...186 ThinkServer RD340 User Guide and Hardware Maintenance Manual ...
Страница 214: ...202 ThinkServer RD340 User Guide and Hardware Maintenance Manual ...
Страница 215: ......
Страница 216: ......


