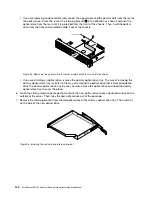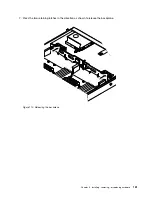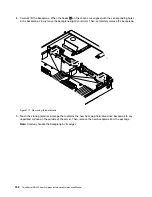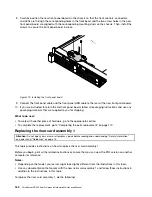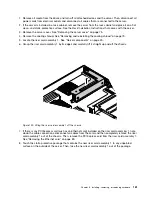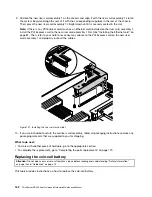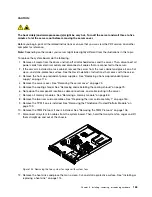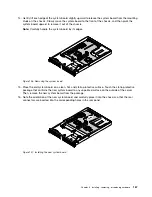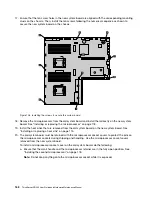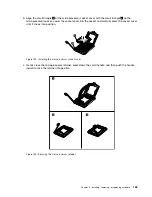
11. Press the two retaining latches as shown. Then, the backplane is secured in place.
Figure 113. Securing the backplane
12. Reinstall all the hot-swap hard disk drives and dummy trays (if any) in the hard-disk-drive bays. See
“Installing or replacing a hot-swap hard disk drive” on page 127.
13. Refer to your note to connect the cables to the new backplane.
14. If you are instructed to return the old hot-swap hard-disk-drive backplane, follow all packaging
instructions and use any packaging materials that are supplied to you for shipping.
What to do next:
• To work with another piece of hardware, go to the appropriate section.
• To complete the replacement, go to “Completing the parts replacement” on page 170.
Replacing the Intelligent Diagnostics Module
Attention:
Do not open your server or attempt any repair before reading and understanding “Safety information”
on page iii and “Guidelines” on page 73.
This topic provides instructions on how to replace the Intelligent Diagnostics Module (hereinafter referred to
as the IDM).
The IDM provides diagnostic LEDs through the IDM panel to help you easily identify a problem. For more
information, see “Intelligent Diagnostics Module” on page 22.
154
ThinkServer RD340 User Guide and Hardware Maintenance Manual
Содержание ThinkServer RD340
Страница 18: ...6 ThinkServer RD340 User Guide and Hardware Maintenance Manual ...
Страница 84: ...72 ThinkServer RD340 User Guide and Hardware Maintenance Manual ...
Страница 188: ...176 ThinkServer RD340 User Guide and Hardware Maintenance Manual ...
Страница 198: ...186 ThinkServer RD340 User Guide and Hardware Maintenance Manual ...
Страница 214: ...202 ThinkServer RD340 User Guide and Hardware Maintenance Manual ...
Страница 215: ......
Страница 216: ......

