32
13.3) FUNCTIONS AND ADJUSTMENTS
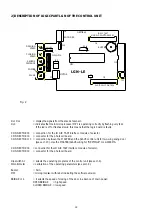
After installing the device and completing the initial set-up, proceed with the adjustments by selecting the parameters required
to synchronize the system.
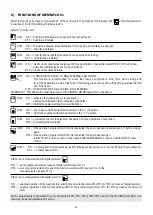
13.3.1) HOW TO ADJUST THE MASTER ACTUATOR
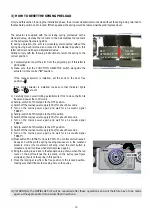
A) Connect digital selector to the MASTER control unit without forgetting to fit the LOGIC TAST module into connector J8 of the
control unit.
B) Access the programming mode via digital selector (the procedure is explained in sect. 9.2), then go to dipswitch S2 (see sect.
7).
C) If the door wing must be delayed on starting (overlapping wings), set dipswitch 5 ON, otherwise set dipswitch 5 OFF if the
wings must both move at the same time.
D) Set dipswitch 6 OFF to configure the control unit as the MASTER.
E) Set dipswitch 7 ON to enable the control unit to operate in the “DOUBLE WING DOOR” mode.
F) Quit the programming function via digital selector, memorizing the data (the procedure is described in sect. 9.2). The control
unit issues 2 beeps.
G)The control unit has now been set up to operate as MASTER for a door with two wings.
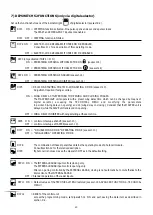
13.3.2) HOW TO ADJUST THE SLAVE ACTUATOR
A) Connect digital selector to the SLAVE control unit, without forgetting to fit the LOGIC TAST module into connector J8 of t h e
control unit
B) Access the programming mode via digital selector (the procedure is explained in sect. 9.2) and go to dipswitch S2 (see sect.
7).
C) Set dipswitch 6 ON to configure the control unit as the SLAVE.
D) Set dipswitch 7 ON to enable the control unit to operate in the “DOUBLE-WING DOOR” mode.
E) Quit the programming function via digital selector, memorizing the data (the procedure is described in sect. 9.2). The control
unit issues 2 beeps.
F) The control unit has now been set up to operate as SLAVE for a door with two wings.
13.3.3) HOW TO CHECK THE WAY THE DOOR OPERATES
!
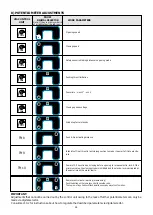
After having powered the two actuators, select the required function with the dipswitches and adjust the potentiometers as
described in sect. 6, 7 and 8. Remember that some of the settings must only be made on the MASTER control unit while
others must be made on both the MASTER and SLAVE.
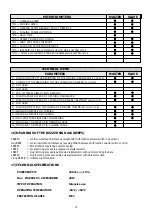
Carefully consult the TABLE in sect. 15, which shows, for each parameter, whether the adjustment concerns both the
control units or just the MASTER.
!
If the door wings must be delayed on starting, set potentiometer TM2 (closing speed) of the MASTER control unit to a lower
level (about half) than potentiometer TM2 of the SLAVE control unit. However, the MASTER actuator will start closing at a
lower speed so that the SLAVE actuator can access the final wing slowing phase without reaching the overlapping point of the
wings during its travel. If, during the closing phase, the wings should near each other below the selected delay time owing to
sudden friction for example, the direction of the wings would be reversed.
!
Lastly choose the required work program with the function selector device used (manual selector, digital selector or the simple
function selector switch). Remember that this latter must be connected to the MASTER control unit.
!
Now check the movement of the door by activating the opening manoeuvre and making sure that all the control and safety
parts of the device operate correctly
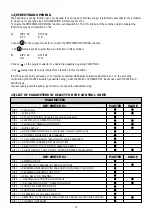
To change the preset delay between the wings, use digital selector and connect it to the MASTER control unit, then access the
TECHNICAL MENU (see sect. 18 TECHNICAL MENU) and modify the values in points 13 (wing delay on opening) and 14 (wing
delay on closing). The hold time with the door open must only be regulated by potentiometer TM5 of the MASTER control unit.
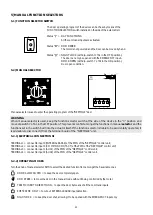
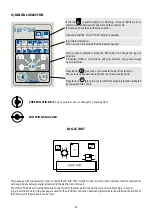
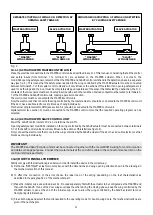
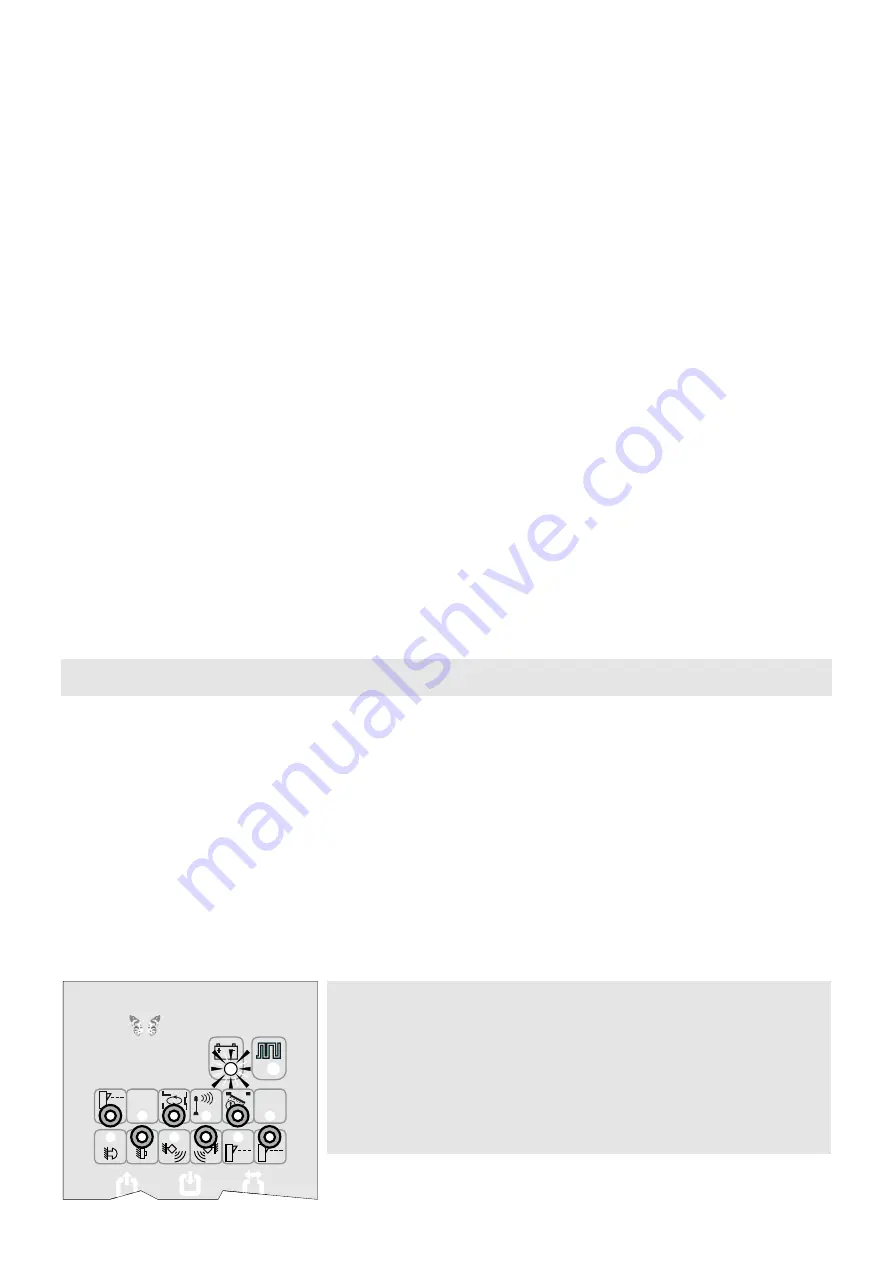
WARNING:
If digital selector displays the following condition, it means that a
communication fault has been detected between the MASTER and SLAVE
control units. If this happens, check the connections of wiring WR3MS in
both control units, check the settings made on dipswitches 6 and 7 of S2
and reset the system.
If digital selector is not used, lack of communication between the two
control units would be shown by the fact that the MASTER actuator would
remain open and the SLAVE closed.
3
AUX
AUX
L1
2
1
E
I
Nepti
Nep
ti
S
Содержание NEPTIS/LE
Страница 4: ...MECHANICAL SECTION NEPTIS LE 550 110 120 Nepti N e p t i S ...
Страница 14: ...notes ...
Страница 15: ...ELECTRONIC SECTION NEPTIS LE Nepti N e p t i S ...
Страница 38: ...notes ...
Страница 39: ......

