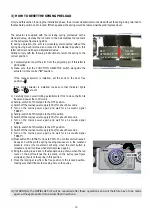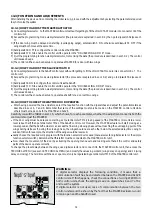
4) HOW TO SET THE DEVICE AT WORK (INITIAL SET-UP)
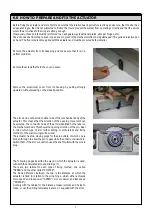
After having fixed the device to the door and loaded the spring (only for the SW version), move the wing as far as it will go by
hand. Make sure that the movement is smooth, fluid, without friction and that it ends with the door fully against an end rabbet.
Proceed with the initialization phase (initial set-up). This operation is obligatory as it allows the control unit to acquire the
stop points. Strictly comply with the following instructions:
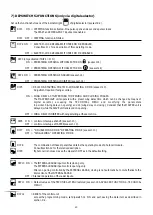
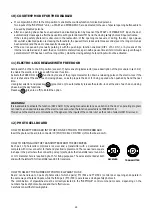
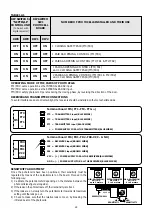
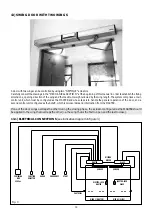
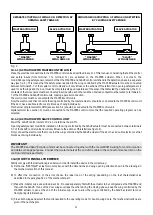
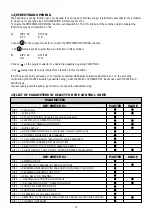
a) Make sure that the device is not powered and that the dip-switches of S1 are in the OFF status.
b) Move dip-switch 6 of S1 to the ON position and the FUNCTION SELECTOR switch to “|” (day functions).
c)
Move dip-switch 4 of S1 to the ON position, but only if the electro-lock is installed.
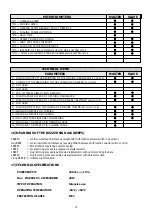
d) Set the door to the closing status.
e) Powerthe device: the power unit gives 3 bips, the last two immediately following one another.
WARNING!
During the initial set-up, the door moves with more force than the normal operating conditions. Proceed with care and keep well
clear of the door's operating range.
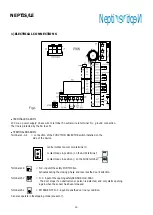
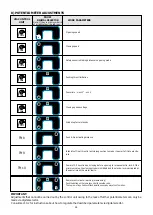
f) Press button PS1 (start input) on board PWN.
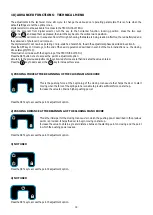
g)
the door will complete a full opening cycle at slow speed.
Once this manoeuvre has terminated, a prolonged BIP will indicate that the procedure has ended.
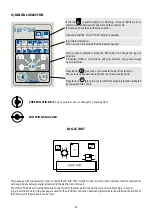
Door closing occurs at the end of the pause time.
the door will push lightly closed and will then proceed with a complete
opening / closing cycle at slow speed.
Once the door has closed, a prolonged BIP will indicate that the procedure has ended.
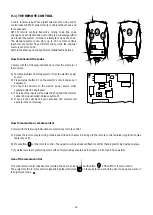
IMPORTANT:
during the initializing phase, there must be no obstructions in the manoeuvring area and the door
must not be helped along by hand.
Once the initial set-up has terminated, make an opening manoeuvre by means of a command input and check the movements
according to the default settings.
SAFETY:
The thrusting force of the door can be checked during the starting phase and at various stages of its movement by
listening to the buzzer and the indications given by the warning light of digital selector. The effective intensity of this
thrusting movement can be checked by obstructing the movement in order to stop the door and reverse its direction.
Potentiometer TM4 on board LGN can be used to vary the power of the door thrusting action and to accurately set the required
activation limit.
A brief signal from the buzzer during the starting up phase only, indicates that the thrusting power setting is good.
Set dip-switch 6 of S1 to the OFF position to inhibit the power limiting buzzer.
Lastly, select the required functions, set the speed, time settings and distances to optimize the operation of the door to suit
personal requirements.
4.1) HOW TO CANCEL A PREVIOUS INITIAL SETUP
If wing travel, door weight or spring loading are changed, the initializing phase of the control unit must be repeated.
Proceed in the following way:
1. Disconnect the power source, then set dip-switch 6 of S1 to the OFF status and power the control unit.
2. After the initial bip, set dip-switch 6 of S1 to the ON status and disconnect the power source.
3. Power the control unit, wait for the initial bip and set dip-switch 6 of S1 to the OFF status.
4. Shut off the power supply;
5. The previous initial setting will be cancelled;
6. Repeat the previous operations from point a) to point g) to enter the initial setup again.
if dip 5 OFF (closing only by spring):
if dip 5 ON (closing by spring and by motor) :
20
L1
Содержание NEPTIS/LE
Страница 4: ...MECHANICAL SECTION NEPTIS LE 550 110 120 Nepti N e p t i S ...
Страница 14: ...notes ...
Страница 15: ...ELECTRONIC SECTION NEPTIS LE Nepti N e p t i S ...
Страница 38: ...notes ...
Страница 39: ......

