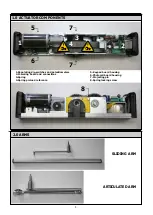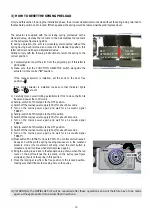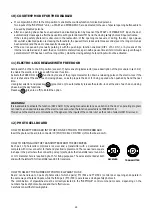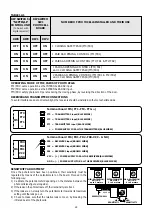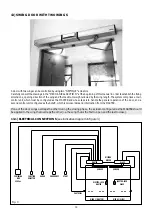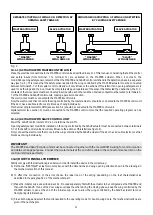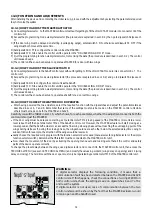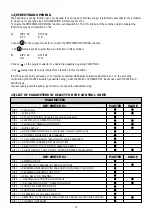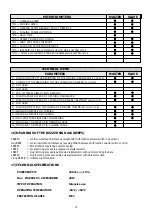
The actuator is supplied with the reclosing spring preloaded with a
standard value, whereby the red mark on the belt matches the red mark
on the pulley (see figure alongside).
If, during operation, the arm is accidentally disconnected without the
spring having been returned and locked in the standard position, this
latter will relieve well beyond its standard value.
Strictly comply with the following instructions to return the spring to the
correct position:
a) Completely disconnect the arm from the projecting pin if this latter is
still inserted.
b) Make sure that the FUNCTION SELECTOR switch alongside the
actuator is in the central
“0”
position
.
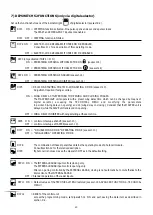
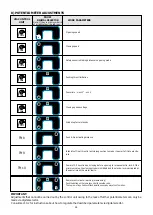
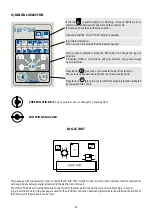
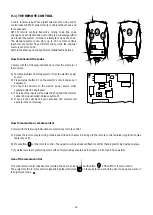
If the manual selector is installed, set the knob to the door free
position .
If the digital selector is installed, make sure that indicator lights
and are off.
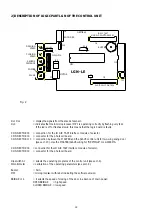
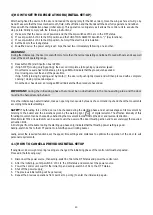
c) Carefully move power limiting potentiometer Tm4 to about half of its
travel and power the control unit.
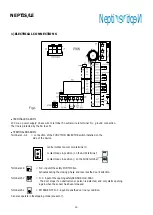
d) Set dip-switch 6 of Minidip S1 to the OFF position.
e) Switch off the mains power supply (230V) for about 5 seconds.
f) Turn on the mains power again and wait for an acoustic signal
(“BEEP”).
g) Set dip-switch 6 of Minidip S1 to the ON position.
h) Switch off the mains power supply (230V) for about 5 seconds.
i) Turn on the mains power again and wait for an acoustic signal
(“BEEP”)
j) Set dip-switch 6 of Minidip S1 to the OFF position.
k) Switch off the mains power supply (230V) for about 5 seconds.
l) Turn on the mains power again and wait for an acoustic signal
(“BEEP”)
m) Press button PS1 (START) on board PWN. The control unit will issue 5
beeps and will begin the spring loading manoeuvre in the constant
pressure mode (the movement will stop when the start button is
released and will continue when start is pressed again).
n) Bring the spring load back to the standard value shown when the red
mark on the belt matches the red mark on the pulley (see figure
alongside), then lock the spring in this position.
l) Move the locking screw from the free position to the locked position,
making sure that it fits into the locking hole on the pulley.
19
F1
3) HOW TO RESET THE SPRING PRELOAD
Only read this section if, during the installation phase, the arm is accidentally disconnected without the spring being returned to
the standard position and relocked. If this happened, the spring would be relieved well beyond its preset level.
m)!! WARNING, the INITIAL SET-UP will be cancelled after these operations and will therefore have to be made
again at the appropriate time, as described in section 4.
BELT
REFERENCE
PULLEY
REFERENCE
LOCKED
Содержание NEPTIS/LE
Страница 4: ...MECHANICAL SECTION NEPTIS LE 550 110 120 Nepti N e p t i S ...
Страница 14: ...notes ...
Страница 15: ...ELECTRONIC SECTION NEPTIS LE Nepti N e p t i S ...
Страница 38: ...notes ...
Страница 39: ......

