
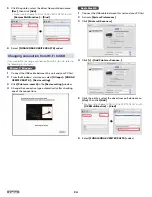


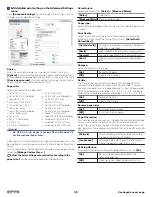


Confirming Print Settings for Mac
Note(s)
Macintosh Screenshots
●
The screen shots in this guide were made with the Preview
(Applications) of OS X 10.11. If you use another version of
OS X or another application, the screen interfaces look
slightly different. The functions, however, are the same.
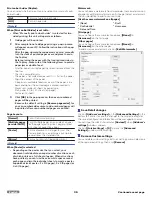
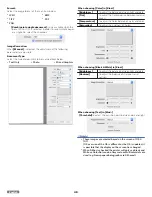
Paper Size:
Select the format of the document. Adjusting this setting in
the print settings of each application is the best option as
many programs overwrite the settings of the printer driver.
You can also create and manage custom paper size by
selecting
[Manage Custom Sizes...]
.
Orientation:
Choose Portrait or Landscape output.
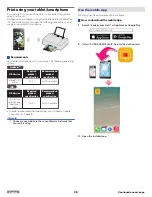
Edit Print Settings for a print job
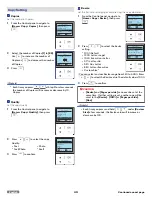
When you print a document, follow the Steps below.
1
Open the file you want to print.
2
Select
[File]
on the menu bar.
3
Select
[Print...]
, then the Printer Setting menu will be
displayed.
4
If details are not displayed, select
[Show Details]
on the
bottom of the Print Menu. You can edit Print Settings when
details are displayed.
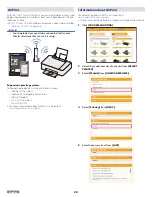
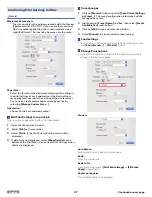
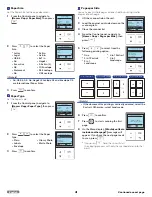
Save changes
1
Click on
[Presets]
list box and select
[Save Current Settings
as Preset...]
. The saved configuration information will be
managed by names.
2
Input name in
[Preset Name:]
textbox, then select
[Preset
Available For:]
radio button.
3
Click on
[OK]
to save and close the window.
4
Select
[Cancel]
to close window without saving.
Load settings
●
You can access the saved settings quickly by selecting a name
from
[Show Presets...]
in
[Presets]
list box.
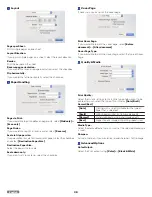
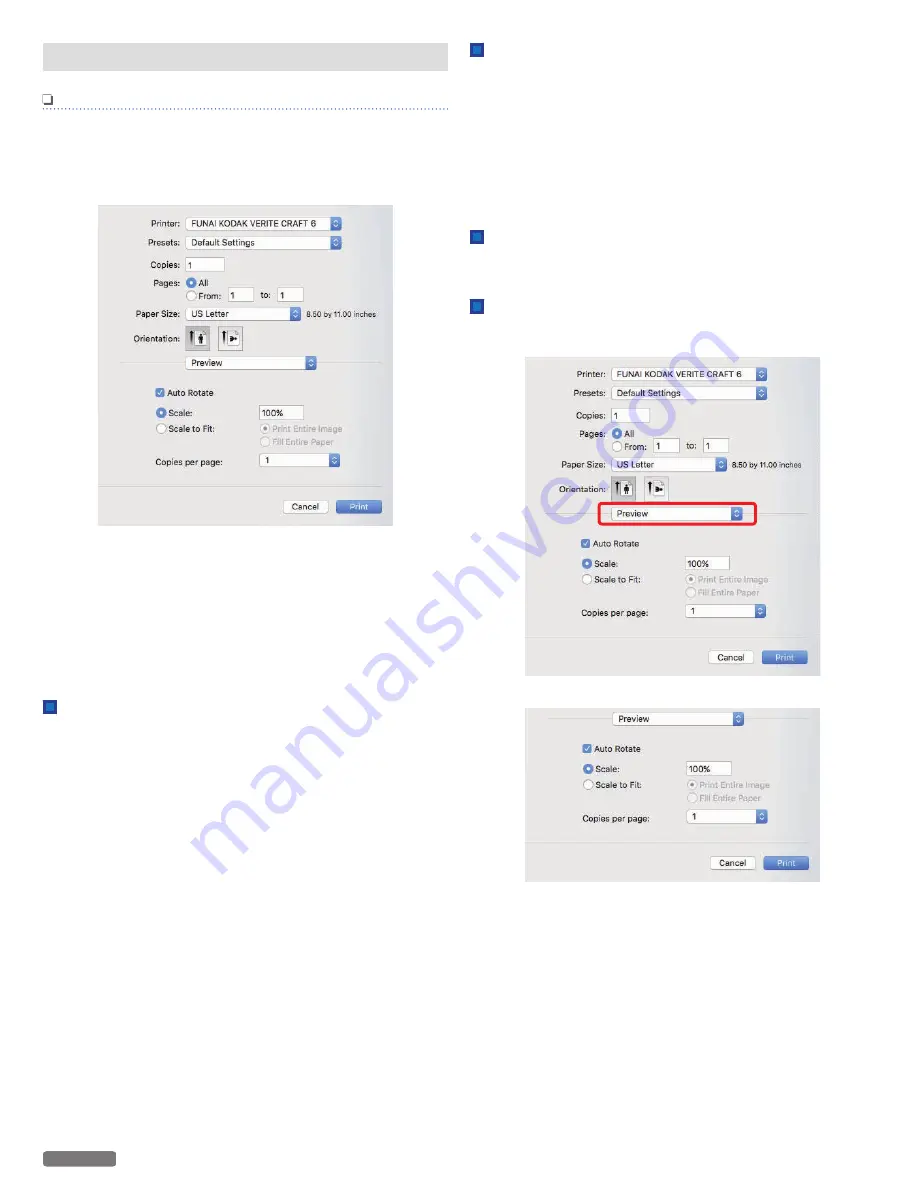
Change Print options
●
In the Print Setting menu, select the Print options you want to
change in the red frame below.
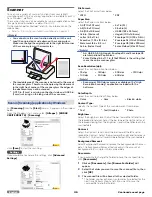
Preview
Auto Rotate:
Automatically selects portrait or landscape.
Scale:
Enter the scaling ratio.
Scale to Fit:
Input the scaling ratio of
[Print Entire Image]
or
[Fill Entire
Paper]
automatically.
Copies per page(s):
Print multiple copies of the page(s).
37
English
Continued on next page.