9
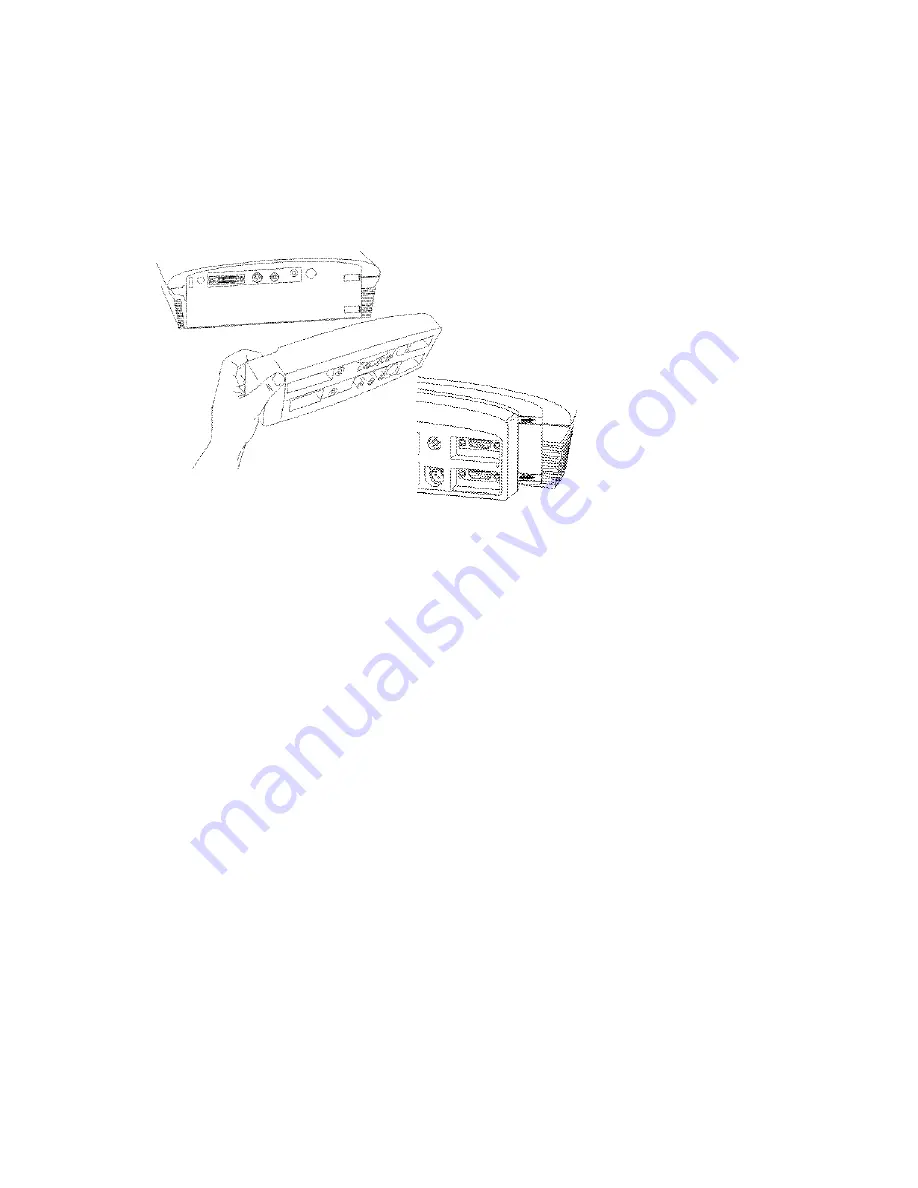
The module connects to the projector via the projector’s computer connector. Slide the tabs in the
module into the grooves on the back of the projector, and then press the computer connector into
the projector. To remove the module, press down all the way on the textured lever on the top left
of the module to release the latch, then slide the module off.
Figure 9:
Connecting the connectivity module to the projector
The module provides two computer and three video inputs. The module also provides monitor out
(used to display images on your desktop computer’s monitor as well as on the projection screen),
and RS-232 input (to control the projector from an external control system).
NOTE:
Monitor out is only available for analog computer, 480p, and HDTV sources.
Connecting a Video Device
VCRs, DVD players, camcorders, digital cameras, video games, HDTV receivers, and TV tuners
can be connected to the projector. There is an audio input. Audio can be connected directly to the
projector to get sound from the 3-watt onboard speaker, or you can connect it to get sound from
your home theater speaker system.
Before connecting your projector, you should decide which screen aspect you want to project.
Screen aspect is the ratio of the image width to image height. TV screens are usually 1.33:1, also
known as 4:3. HDTV and most DVDs are 1.78:1, or 16:9. If you’re projecting onto a screen, the
size/shape of the screen may answer this question for you. In the non-recommended blank wall
option, screen sizes are unrestricted. What you plan to project will also help you choose between
4:3 and 16:9. Most regular TV shows are 4:3, most movies are 16:9.
If you select 4:3 and play TV, the image will fill the screen. If you select 16:9 and play HDTV, the
image will fill the screen. However, if you select 4:3 and play a 16:9 DVD, the image may be
compressed horizontally or have black bars along the top and bottom (see Figure 10). If you
select 16:9 and play regular TV, the image may be stretched horizontally or have black bars
along the sides. You will make this selection later, using the onscreen menus (page 24), but for
now, you just need to know which format you’ll use most often.


