21
Figure 22:
Turning the leveling knob
Using the Remote Control
Install the 2 AAA batteries in the remote. See page 33 if you need help.
Point the remote control at the projection screen or at the front or back of the projector. The range
for optimum operation is about 25 feet. If you point the remote at the projection screen, the
distance to the screen and back to the projector must be less than or equal to 25 feet. For best
results, point the remote directly at the projector.
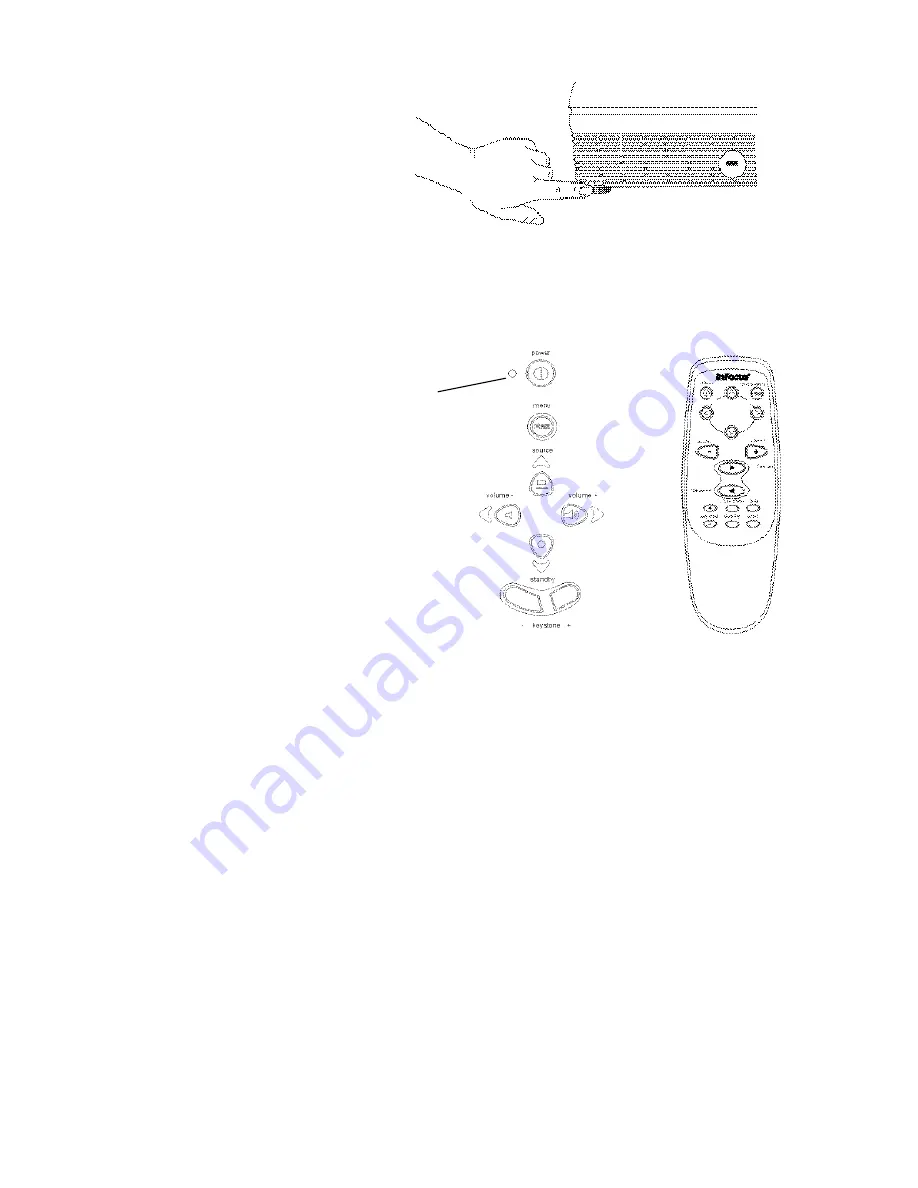
Figure 24:
Remote control
LED
Using the Keypad and Remote Buttons
While the menus are displayed, the volume,
source, and standby buttons on the keypad act
as menu navigation buttons. See “Using the On-
Screen Menus” on page 23 for details.
Menu/select
NOTE:
If you have turned Auto Source off (page 29), you may need to press the source button more
than once to display an active source. The sources switch in this order: PC 1-Analog,
PC 1-Digital, Video 3-Component HDTV, Video 3-Component, Video 1 S-Video, Video 2-Composite,
PC 2-Component, and PC 2-Analog.
Press the
menu/select
button to open the on-screen menus. Press
menu/ select
again (while Exit
is highlighted) to close the menus. (The menus automatically close after 30 seconds if no buttons
are pressed.) When you close the menus, the projector saves any changes you made. For more
information about the on-screen menus, see page 23.
Source (keypad only) or Data and Video (remote only)
When you have more than one source (computer and video) connected to the projector, select
between them by pressing the
source
button on the keypad or the
data
or
video
button on the
remote.
Ke/ -
Use this feature to adjust the image vertically and make a squarer image.
Press the
ke
button to reduce the upper part of the image, and press the
keystone -
button to reduce the lower part. You can also adjust keystone from the Display menu (see
page 23 for details on the menu).


