18
Connecting a Computer
The projector ships with an analog VESA computer cable. If your computer has a digital output,
you can order the optional digital M1 computer cable. Using a digital source generates the
highest quality and brightest image possible.
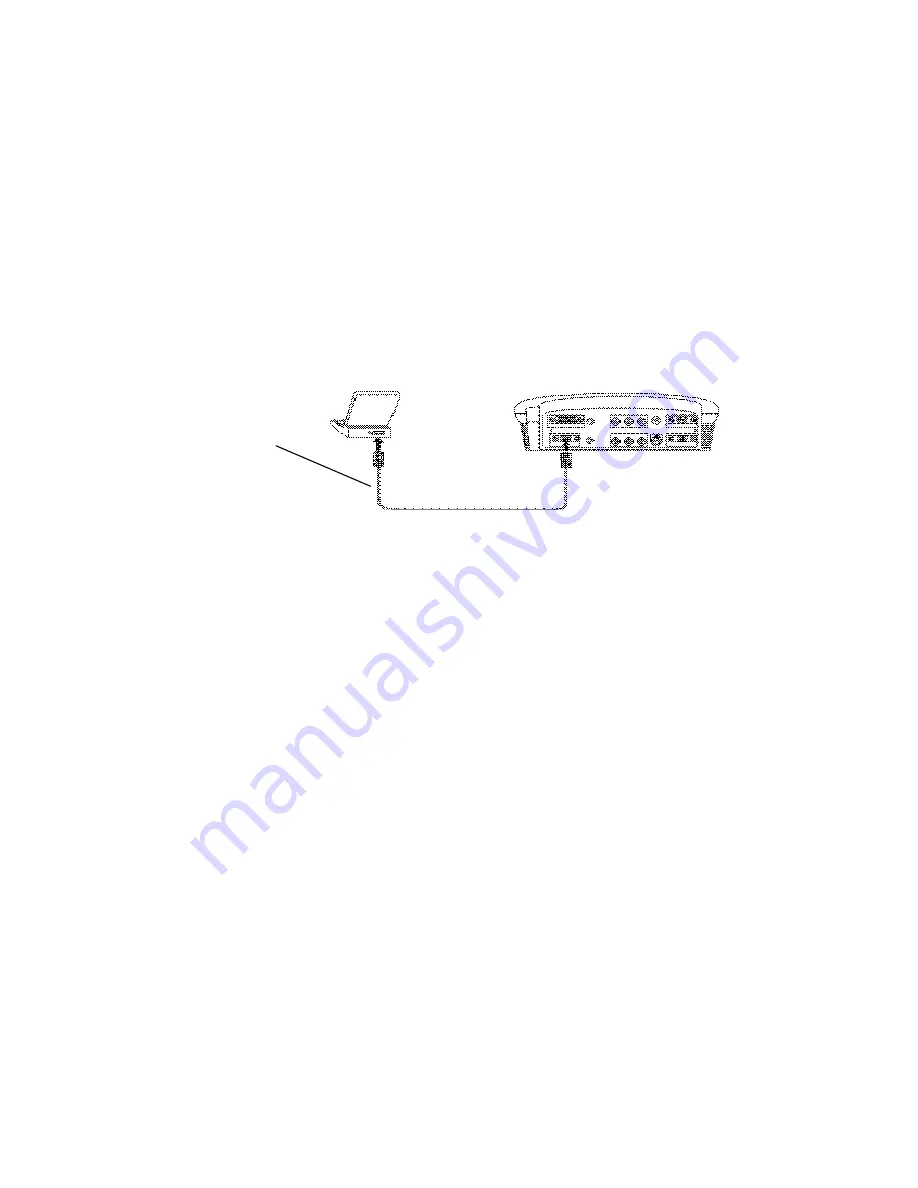
1. Plug one end of the computer cable into the PC 2 connector on the projector.
NOTE:
Many laptop computers do not automatically turn on their external video port when a secondary
display device such as a projector is connected. Refer to your computer manual for the command that
activates the external video port. Activation commands for some laptop computers are listed in the
Service section of our website.
2. Plug the other end of the computer cable into the video connector on your computer. If you are
using a desktop computer, you need to disconnect your monitor cable from your computer
first.
Figure 18:
Connecting the
projector to a computer.
Computer cable
Do you want to play your
computer’s audio on the
projector?
1. Plug either end of an audio cable (not included) into the audio connector on your computer.
2. Plug the other end of the audio cable into the “audio in” connector on the projector.
Do you want to display the image on your desktop computer’s monitor as well as on the projection
screen?
1. Plug the monitor’s cable into the “monitor out” connector on the projector.
Now you’re ready to power up the projector and your computer.
Displaying your Computer Source
NOTE
: Always use the power cord that shipped with the projector.
1. Remove the lens cap.
2. Plug the power cord into the side of the projector, then plug it into your electrical outlet. A
surge-protected power strip is recommended.
The LED on the top of the projector (Figure 24 on page 21) lights green.
3. Turn on the lamp by pressing the green
power
button on the keypad or remote.
A tone sounds when you press the button, and the LED blinks green while the software
initializes. When initialization is complete, the LED lights solid green and the Knöll startup
screen appears.
4. Turn on your computer.
a. The first time you connect a particular computer to the projector, the computer recognizes
the projector as “new hardware” and the Add New Hardware Wizard appears. Follow these
instructions to use the Wizard to load the correct driver (which was installed with your
Windows operating system).


