149
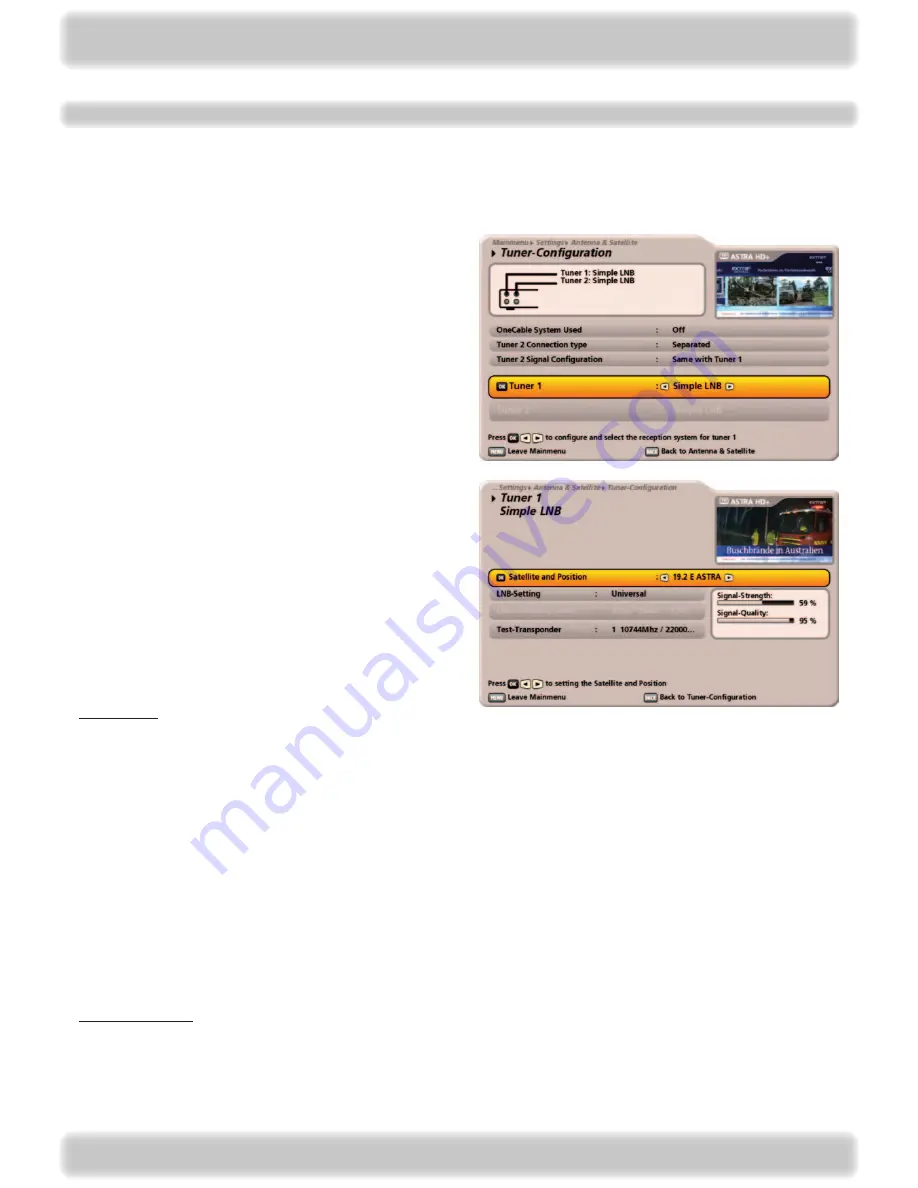
Tuner Configuration
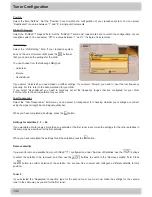
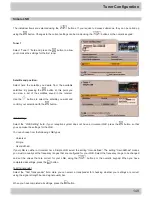
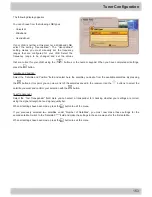
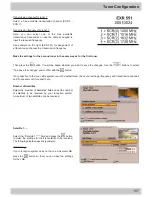
Simple LNB
The individual items are selected using the
buttons. If you require to access submenus, they can be called up
using the
button. Changes to the current settings can be made using the
buttons or the numeric keypad.
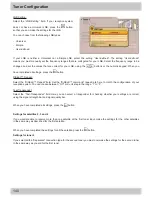
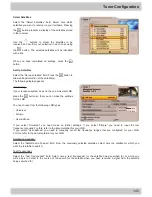
Satellite and position:
Select here the satellite you desire from the available
satellites. By pressing the
button at this point you
can view a list of the satellites saved in the receiver.
Use the
buttons to select the satellite you want and
confirm your selection with the
button.
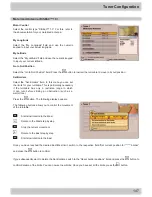
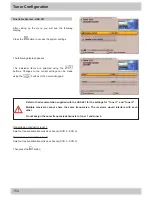
LNB Setting:
Select the “LNB Setting” field. If your reception system does not have a Universal LNB, press the
button so that
you can make the settings for the LNB.
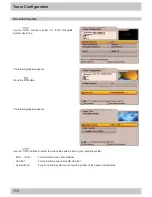
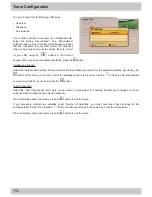
You can choose from the following LNB types:
- Universal
- Simple
- User-defined
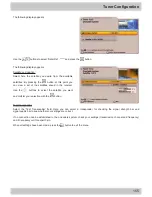
If your LNB is neither a Universal nor a Simple LNB, select the setting “User-defined”. The setting “User-defined” means
you must manually set the frequency ranges that are configured for your LNB. Select the frequency range to be changed
and set the values that are correct for your LNB, using the
buttons or the numeric keypad. When you have
completed all settings, press the
button.
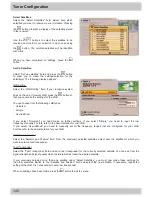
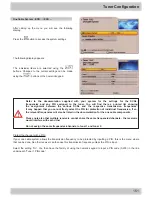
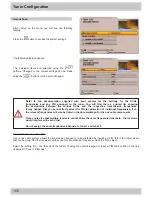
Test-Transponder:
Select the “Test Transponder” field. Here you can select a transponder for checking whether your settings are correct
using the signal strength bar and signal quality bar.
When you have completed all settings, press the
button.
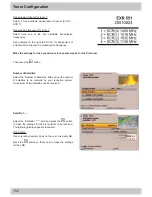
Tuner 1
Select “Tuner 1” field and press the
button to allow
you to make the settings for the first tuner.

