z
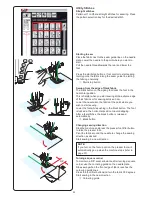
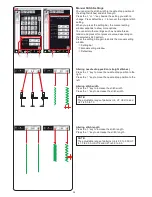
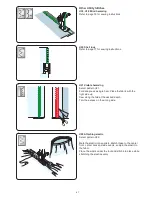
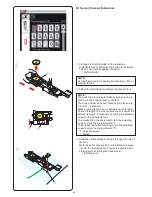
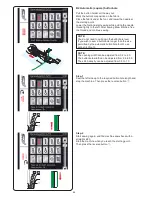
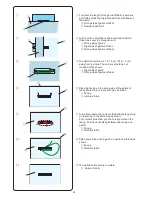
Pull open the button holder of the automatic
buttonhole foot R, and place the button in the button
holder. Push it tightly against the button.
q
Button holder
NOTE:
Use the blue needle for sewing buttonholes on fine to
medium fabrics.
x
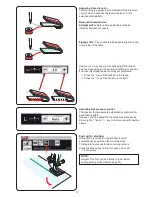
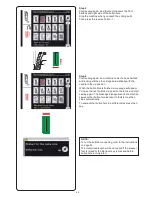
Attach the buttonhole foot. Raise the presser foot.
NOTE:
The buttonhole size is automatically set by placing a
button into the button holder on the foot.
The button holder of the foot takes button sizes up to
2.5 cm (1˝) in diameter.
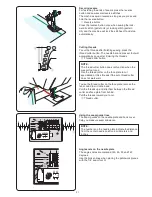
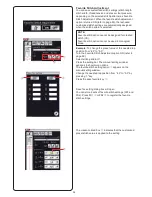
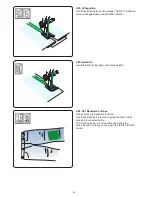
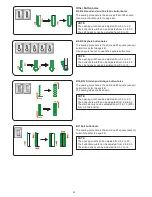
Make a test buttonhole on an extra piece of the fabric.
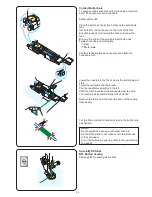
Check the length of the test buttonhole, and adjust the
buttonhole length if necessary by turning the adjusting
screw on the buttonhole foot.
To increase the buttonhole length, turn the adjusting
screw to move the marker toward “L”.
To decrease the buttonhole length, turn the adjusting
screw to move the marker toward “S”.
w
Adjusting screw
e
Marker
c
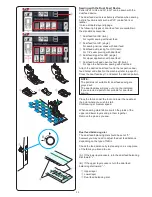
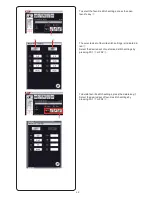
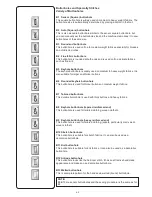
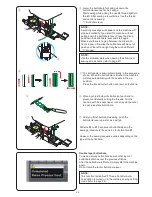
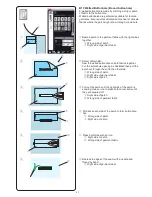
Draw the needle thread to the left through the hole of
the foot.
Mark the buttonhole position on the fabric and place
it under the buttonhole foot. Lower the needle at the
starting point by turning the hand wheel.
r
Starting point
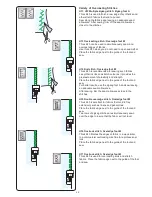
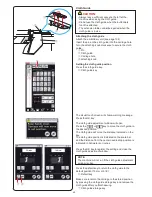
B1 Sensor (Square) Buttonhole
w
e
z
x
c
r
q
44
Содержание Horizon Memory Craft 15000
Страница 1: ...Memory Craft 15000 Instruction Manual ...
Страница 170: ...165 STITCH CHART Ordinary Sewing Block Script Symbol Broadway Block 9 mm ...
Страница 171: ...166 DESIGN CHART Embroidery World of Embroidery Designs SQ14 SQ23 GR Pattern images are not to scale ...
Страница 177: ...172 DESIGN CHART Embroidery Fringe Designs Calibration Pattern Pattern images are not to scale FA10 SQ23 SQ14 ...
Страница 178: ...173 DESIGN CHART Embroidery Gothic Script Cheltenham Bauhaus Galant Typist ...
Страница 179: ...174 DESIGN CHART Embroidery Brush First Grade 2 letters 3 letters Border Normal Sew Hollowblock Jupiter ...
Страница 180: ...175 DESIGN CHART Embroidery Micro Gothic ...
Страница 184: ...862 801 005 EN ...

