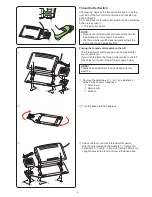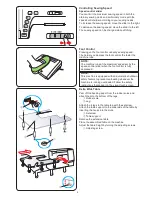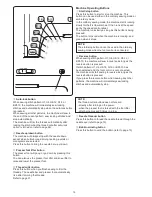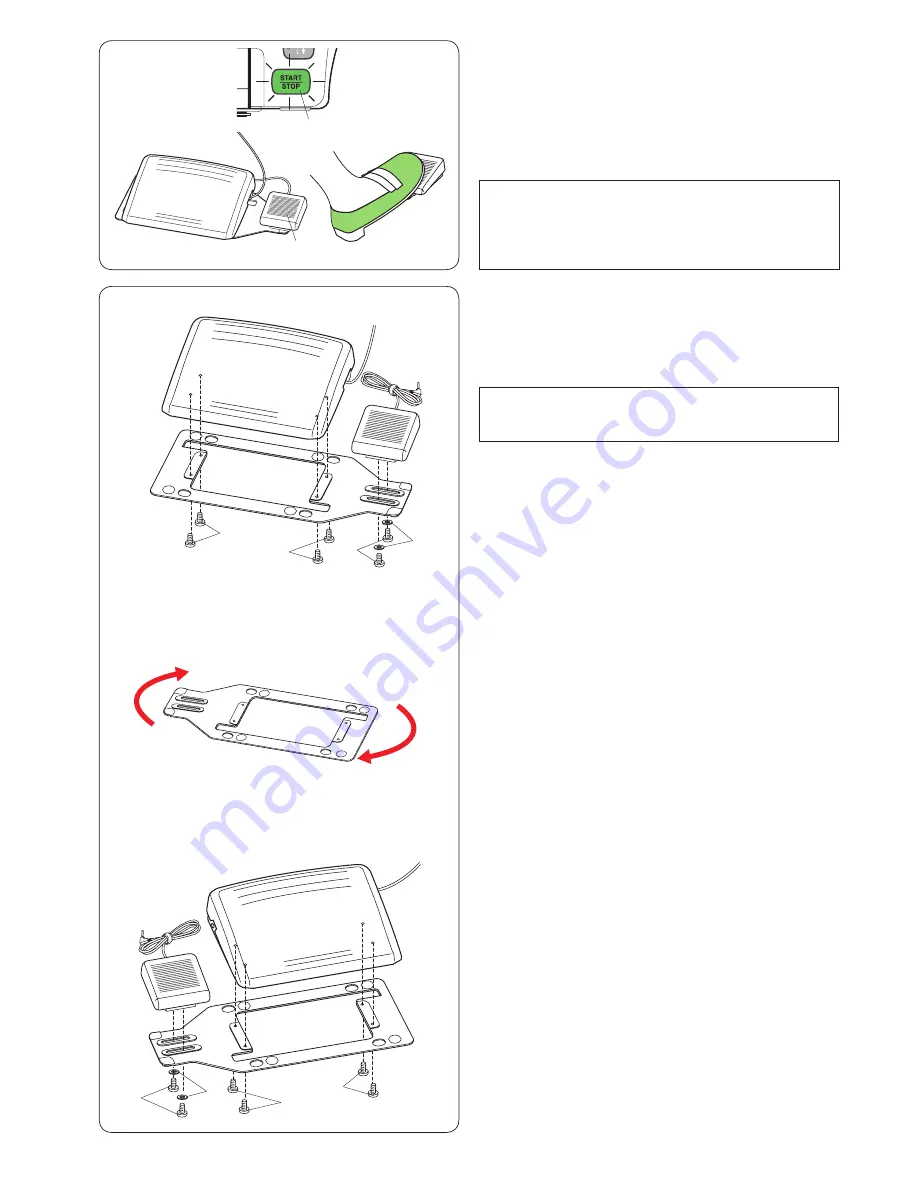
Thread Cutter Switch
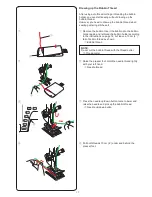
After sewing, depress the thread cutter switch
q
on the
right side of the foot control to trim the both needle and
bobbin threads.
Do not depress the thread cutter switch until the start/stop
button turns green
w
.
q
Thread cutter switch
NOTE:
• Threads are trimmed when the thread cutter switch
is depressed for more than 0.5 seconds.
• The thread cutter switch does not work without the
foot control being depressed first.
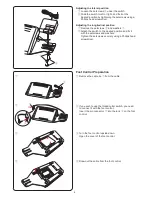
Placing the thread cutter switch to the left
The thread cutter switch position can be adjusted for
your convenience.
If you wish to attach the thread cutter switch to the left
side of the foot control, follow the procedure below.
NOTE:
Phillips head screwdriver is not included with this
machine.
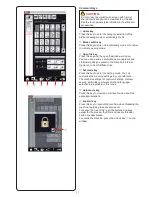
z
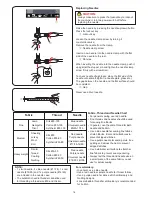
Remove the setscrews A
e
, B
r
and washers
t
with a Phillips head screwdriver.
e
Setscrew A
r
Setscrew B
t
Washer
t
r
t
e
e
q
r
e
e
z
x
c
x
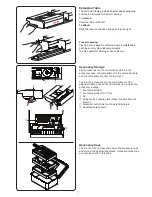
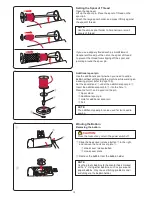
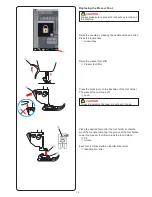
Turn the base plate 180 degrees.
c
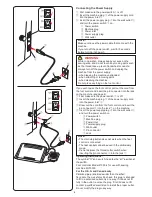
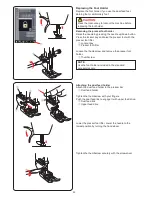
Attach the foot control and thread cutter switch
with the setscrews and the washers
t
. Tighten the
setscrews A
e
and B
r
. Be sure that the cable is not
caught between the foot control and the base plate.
w
5
Содержание Horizon Memory Craft 15000
Страница 1: ...Memory Craft 15000 Instruction Manual ...
Страница 170: ...165 STITCH CHART Ordinary Sewing Block Script Symbol Broadway Block 9 mm ...
Страница 171: ...166 DESIGN CHART Embroidery World of Embroidery Designs SQ14 SQ23 GR Pattern images are not to scale ...
Страница 177: ...172 DESIGN CHART Embroidery Fringe Designs Calibration Pattern Pattern images are not to scale FA10 SQ23 SQ14 ...
Страница 178: ...173 DESIGN CHART Embroidery Gothic Script Cheltenham Bauhaus Galant Typist ...
Страница 179: ...174 DESIGN CHART Embroidery Brush First Grade 2 letters 3 letters Border Normal Sew Hollowblock Jupiter ...
Страница 180: ...175 DESIGN CHART Embroidery Micro Gothic ...
Страница 184: ...862 801 005 EN ...


