Operation Manual 7310 EPSHP
47
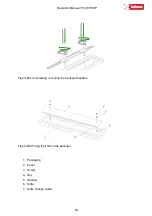
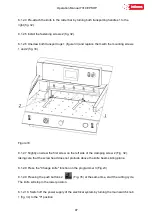
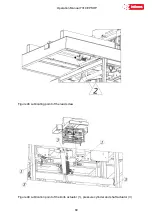
8.1.2.4 Pre-attach the knife to the cutter bar by turning both transporting handles 1 to the
right (fig. 32).
8.1.2.5 Install the fastening screws 2 (fig. 32).
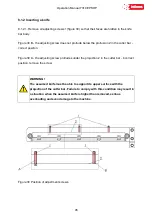
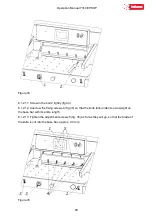
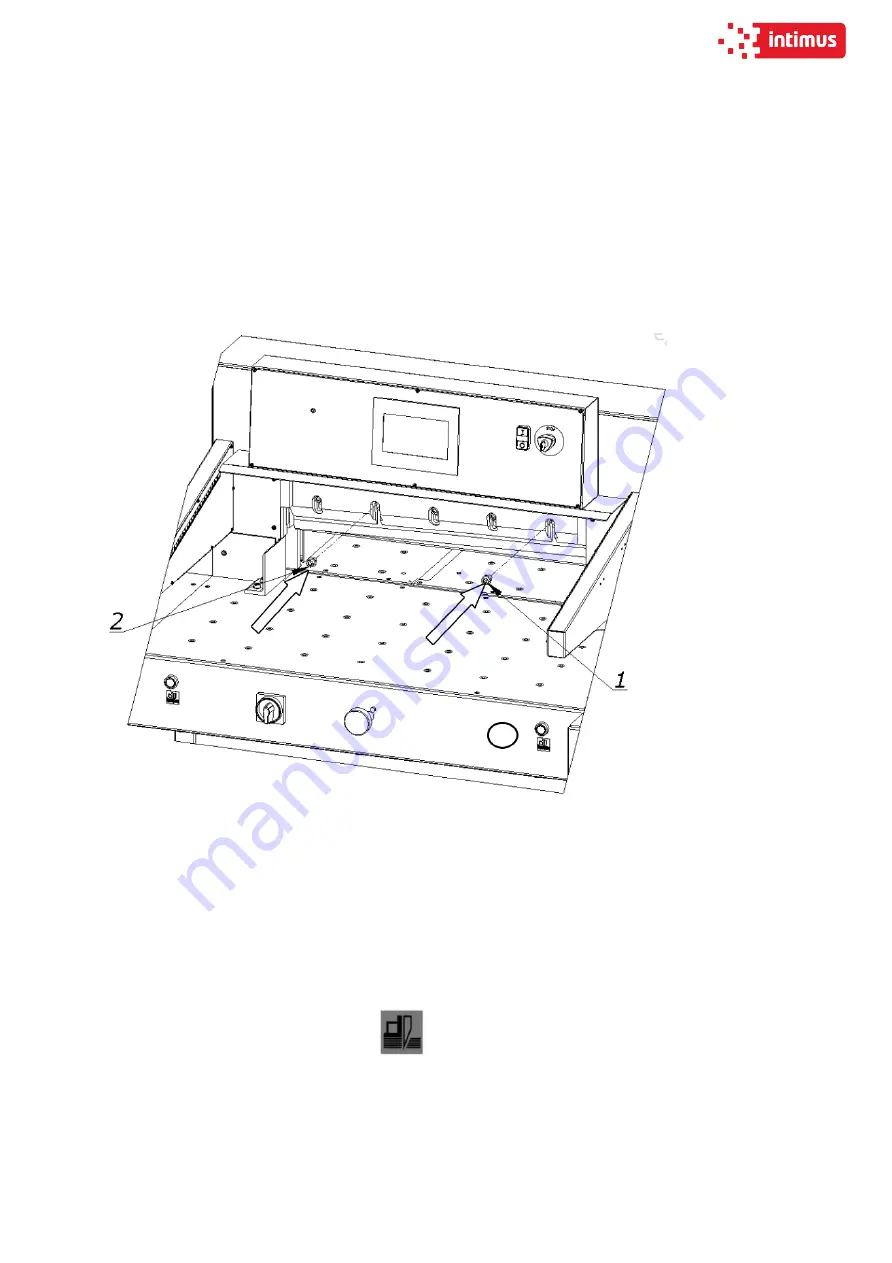
8.1.2.6 Unscrew both transport lugs 1 (figure 33) and replace them with the mounting screws
1 and 2 (fig. 33)
Figure 33
8.1.2.7 Slightly unscrew the first screw on the left side of the clamping screw 2 (Fig. 32),
taking care that the screw head does not protrude above the knife beam sliding plane.
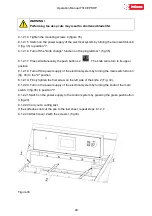
8.1.2.8 Press the "Change knife" function on the programmer 3 (Fig.23)
8.1.2.9 Pressing the push buttons 2
(Fig. 35) at the same time, start the cutting cycle.
The knife will stop in the lower position.
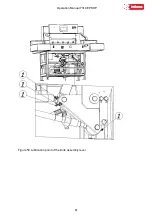
8.1.2.10. Switch off the power supply of the electrical system by turning the main switch knob
1 (fig. 34) to the "0" position
Содержание INT-GU-07310EPSHP
Страница 5: ...Operation Manual 7310 EPSHP 5 EC Conformity Declaration...
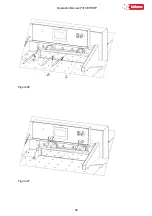
Страница 42: ...Operation Manual 7310 EPSHP 42 Figure 26 Figure 27...
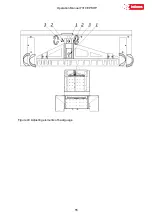
Страница 55: ...Operation Manual 7310 EPSHP 55 Figure 43 Adjusting elements of backguage...
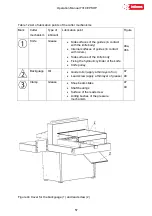
Страница 61: ...Operation Manual 7310 EPSHP 61 Figure 50 Lubrication point of the knife assembly lever...
Страница 66: ...Operation Manual 7310 EPSHP 66 PROGRAM MODULE OPERATOR MANUAL DOP B07S410 7...


