5
FIRST ArcSAR SETUP
IDS GeoRadar S.r.l.
Confidential Information - Do Not Distribute
MNG/2017/0016 Rev 1.0 35/ 78
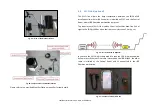
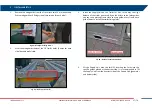
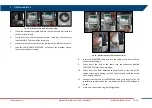
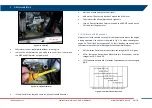
Fig. 66 – Weather Station cable connections (2/6)
4.
insert the anemometer cable end into the cable access port with the
connector lever down;
5.
firmly insert the end of the anemometer cable into the connector
labelled WIND. The lever clicks into place;
6.
make sure the cables lies flat on the bottom of the cable access port;
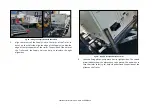
7.
take the cable (CABLE: WEATHER) to connect the weather station
console to the power supply;
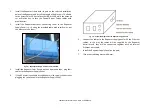
Fig. 67 – Weather Station cable connections (3/6)
8.
insert the WEATHER cable end into the cable access port with the
connector lever down;
9.
firmly insert the end of the cable into the connector labelled
CONSOLE. The lever clicks into place;
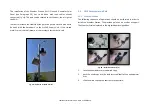
10.
firmly insert the foam between the cables and at the top of the
cables access port, making sure the foam entirely seals the access
port, leaving no holes;
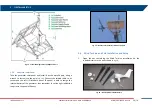
11.
connect the other end of the WEATHER cable to its socket in the I/O
interfaces panel placed on the rear side of the IBIS-ArcSAR (red box in
12.
make sure the external ring is well tightened.


