
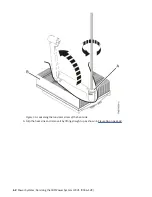


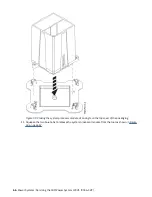
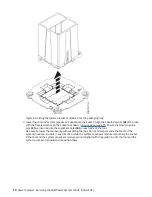

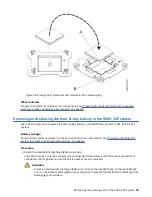


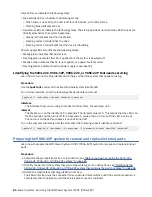


Figure 66. Installing the heat sink
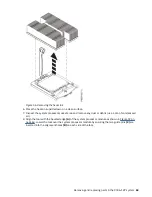
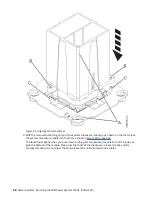
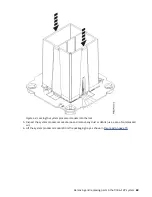
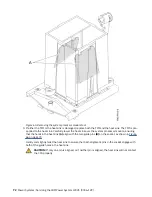
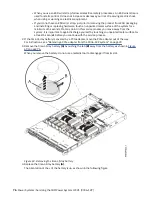
10. Move the load arm (A) into position over the heat sink (B) and tighten the load arm screw with a #3
Phillips screw driver, as shown in Figure 67 on page 74.
Note: Do not overtighten the load arm screw.
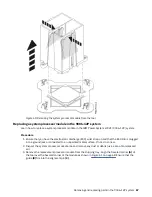
Removing and replacing parts in the 9006-12P system 73
Содержание Power System LC921 9006-12P
Страница 1: ...Power Systems Servicing the IBM Power System LC921 9006 12P IBM...
Страница 14: ...xiv Power Systems Servicing the IBM Power System LC921 9006 12P...
Страница 20: ...Figure 3 Turning the 2 5 inch tray upside down 6 Power Systems Servicing the IBM Power System LC921 9006 12P...
Страница 23: ...Figure 6 Turning the 2 5 inch tray upside down Removing and replacing parts in the 9006 12P system 9...
Страница 118: ...104 Power Systems Servicing the IBM Power System LC921 9006 12P...
Страница 120: ...106 Power Systems Servicing the IBM Power System LC921 9006 12P...
Страница 131: ......
Страница 132: ...IBM...


