


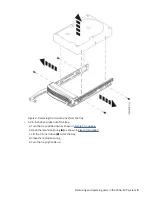
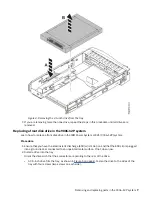


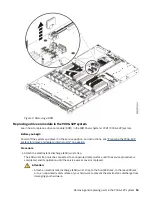


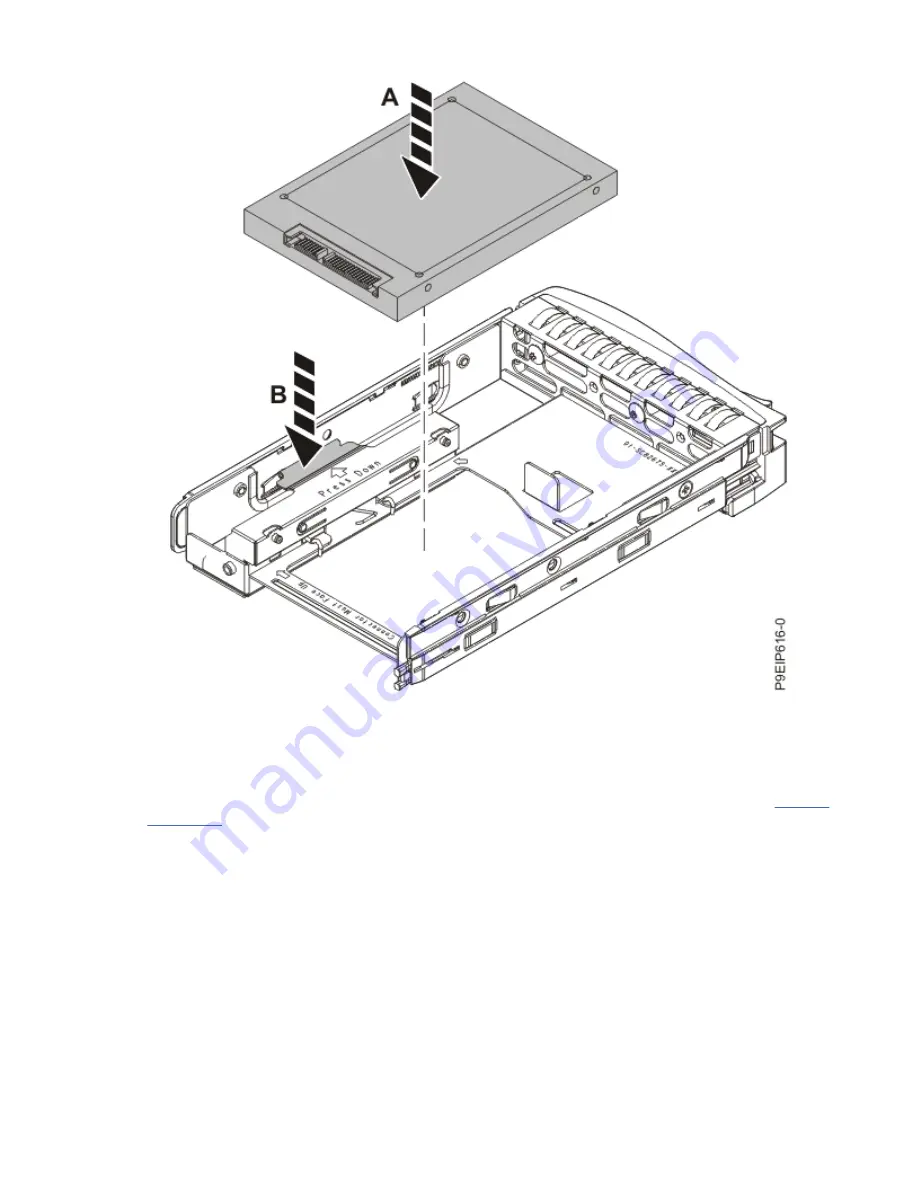
Figure 7. Mounting the 2.5-inch drive in the tray
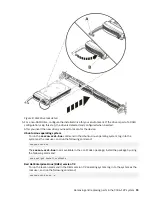
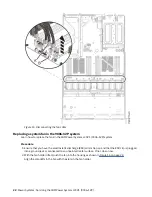
3. Ensure that the drive handle is open. Support the drive by the bottom as you position the drive, and
insert it into the drive slot.
Ensure that the drive is fully seated and is all the way into the system.
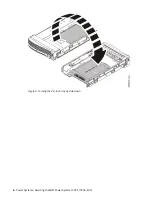
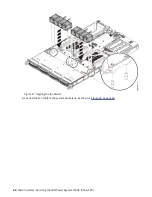
4. Lock the drive bay handle (A) by pushing in the handle release until it locks at (B) as shown in Figure 8
10 Power Systems: Servicing the IBM Power System LC921 (9006-12P)
Содержание Power System LC921 9006-12P
Страница 1: ...Power Systems Servicing the IBM Power System LC921 9006 12P IBM...
Страница 14: ...xiv Power Systems Servicing the IBM Power System LC921 9006 12P...
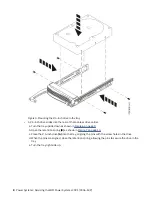
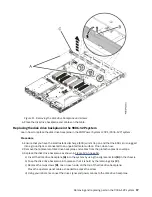
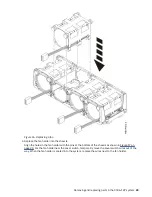
Страница 20: ...Figure 3 Turning the 2 5 inch tray upside down 6 Power Systems Servicing the IBM Power System LC921 9006 12P...
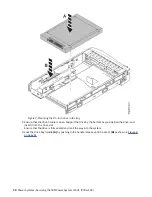
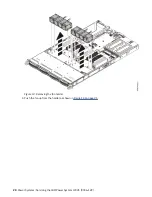
Страница 23: ...Figure 6 Turning the 2 5 inch tray upside down Removing and replacing parts in the 9006 12P system 9...
Страница 118: ...104 Power Systems Servicing the IBM Power System LC921 9006 12P...
Страница 120: ...106 Power Systems Servicing the IBM Power System LC921 9006 12P...
Страница 131: ......
Страница 132: ...IBM...


