


Deleting schedules to snapshot a volume
NOTE:
After you delete a snapshot schedule, if you want to delete snapshots created by that
schedule, you must do so manually.
1.
In the navigation window, select the volume for which you want to delete the snapshot schedule.
2.
Click the
Schedules
tab to bring it to the front.
3.
Select the schedule you want to delete.
4.
Click
Schedule Tasks
on the Details tab, and select
Delete Schedule
.
5.
To confirm the deletion, click
OK
.
The Schedules tab refreshes without the deleted snapshot schedule.
6.
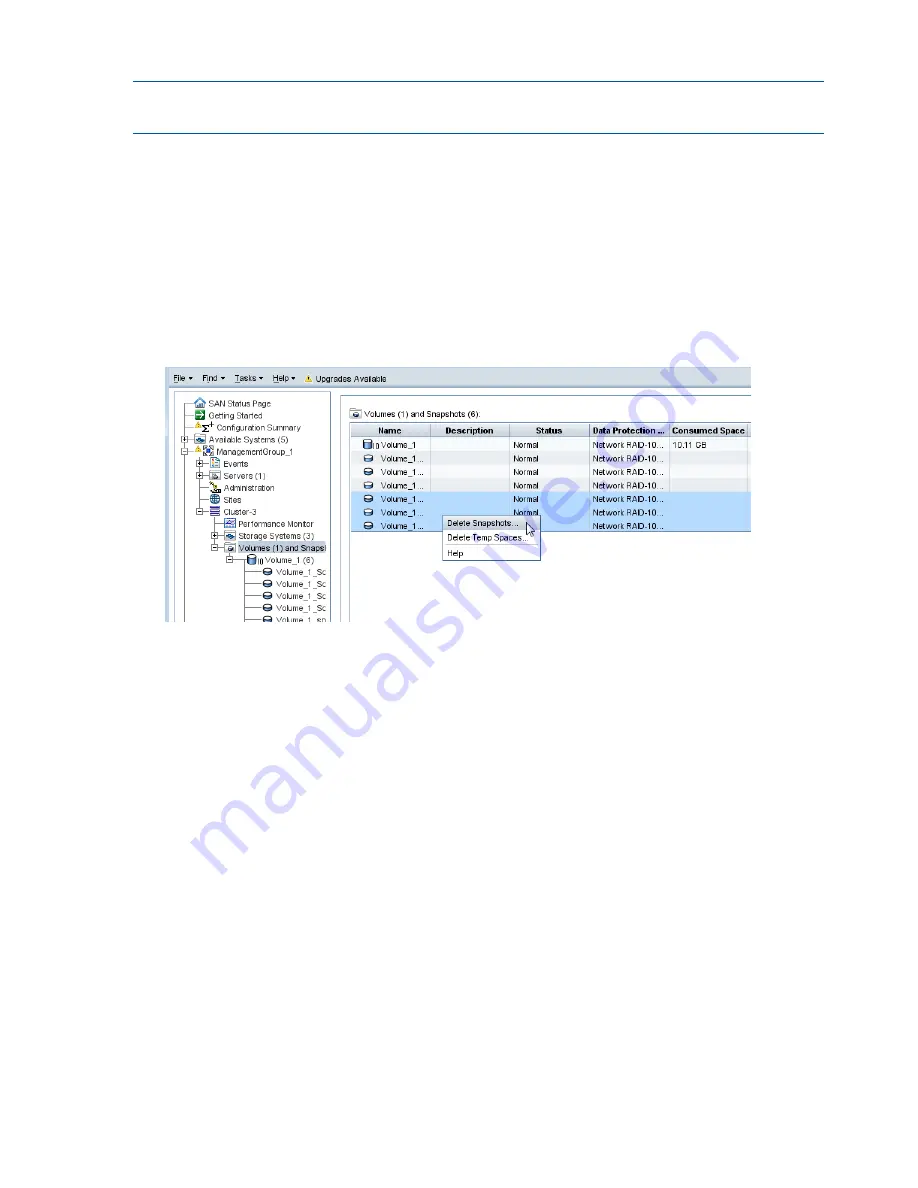
[Optional] To delete snapshots related to that schedule, select the
Volumes and Snapshots
node where you can delete multiple snapshots from a list.
Figure 66 Delete multiple snapshots from the volumes and snapshots node
Scripting snapshots
Application-based scripting allows automatic snapshots of a volume. For detailed information, see
“Working with scripting” (page 196)
and the HP LeftHand Storage Command Line Interface User
Guide, for information about the SAN/iQ software command-line interface.
Mounting a snapshot
A snapshot is a copy of a volume. To access data in the snapshot, you have two choices:
•
Create a SmartClone volume from the snapshot to use for data mining, development and
testing, or creating multiple copies. See
“Create a new SmartClone volume from the snapshot”
(page 175)
.
•
Mount the snapshot for backing up or data recovery. You assign the snapshot to a server as
a read/write volume and connect to it with an iSCSI initiator.
Mounting a snapshot on a server adds temporary space to the snapshot. See
“Managing
snapshot temporary space” (page 173)
for more detailed information about temporary space.
Mounting the snapshot on a host
You can add a server to the snapshot when it is created, or add the server later.
1.
If it is not already added, add the server on which you want to mount the snapshot to the
management group.
2.
Assign the snapshot to the server, and configure the snapshot for read/write access.
170
Using snapshots