Hardware options installation 70
19.
Connect each power cord to the server.
20.
Connect each power cord to the power source.
21.
Press the Power On/Standby button.
The server exits standby mode and applies full power to the system. The system power LED
changes from amber to green.
GPU riser and cable option
WARNING:
To reduce the risk of personal injury from hot surfaces, allow the drives and the
internal system components to cool before touching them.
CAUTION:
To prevent damage to electrical components, properly ground the server before
beginning any installation procedure. Improper grounding can cause ESD.
1.
Back up all server data.
2.
Power down the server (on page
3.
Do one of the following:
o
Extend the server from the rack (on page
o
Remove the server from the rack (on page
4.
Remove the access panel (on page
5.
Remove the primary PCI riser cage ("
6.
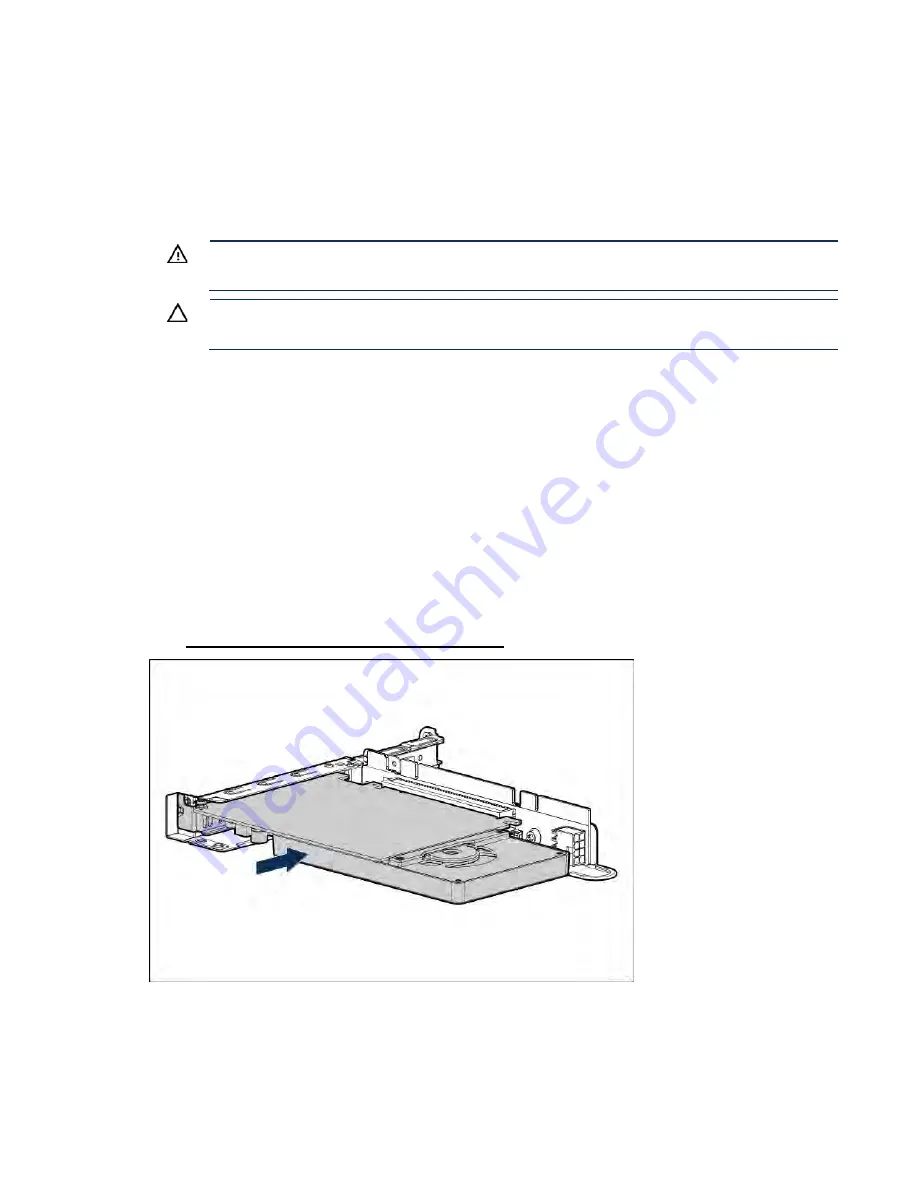
Install the GPU in the x16 slot in the primary PCI riser cage position. The PCI riser cage assembly
with
the full-length, full-height PCIe3 x16 riser slot is required for GPU installation. For more
information, see
"Full height PCIe x16 riser cage assembly option (on page
Before installing a high-power GPU in the server, be sure that the power supplies support the
installation
of the option. Because of the high power requirements for the GPU, a 800-W or higher
power supply
might be required. For more information, see the Hewlett Packard Enterprise
Configurator website
Содержание BCDVideo BCD108
Страница 71: ...Hardware options installation 71 7 Install the GPU support bracket 8 Install the riser cage ...
Страница 92: ...Hardware options installation 92 o Primary PCI riser cage o Secondary PCI riser cage ...
Страница 96: ...Hardware options installation 96 3 Remove the hot plug fan or fan blank from fan bay 1 ...
Страница 152: ...Support and other resources 152 ...
Страница 153: ...Support and other resources 153 ...


