Hardware options installation 35
7.
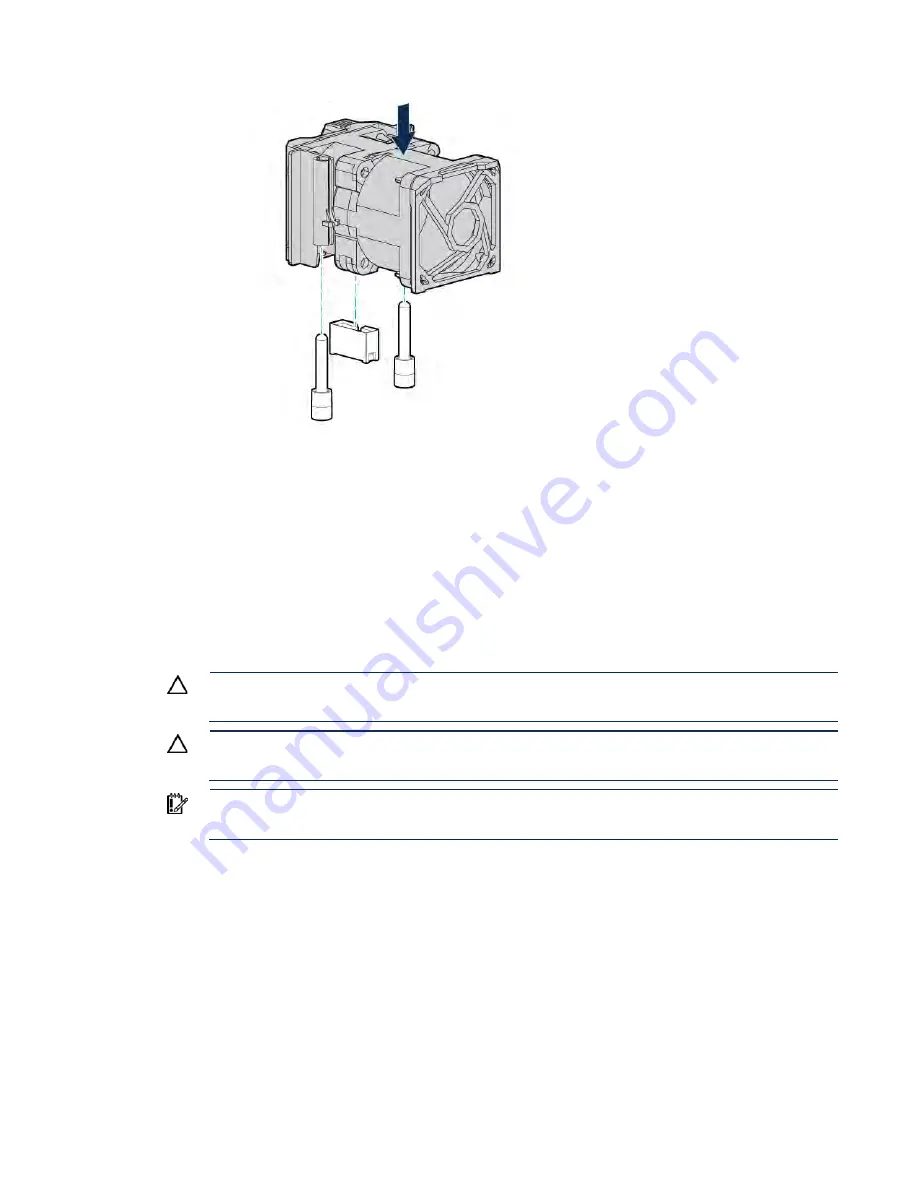
Install high-performance fans in each of the 7 fan bays.
8.
Install the access panel (on page
9.
Slide the server into the rack.
10.
Connect each power cord to the server.
11.
Connect each power cord to the power source.
12.
Press the Power On/Standby button.
The server exits standby mode and applies full power to the system. The system power LED
changes from amber to green.
Processor and fan option
The server supports single-processor and dual-processor operations.
CAUTION:
To avoid damage to the processor and system board, only authorized personnel
should attempt to replace or install the processor in this server.
CAUTION:
To prevent possible server malfunction and damage to the equipment,
multiprocessor configurations must contain processors with the same part number.
IMPORTANT:
If installing a processor with a faster speed, update the system ROM before
installing the processor.
To install the processor:
1.
Power down the server (on page
2.
Remove all power:
a.
Disconnect each power cord from the power source.
b.
Disconnect each power cord from the server.
3.
Do one of the following:
o
Extend the server from the rack (on page
o
Remove the server from the rack (on page
4.
Remove the access panel (on page
5.
Remove the processor blank.
Содержание BCDVideo BCD108
Страница 71: ...Hardware options installation 71 7 Install the GPU support bracket 8 Install the riser cage ...
Страница 92: ...Hardware options installation 92 o Primary PCI riser cage o Secondary PCI riser cage ...
Страница 96: ...Hardware options installation 96 3 Remove the hot plug fan or fan blank from fan bay 1 ...
Страница 152: ...Support and other resources 152 ...
Страница 153: ...Support and other resources 153 ...


