


XI581/2 BUSWIDE OPERATOR INTERFACE
ALPHABETIC REFERENCE
73
EN2B-0126 (74-3554-8)
Store Template
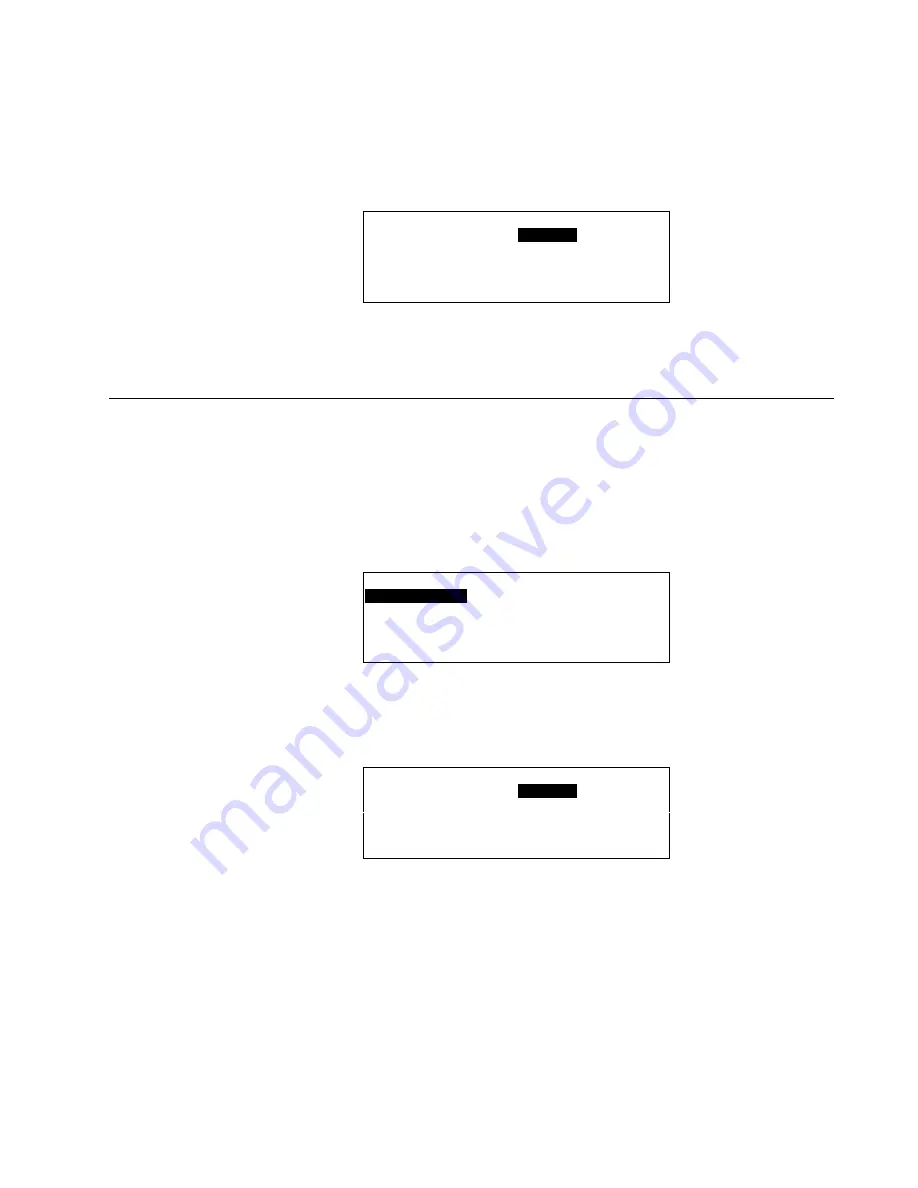
7.
Press Enter to highlight the newly created string. Use the arrow keys to move to
and highlight
Store Template
. Press Enter (
↵
) to complete the selection.
Or, if you do not wish to save the template, exit by pressing Cancel (C) before
selecting 'Store Template'. If you already stored the template, use the 'Delete a
Template' function.
RESULT: The new template is added to the template list shown on the display.
Example:
Add Template
FLOOR7*
▲
▲
▲
▲
FLOOR1*
■
1
New Template
■
Back
▼
8.
To create another template, highlight
New Template
and then press Enter (
↵
) to
complete the selection. Or, to return to the 'Data Points' screen, highlight
Back
and press Enter (
↵
).
Deleting a Template
Purpose
To delete a template from the template buffer.
Access Level
You must have access level 2 or 3 to perform this task.
Procedure
1.
From the Main Menu, use the arrow keys to move to and highlight
Data Points
.
Press Enter (
↵
) to complete the selection.
RESULT: The 'Data Points' screen displays.
Data Points
User Address
Suppress Alarm
Manual Operation
Add Template
Accumul. Runtime
Delete Template
Type Selection
Modify Template
Points in Trend
Template Search
Select Delete Template
2.
Use the arrow keys to move to and highlight
Delete Template
. Press Enter (
↵
)
to complete the selection.
RESULT: The window shows a list of available templates.
Delete Template
FLOOR7*
▲
▲
▲
▲
FLOOR1*
■
1
■
▼
Select Template
3.
Use the arrow keys to move to and highlight the template you want to delete.
Then press Enter (
↵
) to complete the selection.
RESULT: Software deletes the template. The window displays the list of
remaining templates.
4.
Press Cancel (C) to return to the Data Points display.