


XI581/2 BUSWIDE OPERATOR INTERFACE
ALPHABETIC REFERENCE
55
EN2B-0126 (74-3554-8)
c. Press the plus or minus keys to toggle or increment/decrement attribute.
d. Press Enter (
↵
) to complete the entry.
6.
When done modifying the point description, press Cancel (C) to return to the
point user address list. When you are finished, repeatedly press Cancel (C) to
return to the Main Menu.
Selecting Points by Point Type
Purpose
To find and display points that belong to a specific point type and modify their
attributes.
Access Level
All users can display point information. You must have access level 3 to modify
point attributes.
Select Point from Main Menu
1.
At the Main Menu, use the arrow keys to move to and highlight
Data Points
.
Press Enter (
↵
) to complete the selection.
RESULT: The 'Data Points' screen appears.
User
Address
is highlighted by
default.
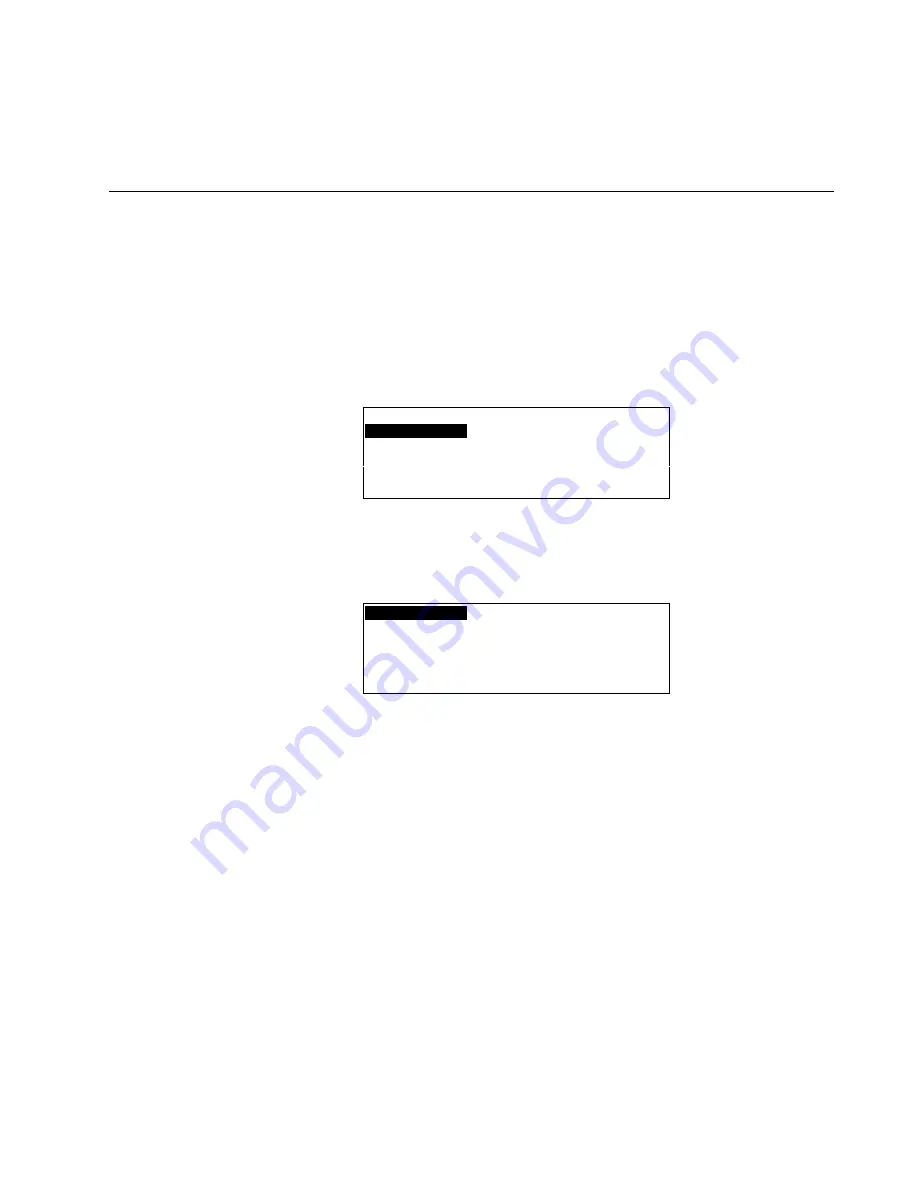
Data Points
User Address
Suppress Alarm
Manual Operation
Add Template
Accumul. Runtime
Delete Template
Type Selection
Modify Template
Points in Trend
Template Search
2.
Use the arrow keys to move to and highlight
Type Selection
. Press Enter (
↵
) to
complete the selection.
RESULT: The 'Types' screen appears with a list of defined point types.
Analog Input
Pseudo Analog
Analog Output
Pseudo Digital
Digital Input
Global Analog
Digital Output
Global Digital
Totalizer
Flexible Point
Pseudo Totalizer
All
3.
Use the arrow keys to move to and highlight the desired type. Press Enter (
↵
) to
complete the selection.
RESULT: The display window lists points you can view. The list contains only
user addresses of points that match the selected type.
4.
Use the arrow keys to move to and highlight the desired point. Press Enter (
↵
) to
complete the selection.
NOTE:
All user addresses for points may not be able to appear in the display
window at the same time.
RESULT: The display window shows the description of the point you selected.
The information that appears in a point description varies depending
on the type of point you selected (digital, analog, or totalizer). The
table in the beginning of this "Data Point Description" section
describes the various attributes.
Modify Point Description
5.
Use the following steps to modify an attribute for the selected point:
a. Use the arrow keys to move to and highlight the field.
b. Press Enter (
↵
) to select the field.
The field begins blinking and is no longer highlighted.
c. Press the plus or minus keys to toggle or increment/decrement attribute.