1
80
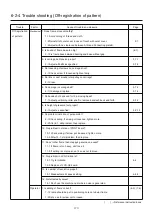
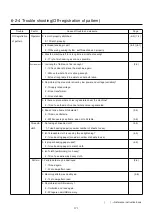
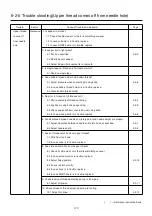
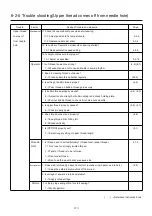
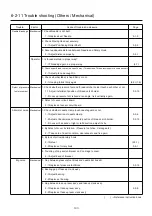
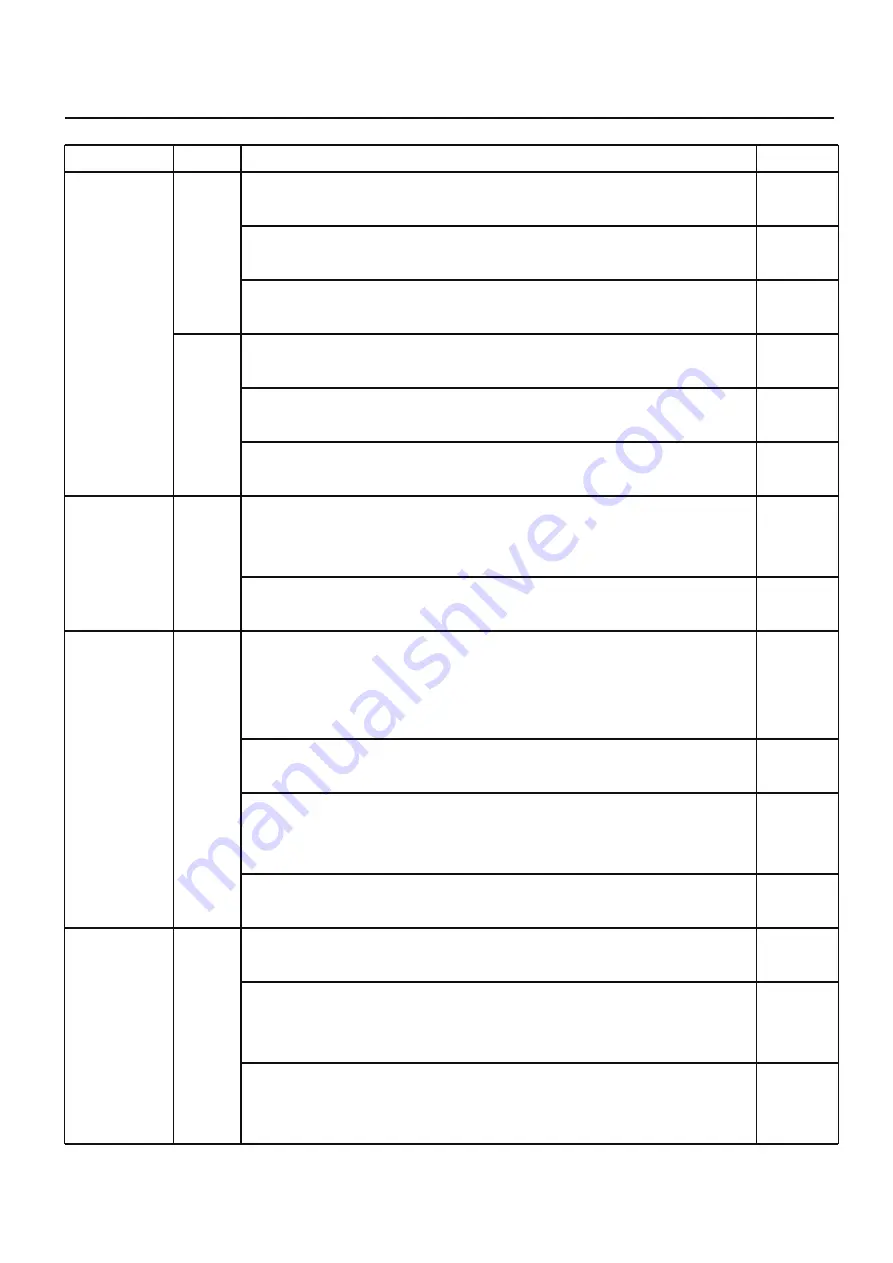
6-2-11 Trouble shooting (Others / Mechanical)
Trouble Factor Cause of trouble and measure
Page
Needle Breakage
Mechanical
1. Check Needle is not bent.
1-1 Replace bent Needle.
3-1-2
2. Check Moving Head set securely.
2-1 Adjust Positioning Roller Shaft.
3-3-2
3. Secure adequate distance between Needle and Rotary Hook.
3-1 Adjust distance properly. 3-5-1
Operator 1. Is thread method in proper way?
1-1 Threading again in a proper way. (4-7)
2.
Check upper thread comes in a smooth way. (Thread stand, Thread tension point, double back etc)
2-1 Adjust place be caught in.
3. Check whether fabric is fixed firmly or not.
3-1 Hooping fabric firmly again.
(6-2) (7-5)
Defect of pressure
Mechanical
1. Check whether pressure foot and thread catcher holder touch each other or not.
foot movement
1-1 Adjust installment position of thread catch holder.
3-3-13
1-2 In case pressure foot is fixed at an angle, fix it vertically again.
2. Defect of censor circuit board.
2-1 Replace of censor circuit board.
Abnormal noise
Mechanical
1. Check whether needle clamp touch needle guard or not.
1-1 Adjust direction of needle clamp.
3-3-6
1-2 Adjust of backward and forward position of thread catch holder.
3-3-13
1-3 In case it has bend of right or left direction, adjust it’s fix.
2. By defect of cover installation. (Pressure foot drive, Carriage etc)
2-1 Take care of insert condition, clearance etc and fix again.
3. By lack of oil inside rotary hook.
3-1 Refuel
(23-1)
3-2 Replace of rotary hook
3-5-1
4. Touching of cap switch bracket on X carriage to cover.
4-1 Adjust bend of bracket.
Big noise
Mechanical
1. Gap between pressure foot block and needle bar boss B.
1-1 Replace of pressure foot block.
3-2-13
2. Bearing gap of take up crank ass’y.
2-1 Adjust bearing.
2-2 Replace of bearing.
3. Gap between take up lever ass’y and take up clank ass’y.
3-1 Replace of take up lever ass’y.
3-3-9
3-2 Replace of take up lever crank ass’y
( ) ---Reference instruction book
Содержание HCS2-1201-30
Страница 1: ...Maintenance Manual for Embroidery Machine HCS2 1201 30 Version 2 3 HappyJapan Inc...
Страница 75: ...76 6 Check up with thread trimmer function 7 Assemble lower front panel to terminate this procedure...
Страница 110: ...112 3 7 4 Exchange of Y carriage belt 1 Remove frame base 2 Disconnect X carriage cable 3 Remove X carriage 4 Remove arm...
Страница 154: ...153 5 1 1 Electrical connection diagram except for Rev A...
Страница 155: ...154 5 1 1 Electrical connection diagram except for Rev A...
Страница 156: ...155 5 1 2 List of electrical connection diagrams except for Rev A...
Страница 157: ...156 5 1 3 Electrical connection diagram for Rev A...
Страница 158: ...157 5 1 3 Electrical connection diagram for Rev A...
Страница 159: ...158 5 1 4 List of electrical connection diagrams for Rev A...
Страница 160: ...159 5 2 1 Connection of inverter 100V Inverter set...
Страница 161: ...160 5 2 2 Connection of inverter 200V Inverter set...
Страница 165: ...160c HCD8116 TP switch board ass y 6 5 265 2 1 6 7 257...
Страница 196: ...2017 8 HAPPYJAPAN Inc 9 5 TAITO 2 CHOME TAITO KU TOKYO JAPAN TEL 81 3 3834 0711 FAX 81 3 3835 8917...

