17
3
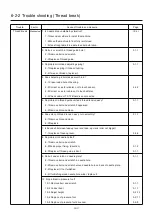
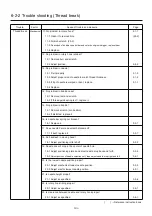
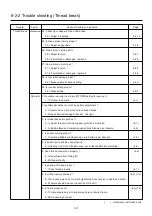
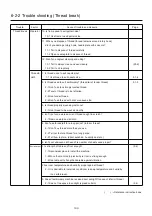
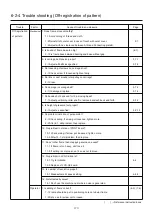
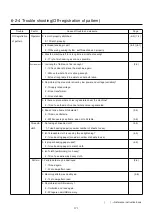
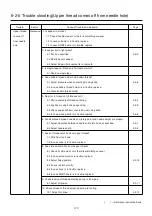
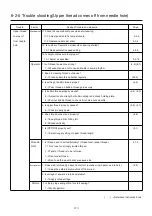
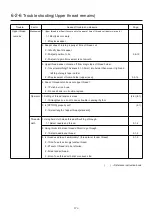
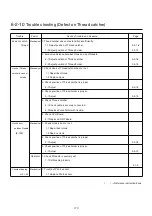
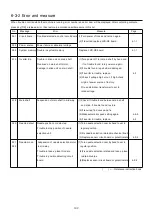
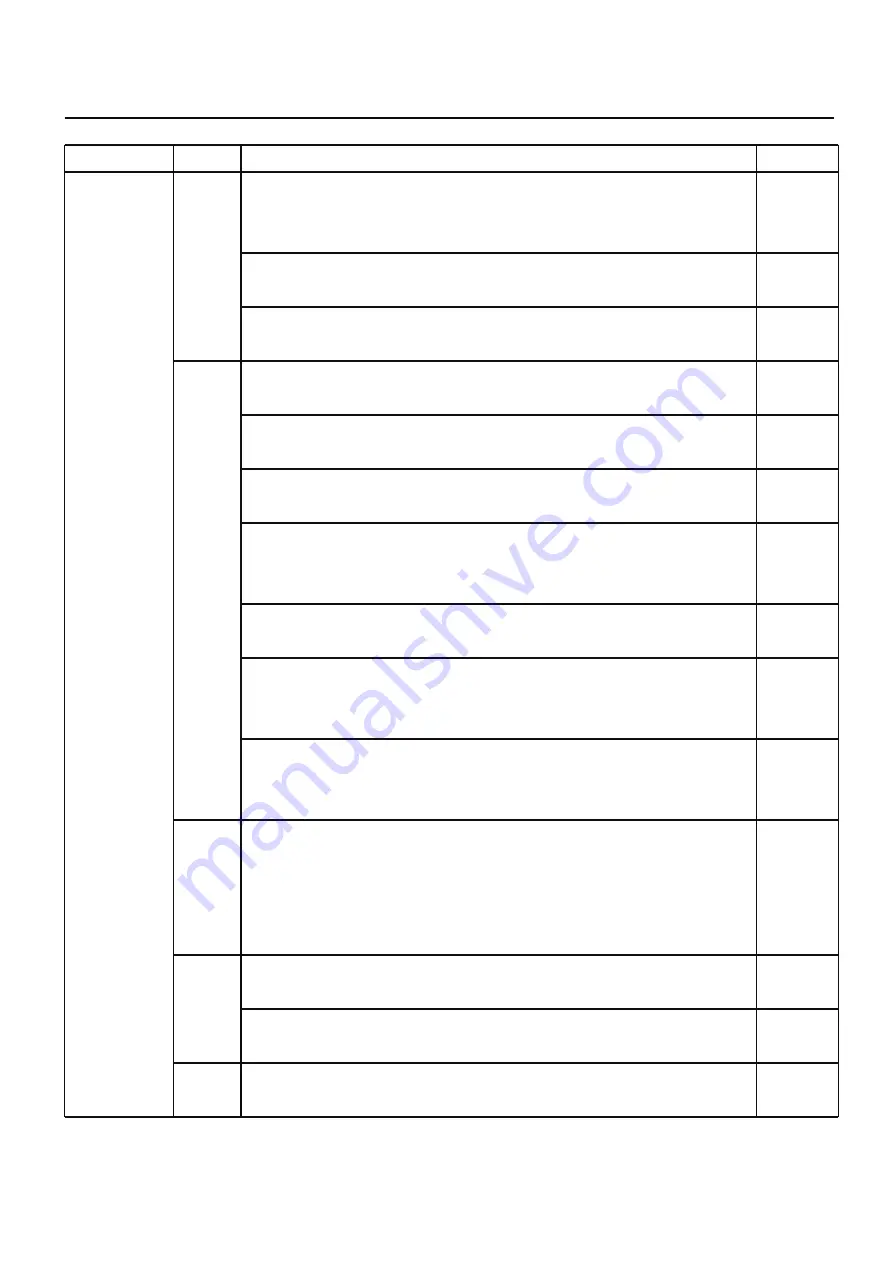
6-2-5 Trouble shooting(Upper thread comes off from needle hole)
Trouble Factor Cause of trouble and measure
Page
Upper thread
Mechanical
11.Check the needle bar moves when start sewing.
comes off 11-1 Adjust position to fix jump solenoid.
3-2-5
from needle 11-2 Replace needle bar driver.
3-2-4
hole 12. Is number of revolution proper when sewing started?
12-1 Make automatic speed setting.
4-4-5
13.Is height of pressure foot proper?
13-1 Adjust as specified.
3-2-12
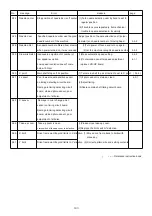
Operator 1. Isn't thread tension too strong?
(4-5) (8-1)
1-1 Weaken tension not to cause trouble in sewing rhythm.
2. Keen in cleaning thread cut device?
2-1 Clean bobbin thread holder regularly. (23-2)
3. Is setting of bobbin thread proper?
(4-5)
3-1 Pass thread on bobbin thread guide surely.
4. Is bobbin thread properly wound?
(4-4) (4-5)
4-1 Adjust tensile strength of bobbin winder and check holding plate.
4-2 Pull out bobbin thread to check if it comes out smoothly.
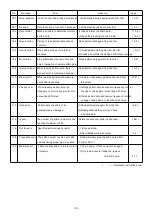
5. Is upper thread properly passed?
(4-6) (4-7)
5-1 Pass properly again.
6. Does thread cone stand properly?
(4-6)
6-1 Keep thread from hitting felt.
6-2 Stand vertically.
7. Is [OPTION] properly set?
(5-1)
7-1 Select longer setting of upper thread length.
Thread & 1. Is thread used to suit embroidery? (thread twist, tender thread).
3-1-3
Cloth 1-1 Don't use too strongly twisted thread.
1-2 Twist of thread is to be left-wise.
1-3 Use tender thread.
1-4 Don't use thread with knot or uneven size.
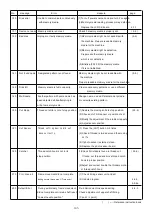
Environment
1. Does wind let thread go beyond control? (outside wind, heater, and fan etc.)
(2-5)
1-1 Keep the embroidery machine off from wind.
2. Is voltage of power as rated and stable?
2-1 Supply rated voltage.
Pattern 1. Is there stop sewing stitch for start sewing?
1-1 Modify pattern.
( ) ---Reference instruction book
Содержание HCS2-1201-30
Страница 1: ...Maintenance Manual for Embroidery Machine HCS2 1201 30 Version 2 3 HappyJapan Inc...
Страница 75: ...76 6 Check up with thread trimmer function 7 Assemble lower front panel to terminate this procedure...
Страница 110: ...112 3 7 4 Exchange of Y carriage belt 1 Remove frame base 2 Disconnect X carriage cable 3 Remove X carriage 4 Remove arm...
Страница 154: ...153 5 1 1 Electrical connection diagram except for Rev A...
Страница 155: ...154 5 1 1 Electrical connection diagram except for Rev A...
Страница 156: ...155 5 1 2 List of electrical connection diagrams except for Rev A...
Страница 157: ...156 5 1 3 Electrical connection diagram for Rev A...
Страница 158: ...157 5 1 3 Electrical connection diagram for Rev A...
Страница 159: ...158 5 1 4 List of electrical connection diagrams for Rev A...
Страница 160: ...159 5 2 1 Connection of inverter 100V Inverter set...
Страница 161: ...160 5 2 2 Connection of inverter 200V Inverter set...
Страница 165: ...160c HCD8116 TP switch board ass y 6 5 265 2 1 6 7 257...
Страница 196: ...2017 8 HAPPYJAPAN Inc 9 5 TAITO 2 CHOME TAITO KU TOKYO JAPAN TEL 81 3 3834 0711 FAX 81 3 3835 8917...

