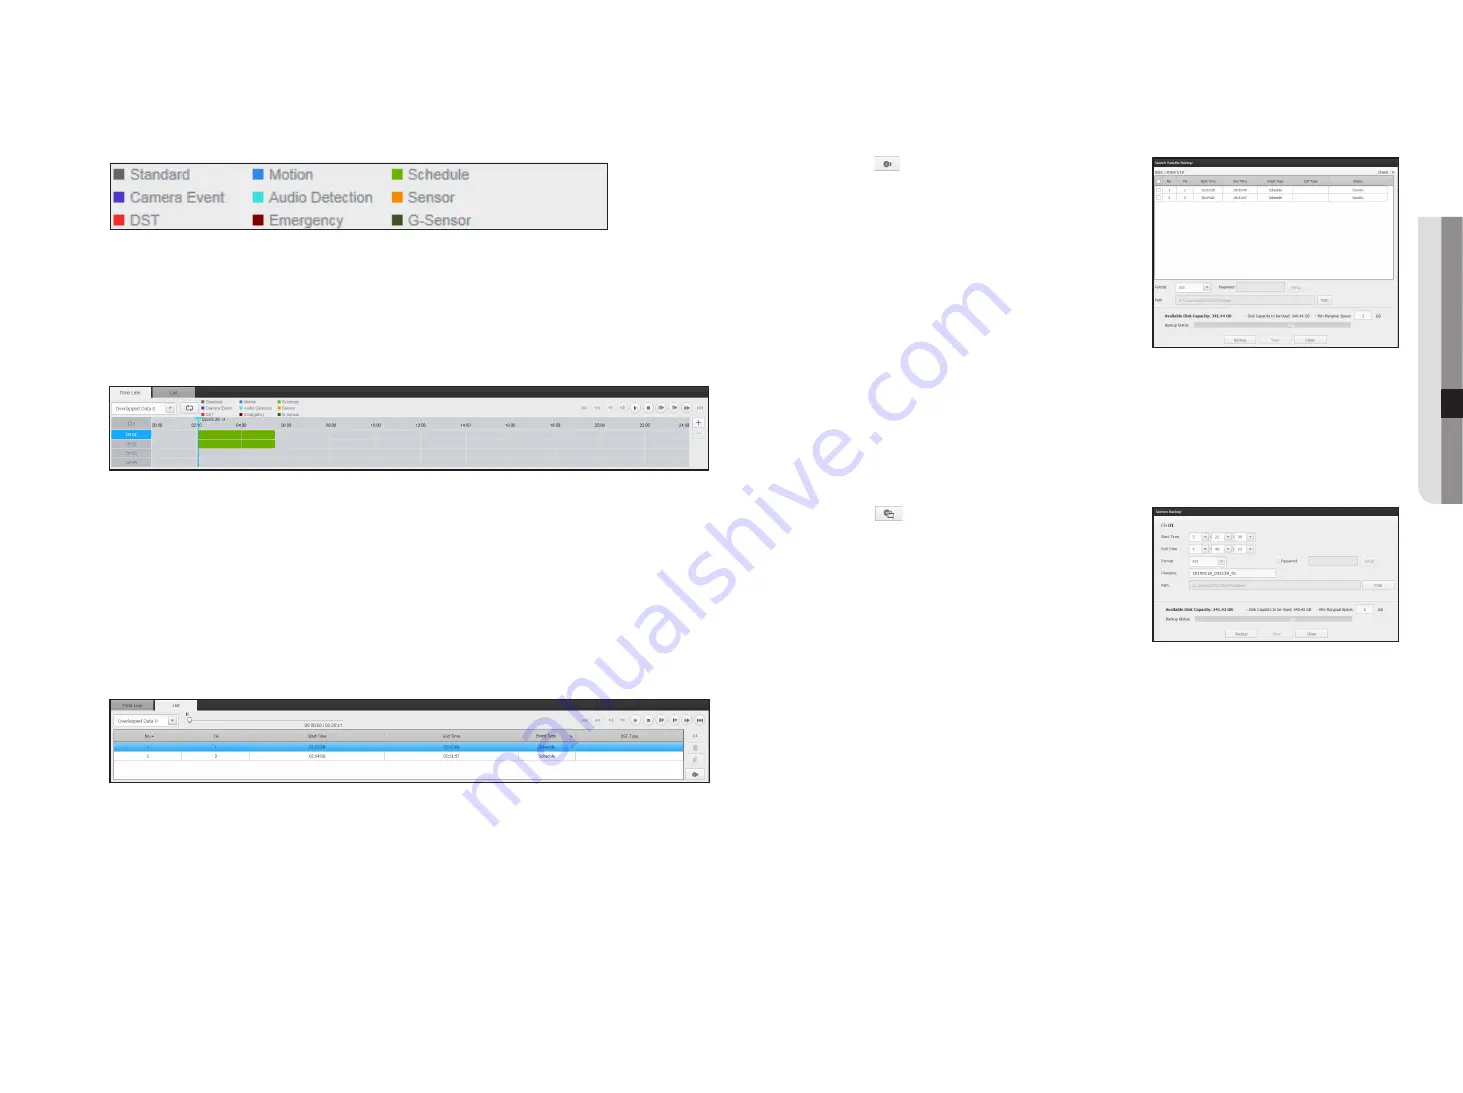
color indications depending on current recording status
Displays the corresponding color according to the recorded data type.
M
`
If 2 or more kinds of recording type are mixed for the same timeline, only the recording type with higher priority is displayed.
(Priority: Emergency > G-Sensor > DST > Audio Detection > Camera Event > Sensor > Schedule > Motion > Standard)
to adjust timeline
If searched data are overlapping, you can select a desired data, move its playback time point, and zoom in/out
the timeline.
1.
Select the number of data to search if data is overlapping.
It appears only when data are overlapped and assigns <
0
> to the most recent data.
2.
Click your desired time point to play on the timeline.
The playback start point is moved.
3.
Click <
+
> / <
-
> to zoom in/out the zoom factor to display time.
4.
When magnified, if you want to view the pre/post timeline, click on the timeline and drag it in the direction
you want to move it.
if you want to check the recording list
The results for each recording section will be displayed.
to back up the search results
You can back up the search results in the list.
1.
Click the [
] button.
2.
From the search results, select the check box of the item
you wish to back up.
•
Format : Select the format of the file to back up.
- AVI : Codec information provided from the NVR is saved
together and can be played in a separate viewer (Windows
Media Player, etc.) on the PC.
- SEC : Proprietary file format, which can be played on the
PC immediately as it is saved with a dedicated viewer.
`
If you select the SEC format, you can select whether or not to use
“
Password Setup
”.
•
Path : displays the location of the folder in which the section backup file is to be saved.
3.
After completing the backup settings, click the <
backup
> button.
`
If you press the <
Stop
> button during the backup process, the backup will be suspended.
to run the section backup function
You can select and back up a desired section in the timeline or list of video(s) being played.
1.
Click the [
] button.
2.
On the timeline of a video being played, select the start point
and the end point of the section to back up.
Section backup settings screen will open.
•
Channel : Displays the channel for the section backup.
•
Backup section : Displays the <
Start time
> and the <
end
time
> of a section to back up.
•
Format : Selects the format of a section to back up.
- AVI : Codec information provided from the NVR is saved together and can be played on a separate viewer
(Windows Media Player, etc..) on the PC.
- SEC : Proprietary file format, which can be played on the PC immediately as it is saved with a dedicated
viewer.
`
If you select the SEC format, you can select whether or not to use “
Password Setup
”.
•
File name : Sets the name of a section backup file.
•
Path : displays the location of the folder in which the section backup file is to be saved.
3.
After completing the section backup settings, click the <
backup
> button.
`
If you press the <
Stop
> button during the section backup process, the backup will be suspended.
English
_65
●
Searc
H viewer
Содержание WISENET TRM-810S-1TB
Страница 1: ...MOBILE VIDEO RECORDER User Manual...


