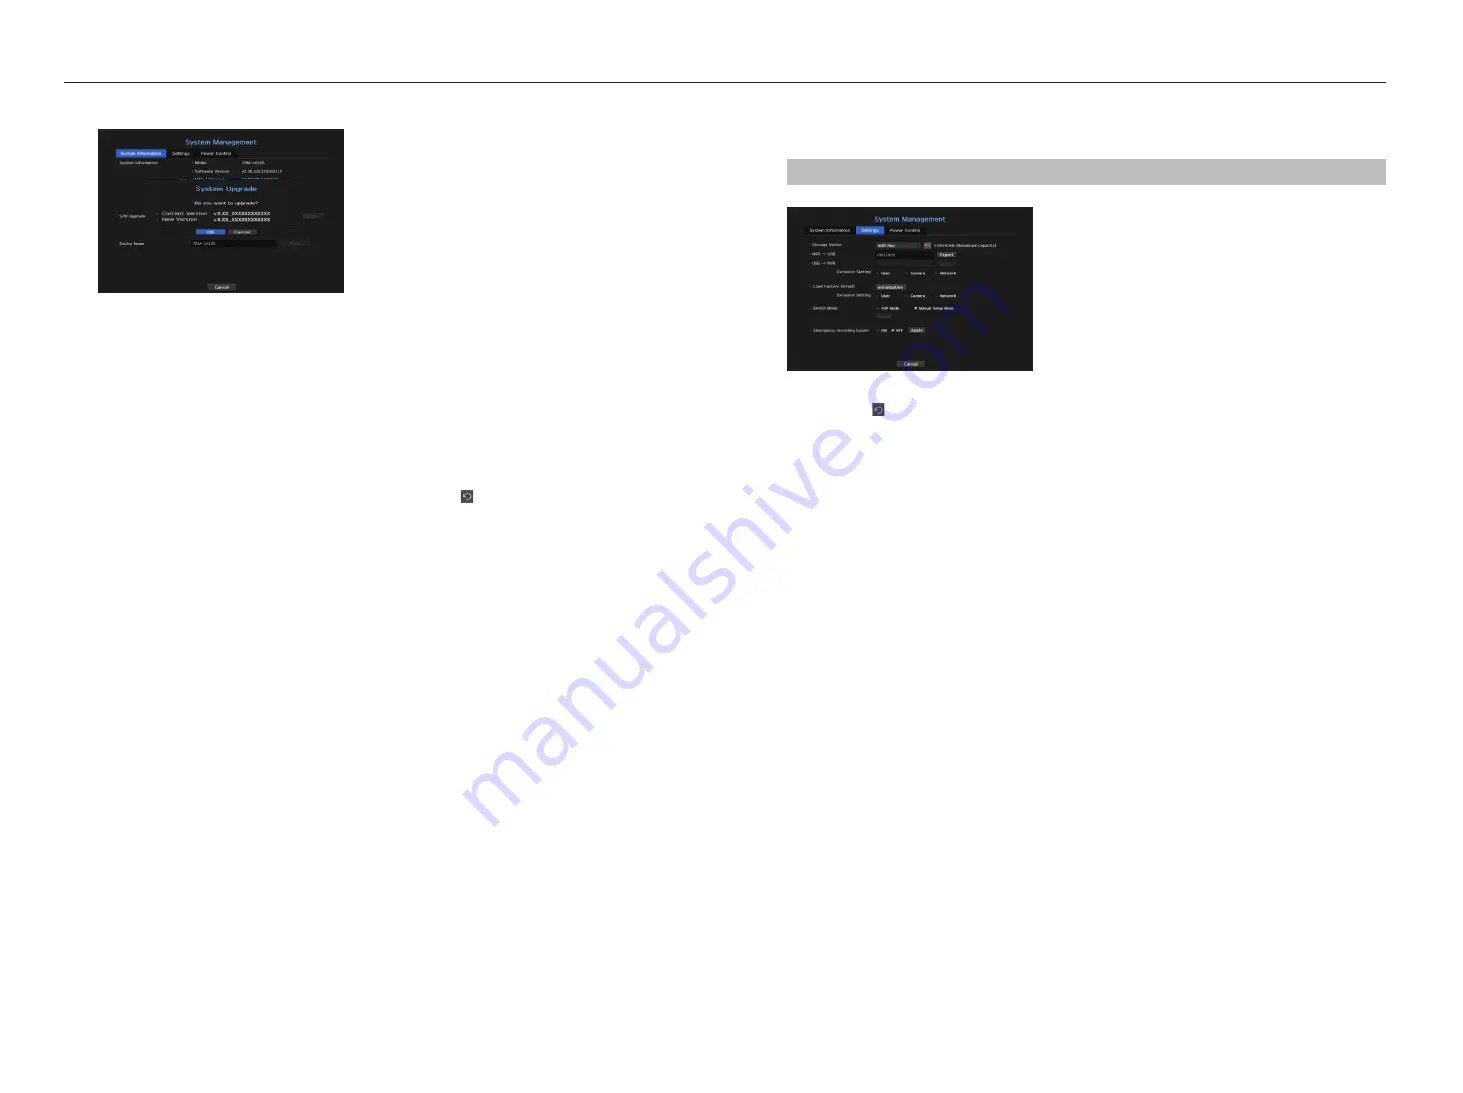
to upgrade the current software version
1.
Connect a device storing the software to be updated.
`
It may take about 10 seconds to recognize the device.
`
Upgradeable devices include USB memory, and network device.
`
If you want to upgrade it on the network, the product should be connected to an external network.
Upgrade via the proxy server may not be enabled due to the restricted access.
2.
Select <
System management
> from <
System
> window.
3.
Select <
System information
>.
4.
When the recognized device appears, select <
upgrade
>.
`
If you connect a device in the upgrade menu window, you can press the <
> button to search for available software.
`
If there is an upgrade image on the network, the popup window will appear.
`
The <
Upgrade
> button is activated only if the software version is the same or higher than the product software version.
5.
Press <
ok
> in the "
S/w upgrade
" window.
`
While updating, it shows the progress.
6.
When the updating is done, it automatically restarts.
Do not turn the power off until it finishes restarting.
M
`
If "
Upgrade Failed
" appears, retry from the step 4. When you experience continued failure, consult the service center for
assistance.
Settings
You can copy and import the NVR settings by using a storage media.
menu > System > System management > Settings
•
Storage Device : Shows the connected storage device.
- Press the < > button to view the list of storage devices.
•
NVR
;
USB : Exports NVR settings to the connected storage device.
•
USB
;
NVR : Imports NVR settings from the storage device and applies to the NVR.
- If you select the exclusion setting, you can import all information but the selected information.
`
The <
Export
> and <
Import
> settings can be used in the same software version only.
•
Load Factory Default : Resets the product to its factory default settings. However, logs won't be reset.
Anything selected under Exclusion Setting won't be part of the factory reset. A confirmation pop-up will
appear when you press the <
initialization
> button. Select the <
ok
> button to reset the selected items.
•
Switch Mode : Set the camera registration method. This function is only available for products with PoE
support.
For products with PoE support, see “
nvr products supporting each feature
”. (Page 4)
- PnP Mode : Camera connected to the PoE port of the product will be registered automatically on each
channel in the order of the port number.
This works only when camera is in factory reset state.
- Manual Setup Mode : You can manually register the camera connected to the PoE port of your product
and the camera connected to the separate switch in the <
cam registration
> menu.
`
For more information on camera registration, see the “
Setting the Device
>
Camera
>
To register a camera
” section in the
table of contents.
•
Emergency recording buzzer : You can set whether or not to generate a warning sound when the
<
emergency record
> button in the control box is pressed.
M
`
If you export setup information, then the data will be saved as a file in the recorder folder of your storage device.
`
If you want to import setup information, you have to first make sure that the setup information file is located in the recorder
folder of the storage device.
24_
menu setup
menu setup
Содержание WISENET TRM-810S-1TB
Страница 1: ...MOBILE VIDEO RECORDER User Manual...


