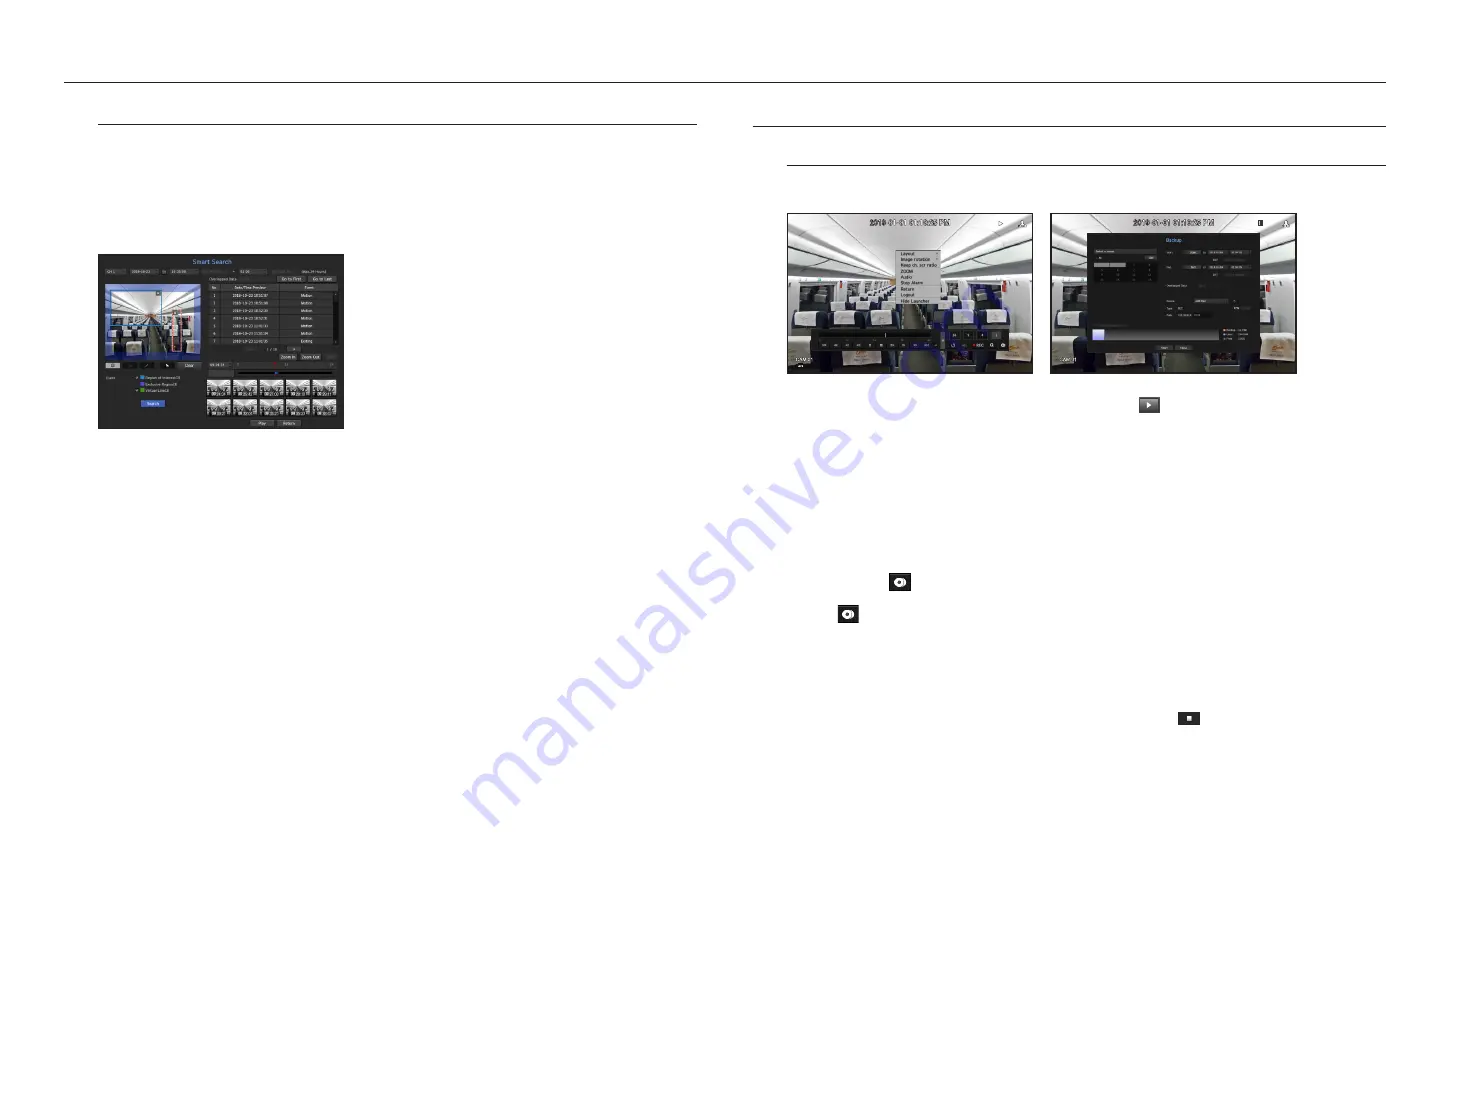
Smart Search
You can select a specific area of the image as an area of interest or exclusion using a virtual line to perform a
search of events that have occurred in a specific time period.
`
To use Smart Search, set "
Menu
>
Event
>
Camera Event
>
Smart Search
" to <
ON
> and set the "
Motion Detection
" or "
IVA
"
area of the camera to the whole area. However, to perform Smart Search with the Wisenet X series camera or later models, set the
virtual area of the camera's "
IVA
" to the whole area. See the "
Camera Event
" page under "
Menu Setup
>
Setting the Event
" in
the Table of Contents.
1.
In the <
Search
> menu, select <
Smart Search
>.
2.
Configure the channel, search date and time settings.
•
Go to First : Moves to the oldest smart search result.
•
Go to Last : Moves to the most recent smart search result.
•
Event : Displays the type of event generated.
•
Region of Interest : The entire screen is set as a non-detection area and a specific area designated as a
detection area. Click and drag on the image or select 4 vertexes to designate a desired detection area.
•
Exclusive Region : The entire screen is set as a detection area and a specific area designated as a non-
detection area. Click and drag on the image or select 4 vertexes to designate a desired non-detection area.
•
Virtual Line : Detects a motion towards a marked direction based on the virtual line. At a desired position on
the screen, click or drag the start point and end point of the line.
`
Up to 3 areas of interest, areas of exclusion and virtual lines can be set, respectively.
3.
Click the <
Search
> button.
`
Search results displayed include a list, timeline and thumbnail.
`
When you double-click a list or thumbnail displayed as search results, the applicable data can be played back.
`
Click the <
Next
> or <
Previous
> button to change the date directly within the search results.
4.
Select data to play and click <
play
>.
Moves to the playback screen for the data searched.
playback
play
You can play data stored in the HDD and backup a desired portion of the data.
1.
In the live screen menu, select the <
play
> menu or click on <
> in the launcher menu.
2.
Select a menu for searches.
`
If this is the first time you try to play, you will start with the data search window.
To search for data, see the "
Search & Play
>
Search
" page in the Table of Contents.
3.
Select a data item and click <
play
> in the Search menu.
The selected data is played and the play launcher appears on the screen.
`
If there is an existing data, <
Play
> will start immediately without performing the search.
•
Playback Information : Displays the date and time of the current data in the top corner.
•
Backup : Click <
> to set the current time to the start time of backup; you can specify a backup area
using the mouse (yellow triangle).
Click <
> again to set the current time to the end time of the backup and the "
backup range
" window
appears.
- Type : Supports the SEC format.
- Device : Select a backup device.
- Check Capacity : Enables you to check the capacity of the selected storage device.
4.
If you want to go back to the live screen during plays, then click on <
> of the launcher menu.
checking menu while playing a video
1.
Right-click on the play screen.
Screen menu appears on the play screen.
2.
Select a menu to run.
For each menu details, see the "
Split mode menu
" page under "
live
>
live Screen menu
" in the Table of
Contents.
M
`
Rotate mode only appears in single screen mode. You can rotate the play screen by 90 degrees.
52_
search & play
search & play
Содержание WISENET TRM-810S-1TB
Страница 1: ...MOBILE VIDEO RECORDER User Manual...


