4 Install/Service Menus
M1046983 04/08
4-25
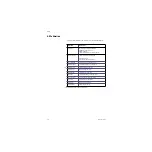
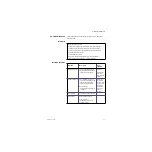
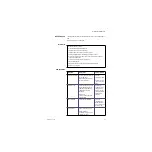
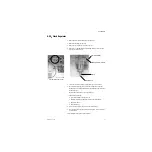
4.5.7 Paw Span
The Airway P Span instructions appear when the focus is on Paw Span menu
item.
Instructions
Paw Span menu
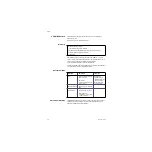
Read all steps before you start:
1. Complete the Bleed Resistor calibration.
2. Install the flow sensor and circuit module
3. Put a #2 plug in the drive gas port of the vent engine.
4. Put the calibrated orifice in the manifold port of the vent engine.
5. Connect the pressure tee to the insp port. Connect the tee to the calibrated
orifice with a 22 mm tube.
6. Connect a pressure gauge to the pressure tee.
7. Select Start Paw Span.
8. Increase the flow valve setting until the gauge shows 100 cmH2O.
9. Select Save Calibration
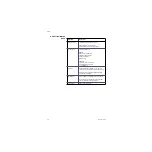
Menu Item
Message text
Values/Comments
Insp Flow Valve (DAC)
Increase setting until test gauge
shows 100 cmH2O
(approximately 1020 counts).
Then save calibration.
0 to 4095
(initially set to 800)
Disabled until user
selects "Start Paw
Span".
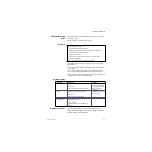
Start Paw Span
Start Calibration. Increase flow
valve setting until test gauge =
100 cmH2O (approximately
1020 counts). Then save
calibration.
Blocked text:
Connect a supply of the drive
gas to continue.
Blocked if the
ventilator drive gas
supply pressure
would cause a gas
supply failure alarm
during normal
operation.
Save calibration
Save Paw Span calibration.
Saves new
calibration data.
Writes calibration
result, date and time
to the event log.
Previous Menu
Return to the previous menu.
During Calibration:
“Calibration in progress. Push
ComWheel to cancel.”
Содержание Datex-Ohmeda Aisys Carestation
Страница 1: ...Aisys Anesthesia Machine Technical Reference Manual ...
Страница 16: ...Notes xiv 04 08 M1046983 ...
Страница 32: ...Notes 1 16 04 08 M1046983 ...
Страница 35: ...2 Theory of Operation M1046983 04 08 2 3 A M AB 75 098 L H D AB 75 046 J G I F K P O E D B C H N ...
Страница 158: ...Notes 5 20 04 08 M1046983 ...
Страница 288: ...Notes 7 106 04 08 M1046983 ...
Страница 325: ...9 Repair Procedures M1046983 04 08 9 29 The rear inverter A B C ...
Страница 356: ...Notes 9 60 04 08 M1046983 ...
Страница 397: ...10 Illustrated Parts M1046983 04 08 10 41 1 3 4 2 17 15 16 5 6 13 non DES cassette DES cassette 7 8 11 12 10 5 14 18 9 ...
Страница 399: ...10 Illustrated Parts M1046983 04 08 10 43 14 1 2 3 6 5 4 5 8 7 15 16 15 12 17 10 9 11 13 or 18 ...
Страница 401: ...10 Illustrated Parts M1046983 04 08 10 45 14 1 2 3 6 5 4 5 8 7 15 16 18 17 10 9 11 12 13 or ...
Страница 403: ...10 Illustrated Parts M1046983 04 08 10 47 14 15 18 1 2 3 6 5 4 5 8 7 17 10 9 11 15 16 12 13 or 17a 17c 17d 17b 17e ...
Страница 452: ...Notes 10 96 04 08 M1046983 ...
Страница 466: ...11 14 04 08 M1046983 Notes ...
Страница 470: ...Aisys 12 4 04 08 M1046983 12 3 System Schematics 12 3 1 Power Schematic ...
Страница 478: ...Aisys 12 12 04 08 M1046983 12 6 3 Tools Transfer Logs ...
Страница 495: ...12 Service Application M1046983 04 08 12 29 12 10 2 Vaporizer Subsystem Perform Vaporizer Test ...
Страница 497: ......

