Revision 4
91
April 2020
Table 26: Available Modbus Points
Folder Name
Explanation
Relay Status
Contains relay status points for each of the analyzer’s four
relay outputs
– Status, Service, Mode, and Control. This data
is output in the Modbus list as either 0 (off) or 1 (on).
Fault Status
Allows for the output of the status of all possible analyzer
faults. This data is output in the Modbus list as either 0 (no
fault) or 1 (fault)
Note: Peripheral Fault
point is the same as the IO Board
fault displayed the Indicators panel on the analyzer local
display.
Warning Status{XE
“Available Points:Warning
Status}
Allows for the output of the status of all possible analyzer
warnings. This data is output in the Modbus list as either 0
(no warning) or 1 (warning).
Concentration Status{XE
“Available
Points:Concentration
Status}
Allows for the output of all measured concentration data in
both percentage and parts per million (PPM) as well as
calculated values of Air Demand, H2S/SO2 Ratio, and
Sigma S. This data is output in the Modbus list as either 16-
bit numerical data (Enron and Modicon-16) or floating point
numerical data (Modicon-32).
Control Command{XE
“Available Points: Control
Command}
Allows for remote control of the analyzer via Modbus. If a 1
is placed into the register for any of these points, that will
force that command to be performed. Available remote
commands are Go Online, Go Offline, Force Zero (forces
analyzer into back-purge mode), Manual Zero (performs a
Zero Calibration Cycle), and Sample Mode (switches
analyzer into Sampling mode if currently in back-purge mode
and no faults are present.
To set up a new Modbus list, click on
Change to Update Mode
. A
LOGIN
dialog box like
the one shown in Figure 58 will appear. The default password is 2222. Press
Login
. Once
the password has been correctly entered, the
New
,
Load
, and
Save
buttons will be activated.
Click on
New
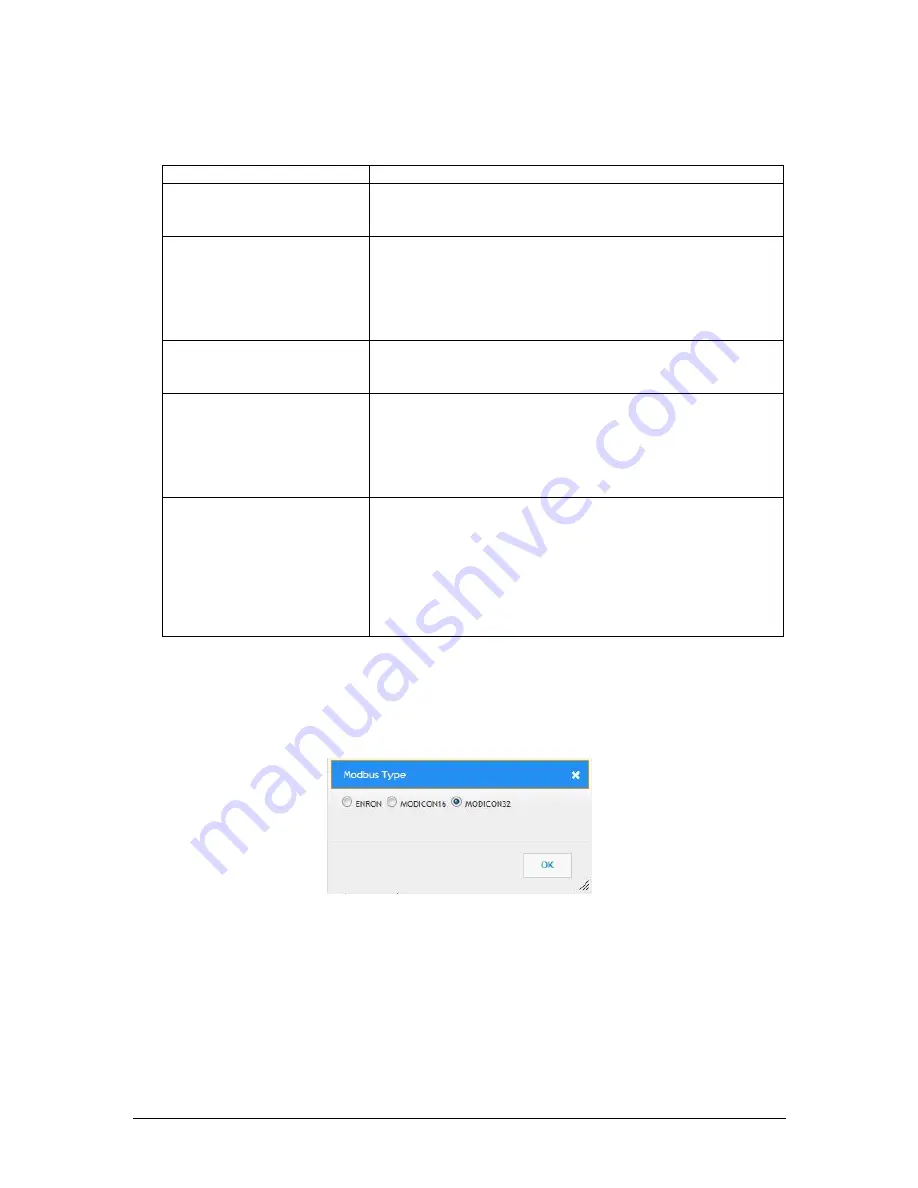
to set up a new Modbus list. The
Modbus Type
dialog box shown in Figure
60 will then appear.
Figure 60: Modbus Type Dialog Box
Select the desired Modbus type and click on
OK
. A new Modbus List the desired format will
appear and can then be populated with items from the
Available Points
list. Clicking on the
Save
button will store a currently configured Modbus list to the analyzer memory. If a new
Modbus list is then opened, pressing
Load
during the editing of this new list will reload the
original Modbus list; pressing
Save
during the editing of this new list will overwrite the original
Modbus list.
Содержание 943-TGX-CE
Страница 132: ...Revision 4 132 April 2020 Figure 81 Oven Cabinet Door Removed ...
Страница 133: ...Revision 4 133 April 2020 Figure 82 Control Cabinet Door Removed ...
Страница 134: ...Revision 4 134 April 2020 Figure 83 Power Steam Air Signals Connection Details ...
Страница 135: ...Revision 4 135 April 2020 Figure 84 AC Wiring Schematic ...
Страница 136: ...Revision 4 136 April 2020 Figure 85 DC Signals and Wiring Diagram ...
Страница 137: ...Revision 4 137 April 2020 Figure 86 Flow Diagram ...


