Chapter 7 Thin Provisioning Pool Management
7.2 Functions in the Action Area for Thin Provisioning
ETERNUS Web GUI User’s Guide
151
Copyright 2011 FUJITSU LIMITED
P2X0-1090-02ENZ0
4
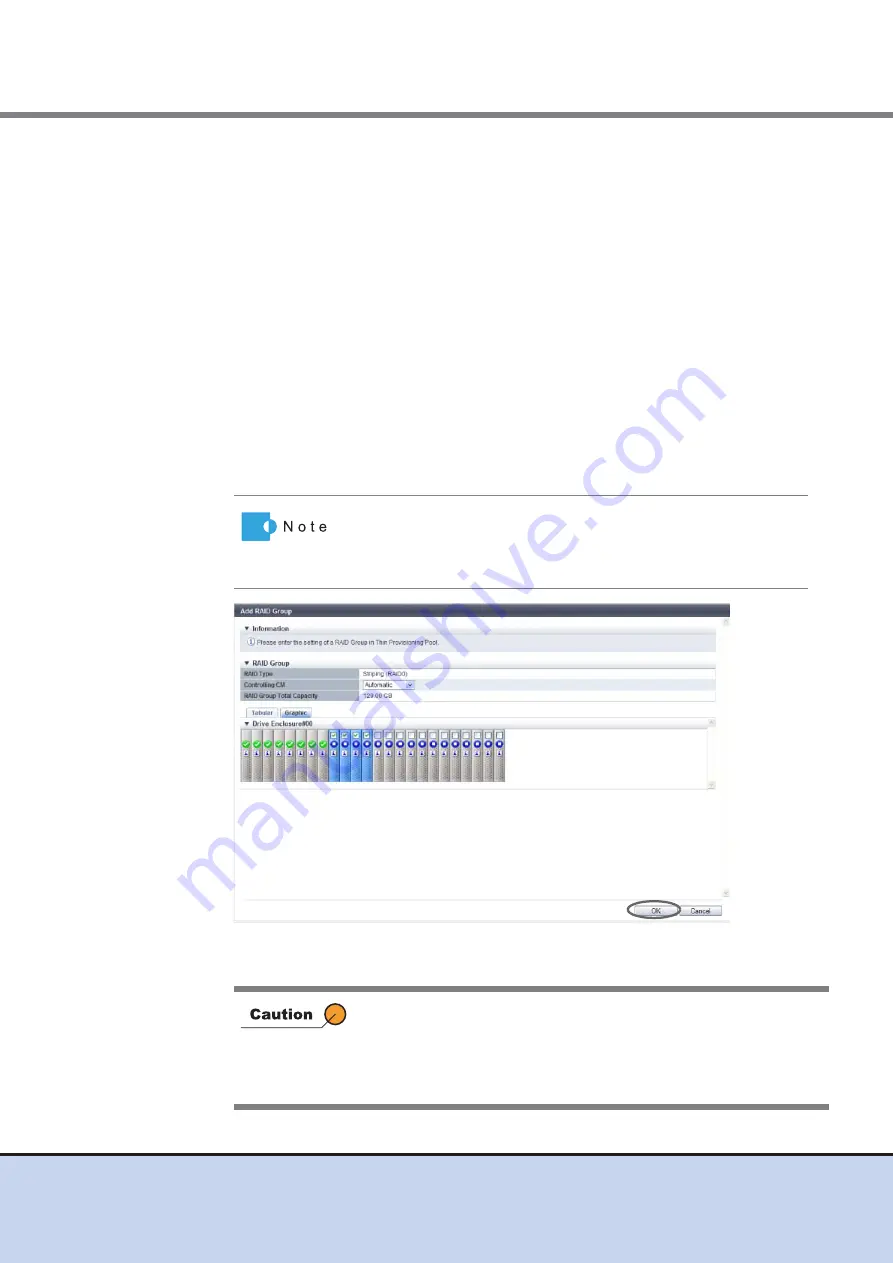
Select the controlling CM of the RAID group and all the drives to be registered in
the RAID group, and click the [OK] button.
•
Controlling CM
Select the controlling CM and CPU of the RAID group that is to be created.
"Automatic" and the installed "CM#x CPU#y" in normal status are displayed as options.
Select "Automatic" for normal operations. When "Automatic" is selected, the CM that is
to be assigned is determined by the RAID group number. For the ETERNUS DX80 S2/
DX90 S2 or the ETERNUS DX410 S2, "CM#0 CPU#0" is assigned for the RAID groups
with even numbers. For RAID groups with odd numbers, "CM#1 CPU#0" is assigned.
For the ETERNUS DX440 S2, "CM#0 CPU#0" is assigned for RAID groups if the RAID
group number is dividable by "4" (the number of CM-CPUs). If the remainder is "1",
"CM#1 CPU#1" is assigned. If the remainder is "2", "CM#1 CPU#0" is assigned. If the
remainder is "3", "CM#0 CPU#1" is assigned.
-
Automatic
-
CM#x CPU#y (x: CM number, y: CPU number)
•
Drive Selection
Select the checkbox for the drive to be selected.
→
The screen return to the previous screen. The created RAID group is displayed in the
RAID group list.
Drives can be selected from the list of drives that is displayed for
Tabular or from the drive images that are displayed for Graphic.
Click the Tabular tab to display a list of the drives or click the
Graphic tab to display drive images.
An error screen appears in the following conditions:
•
When the number of selected drives and the number of member
drives of the specified RAID type do not match
•
When the number of selected drives and the number of member
drives of the existing RAID group do not match


