Sending Fax
97
Co
mp
u
ter
O
p
er
at
io
n
s
4
1
Start up the computer, and a web browser.
2
Enter the machine's IP address or Internet address in the browser address field and
press the <Enter> key.
Note
• If your network uses DNS (Domain Name System) and the machine's host name is
registered in the domain name server, you can access the machine using the URL with the
combination of the host name and the domain name. For example, if the host name is
"myhost", and the domain name is "example.com", then the URL is "myhost.example.com".
• Ask your system administrator for the IP address or Internet address.
• When specifying a port number, add ":" and the port number after the address. The default
port number is "80".
• When using the Authentication feature on the machine, enter a user ID and passcode into
the [User Name] and [Password] fields respectively. Ask your system administrator for the
user ID and passcode.
• If communications are encrypted, you must specify an address that starts with "https"
instead of "http" to access CentreWare Internet Services.
3
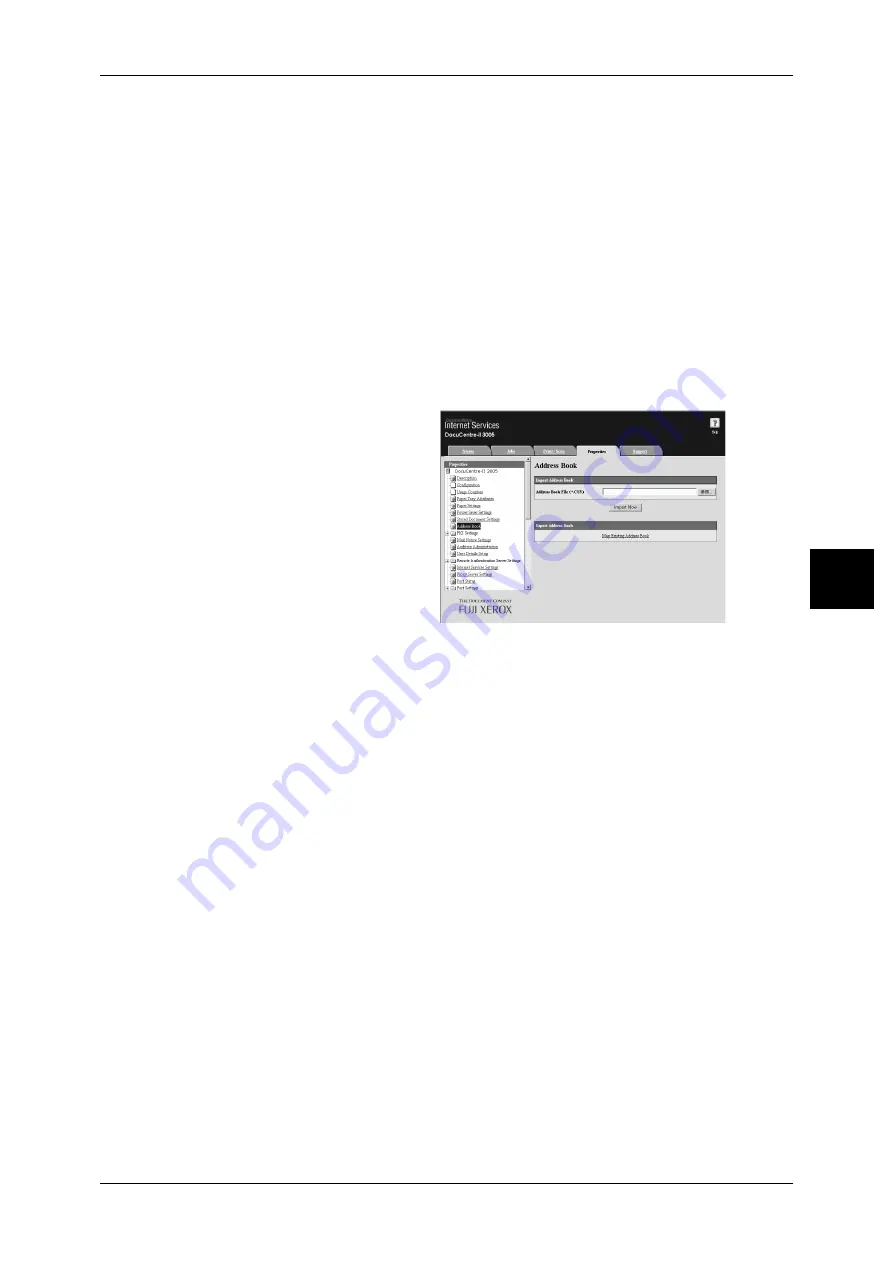
Click the [Properties] tab, and
select [Address Book] in the left
frame on the screen.
4
Click [Map Existing Address
Book] for [Export].
5
Specify the destination to save
the file in.
6
Enter the IP address or Internet address of the machine (ApeosPort-II 7000/6000,
Docucentre-II 7000/6000) into the browser address field, and press the <Enter> key.
7
Click the [Properties] tab, and select [Address Book] in the left frame on the screen.
8
Click [Browse] in [Import] to specify the file saved in Step 5.
9
Click [Import Now].
Important • Only fax destinations can be registered. Any addresses of iFax and e-mail, or destination
servers for Scan to PC cannot be registered.


