Fax Procedure
31
Fa
x
2
2
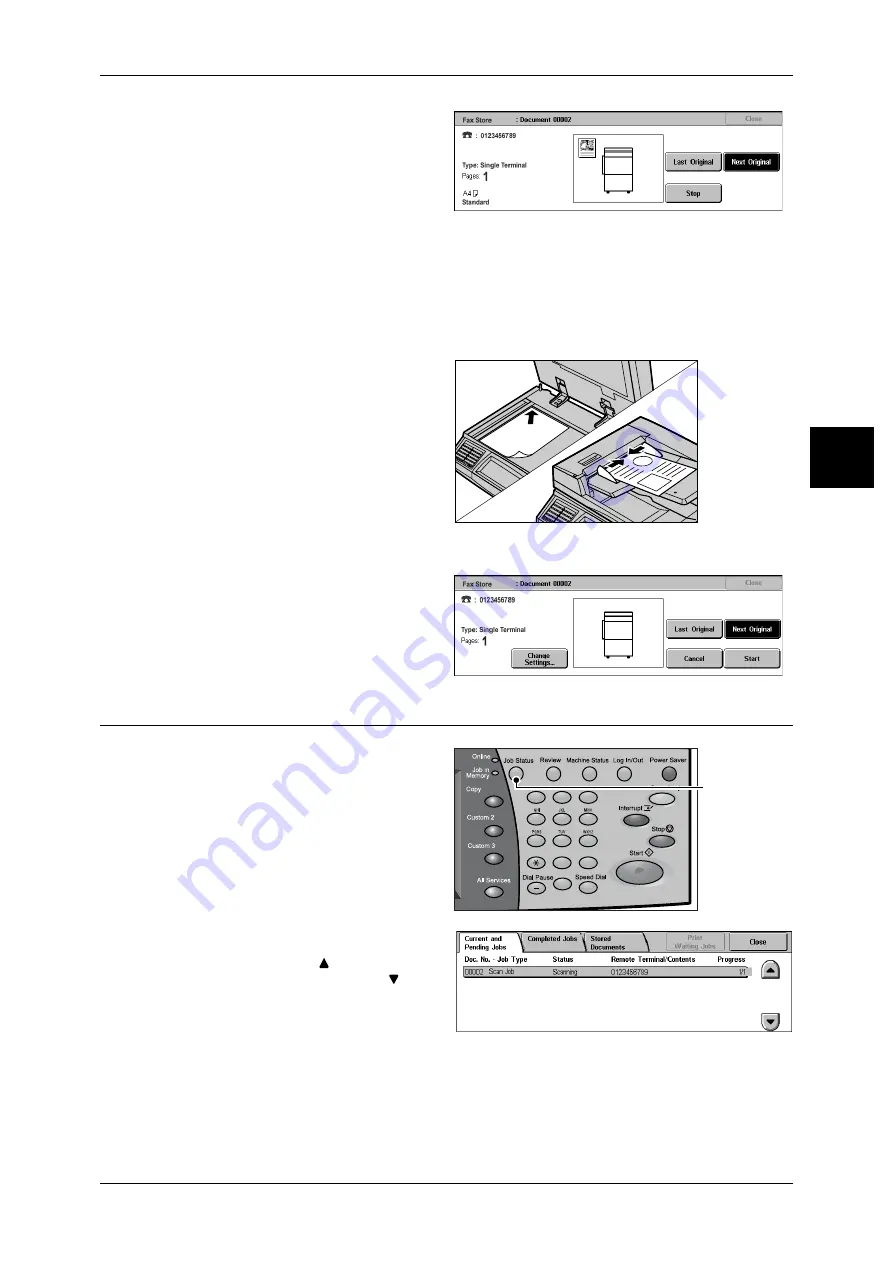
While documents are being
scanned, select [Next Original].
Note
• When using the document feeder, load the next document after the machine has finished
scanning the first document.
• When the above screen is displayed and no operation is performed during a certain period
of time, the machine automatically assumes that there are no more documents.
• You can change the scan settings of the next document by selecting [Change Settings]
displayed after selecting [Next Original].
3
Load the next document.
4
Press the <Start> button.
If you have more documents, repeat Steps 3 and 4.
5
When all documents have been
scanned, select [Last Original].
Step 5 Confirming the Fax Job in the Job Status
1
Press the <Job Status> button.
2
Confirm the job status.
Note
• Select [
] to return to the
previous screen or [
] to
move to the next screen.
If undelivered documents exist
You can confirm undelivered documents in the [Job Status] screen or [Job Status/
Activity Report] screen.
For information on how to send again or delete undelivered documents, refer to "Undelivered Faxes"
(P.134).
1
2
3
4
5
6
7
8
9
0
#
C
<Job Status>
button


