


Page 21
Service Manual STG5/7 intelligent STW5/7 intelligent form 9123999 rev. 05/2010
REMOVAL AND REPLACEMENT OF PARTS STG
Remove the right side panel according to
1.
prior procedures.
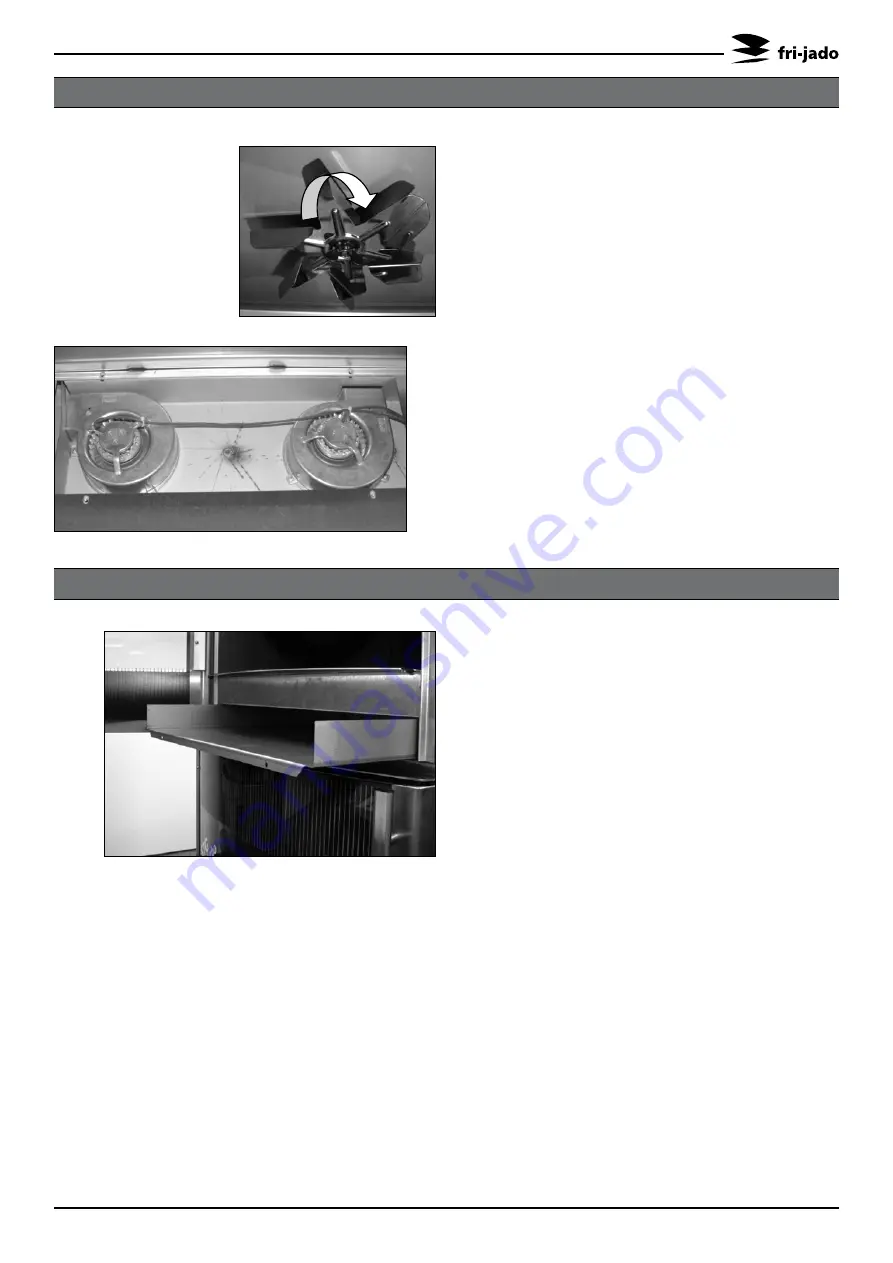
Remove the rotor discs, suction and fan
2.
plate in the bottom oven.
Remove the wing nut on the fan blade
3.
and remove fan blade. Left handed
threads.
Remove fat drawer from upper oven.
4.
Remove the bolts that secure the interme-
5.
diate plate and remove this plate.
Remove the drip trays from the upper
6.
oven.
Remove the bolts that secure the top
7.
plate (STG 5 must have the special top
cover!) and remove the top plate.
Disconnect wiring of the motor.
8.
Remove the screws that secure the motor
9.
and remove the motor.
Reverse the procedure to install.
10.
Note:
Check the direction of rotation of the
motor (clockwise) and change the wiring if
necessary.
BLOWER MOTOR BOTTOM ROTISSERIE (STACkED STG)
Remove the right side panel and the top
1.
cover according to prior procedures.
Remove the rotor discs, suction and fan
2.
plate in the oven.
Remove the wing nut on the fan blade
3.
and remove fan blade. (Left handed
threads)
Disconnect wiring of the motor.
4.
Remove the screws that secure the motor
5.
and remove the motor.
Reverse the procedure to install.
6.
Note:
Check the direction of rotation of the
motor (clockwise) and change the wiring if
necessary.
BLOWER MOTOR