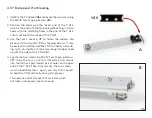
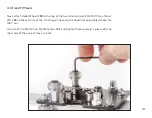


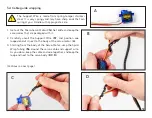

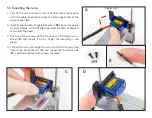
4.10 Belt tensioning
(Continues on next page)
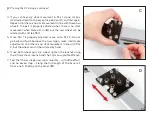
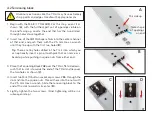
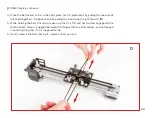
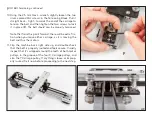
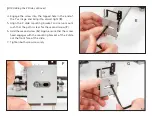
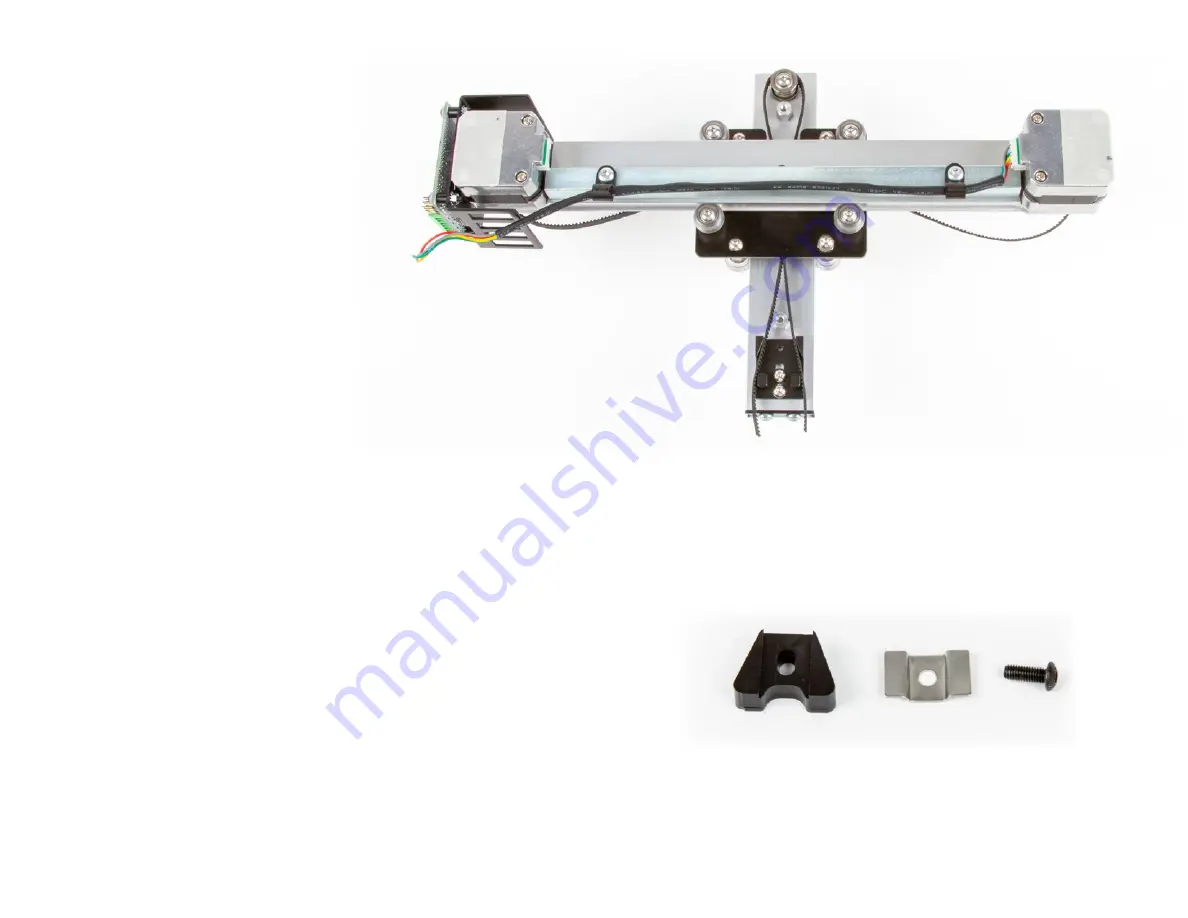
1. Loop the belt over the Y Carriage idler pulley.
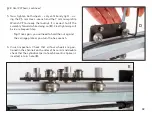
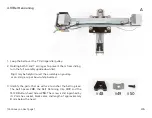
2. Holding both X and Y carriages to prevent them from sliding,
turn the full assembly upside down (
A
).
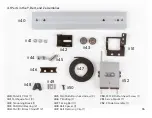
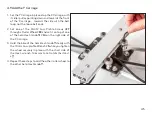
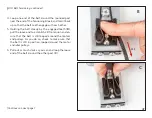
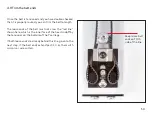
3. Identify the parts that we will use to anchor the belt in place:
The belt Spacer
#48
, the Belt Retaining Clip
#49
, and the
M3×8 Button-head Screw
#50
. The screw is distinguished by
its 2 mm hex socket, black color, and length of approximately
8 mm below the head.
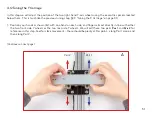
Tip:
It may be helpful to rest the assembly on your lap
or on a large cup or bowl while inverted.
A
#48
#49 #50
46
Содержание AxiDraw MiniKit 2
Страница 5: ...Part 1 Tools 5...
Страница 8: ...Part 2 The Base 8...
Страница 20: ...Part 3 The X Carriage 20...
Страница 35: ...Part 4 Y Belt and Z 35...
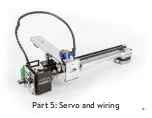
Страница 55: ...Part 5 Servo and wiring 55...
Страница 72: ...Part 6 Using AxiDraw MiniKit 72...