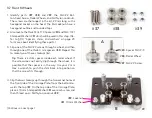
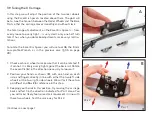
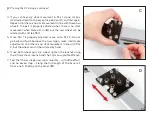
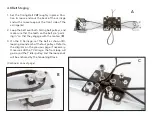
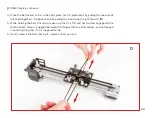
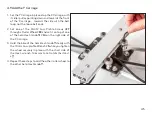
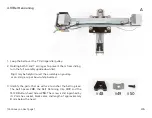
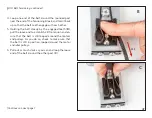

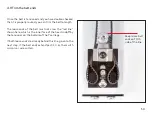


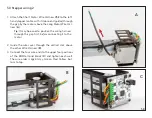
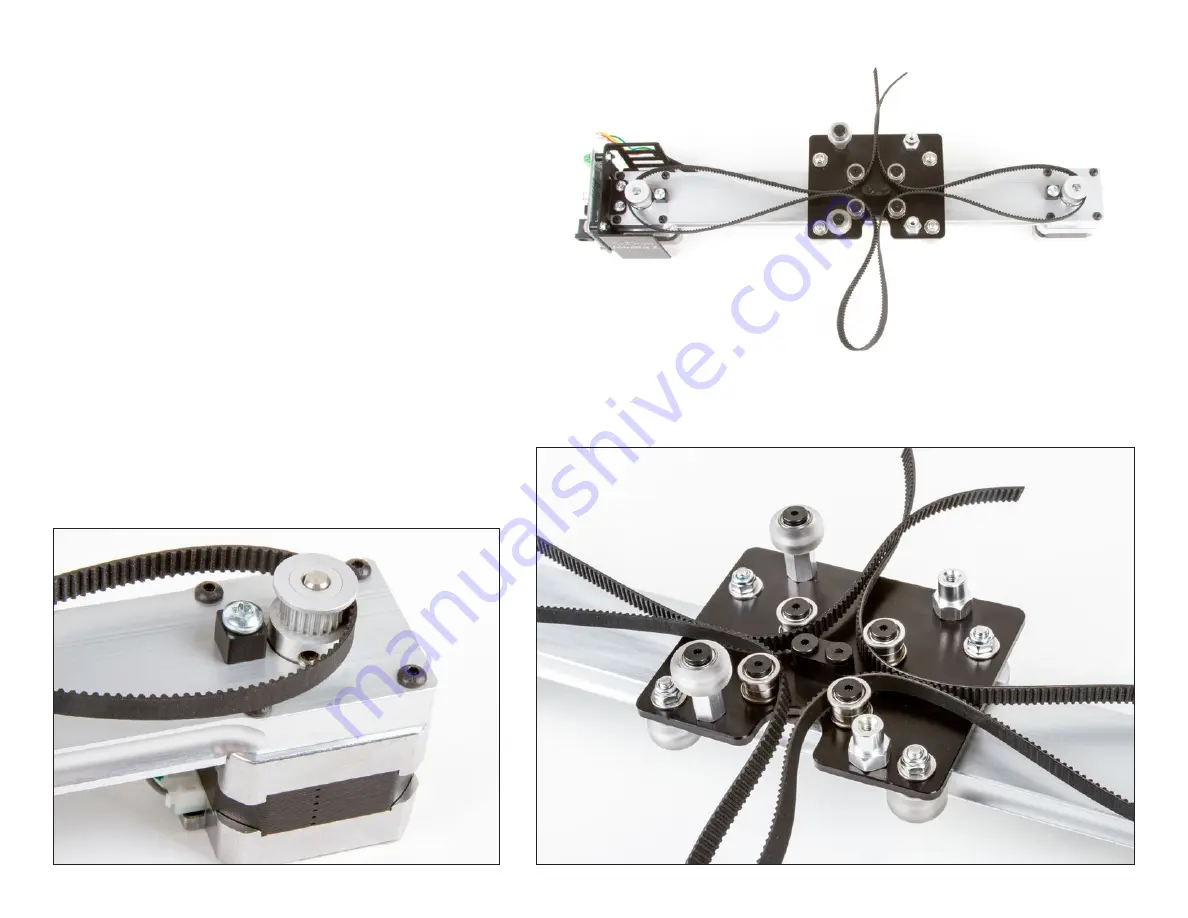
4.8 Belt Staging
A
B
C
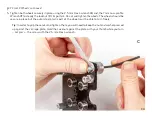
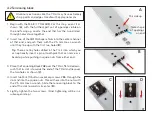
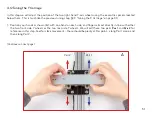
1. Set the Timing Belt
#47
roughly in place. Posi-
tion its loose ends out the back of the carriage
and with a loose loop out the front side of the
carriage (
A
).
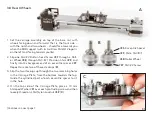
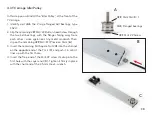
2. Loop the belt over both timing belt pulleys, and
make sure that the teeth on the belt are “point-
ing in” so that they engage with the motors (
B
).
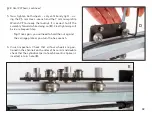
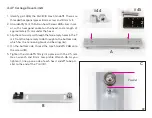
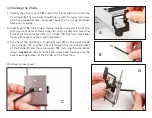
3. On the X Carriage, set the belt as shown (
C
),
looping around each of the four pulleys. Refer to
the diagram on the previous page if necessary.
Once we add the Y Carriage, the front loop will
go around the Y idler pulley, and the loose ends
will be anchored by the Tensioning Block.
(Continues on next page)
43
Содержание AxiDraw MiniKit 2
Страница 5: ...Part 1 Tools 5...
Страница 8: ...Part 2 The Base 8...
Страница 20: ...Part 3 The X Carriage 20...
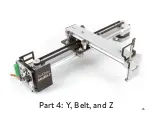
Страница 35: ...Part 4 Y Belt and Z 35...
Страница 55: ...Part 5 Servo and wiring 55...
Страница 72: ...Part 6 Using AxiDraw MiniKit 72...