4.2 Tensioning block
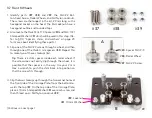
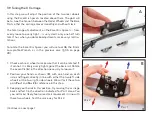
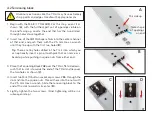
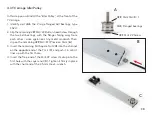
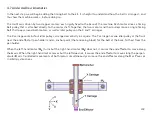
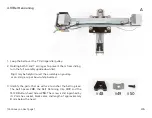
1. Begin with the MiniKit Y Rail
#40
. For this step, orient it as
shown (
A
), with the further-apart set of openings visible on
the end facing up. Locate the end that has the two drilled-
through holes close together.
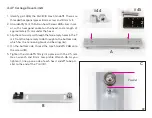
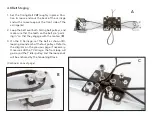
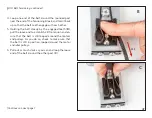
2. Insert two of the
#41
M4 Square Nuts into the center channel
of that end, and push them with the 2.5 mm Hex L-wrench
until they line up with the first two holes (
B
).
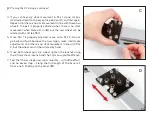
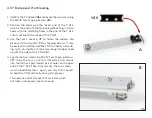
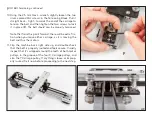
3. Place the Tensioning Block
#42
over the Y Rail, flat side down,
such that its slot is towards the end of the Y Rail and lies over
the two holes as shown (
C
).
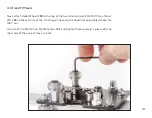
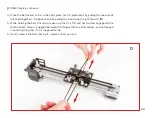
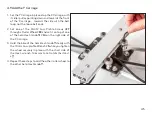
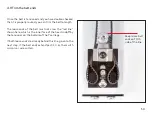
4. Insert two M4×10 button socket cap screws,
#36
, through the
slot and into the square nuts. Thread them into the nuts with
the 2.5 mm Hex L-wrench. Slide the tensioning block to the
end of the slot, towards rail center (
D
).
5. Lightly tighten the two screws. (Final tightening will be in a
subsequent step.)
A
B
C
D
!
Aluminum extrusions like the Y Rail may have extremely
sharp points and edges. Handle with appropriate care.
Tip:
There are tiny holes drilled in the Y rail, into which you
can optionally insert a pin or toothpick that can serve as a
backstop while pushing in square nuts from either end.
This side up.
Note shape
of openings
on end
37
Содержание AxiDraw MiniKit 2
Страница 5: ...Part 1 Tools 5...
Страница 8: ...Part 2 The Base 8...
Страница 20: ...Part 3 The X Carriage 20...
Страница 35: ...Part 4 Y Belt and Z 35...
Страница 55: ...Part 5 Servo and wiring 55...
Страница 72: ...Part 6 Using AxiDraw MiniKit 72...


